Creating an event prediction
A prediction is one instance of a trained machine learning model and all the parameters and data it uses. To learn more about Predictive Events, refer to the Predictive Events overview.
In Braze, go to Analytics > Predictive Events.
If you are using the older navigation, you can find Predictions under Engagement.
On this page, you will see a list of current active event predictions and some basic information about them. Here, you can rename, archive, and create new predictions. Archived predictions are inactive and do not update user scores.
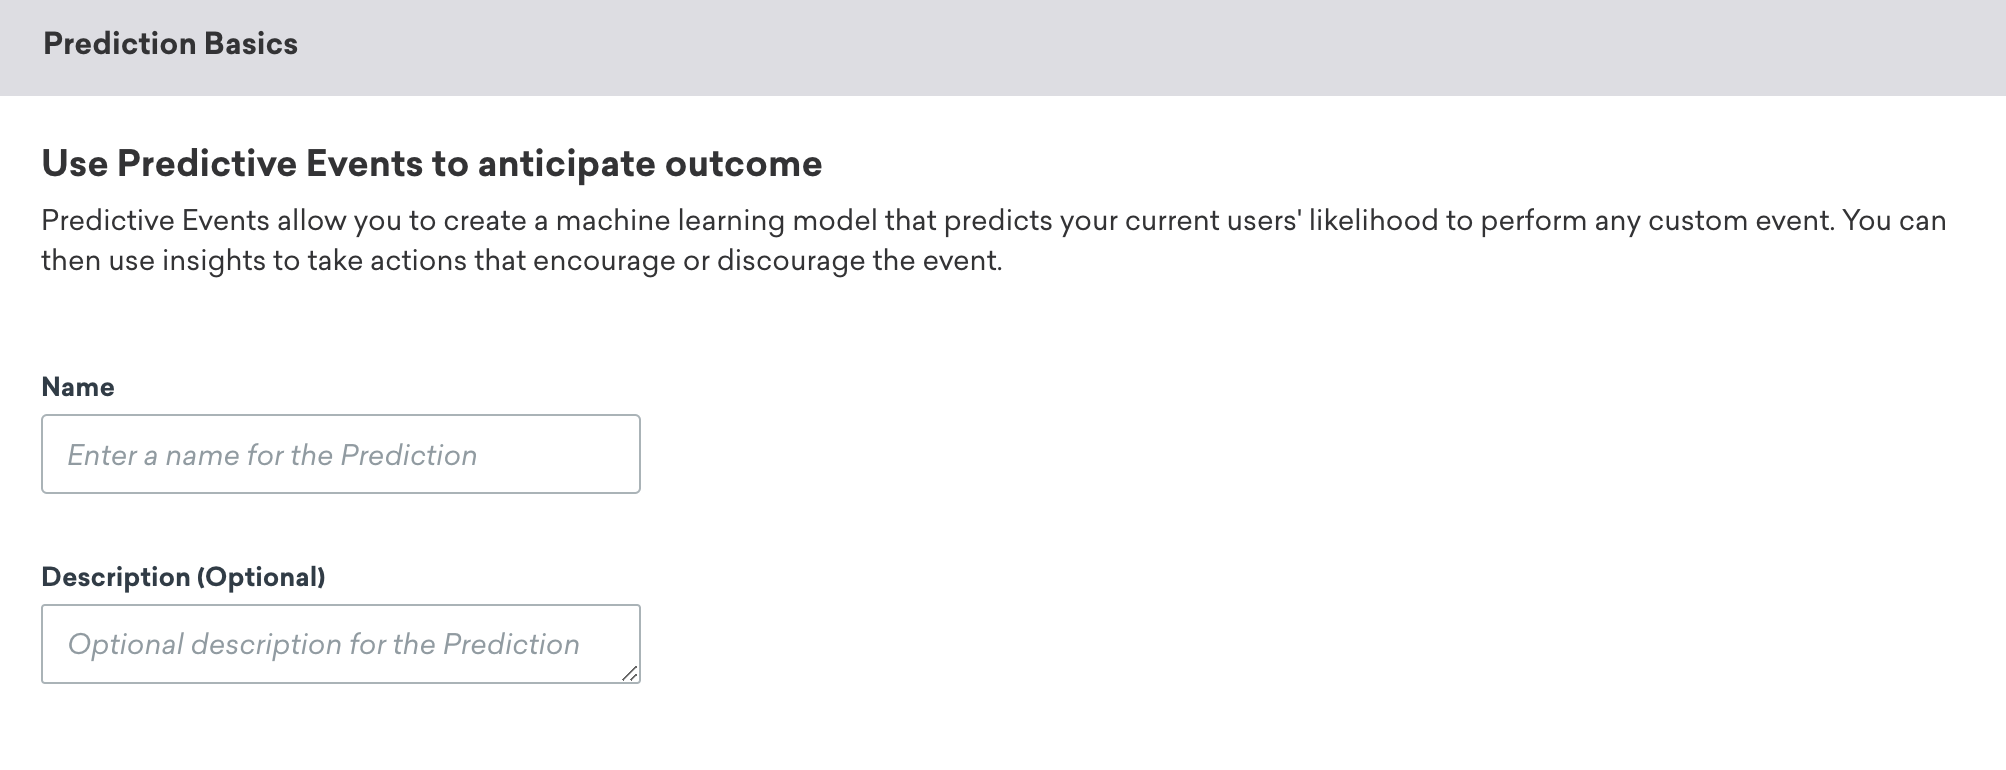
Step 1: Create a new prediction
- Choose Create Prediction and select a new Event Prediction.
There is a limit of five concurrently active predictions. Before purchasing Predictive Events, the limit is one active preview prediction. A preview prediction will not regularly update scores or target users based on the prediction’s output. Contact your account manager for details.
- Give your prediction a unique name. You can also provide a description to save any relevant notes.
- Click Forward to move to the next step.
Optionally, you can click Build Now to use all the default settings and skip to the last step of creation. You will have a chance to review the settings before starting the build process. Also, you can return to any step later by clicking it in the top bar.
Step 2: Specify event tracking
Specify if your users’ events are stored in Braze as purchase events or custom events.
Here, you’ll see if the selected method provides enough data for Braze to create a machine learning model. If the requirement is not met, try and select the other logging method if it is also used by your application. Unfortunately, if it is not, Braze is unable to create a prediction with the quantity of data available. If you believe you’re incorrectly seeing this error, get in touch with your customer success manager.
Event window
The event window is the time frame in which you want to predict if a user will perform the event. It can be set up to 60 days. This window is used to query historical data for training the prediction. Additionally, after the prediction is created and users receive scores, the likelihood score indicates how likely a user is to perform the event within the number of days specified by the event window.
Step 3: Filter your prediction audience (optional)
Your prediction audience is the group of users whose likelihood score you would like to predict. If desired, you can run a prediction on your entire population of users. To do this, leave the default option All Users selected.
The model typically performs better if you filter the users you want to assess with some criteria. To do so, select Define my own prediction audience and choose your audience filters. For example, you might want to focus on users who have been using your app for at least 30 days by selecting the “First Used App” filter set to 30 days.
The prediction audience definition is also used to query historical data to allow the machine learning model to learn from the past. Similar to the previous page, the quantity of data provided by these filters is displayed along with the requirement. If you specify your desired audience and do not meet the minimum, try specifying a broader filter or use the All Users option.
The prediction audience cannot exceed 100 million users.
When the Event Window is 14 days or less, the time window for filters that begin with “Last…” like “Last Used App” and “Last Made Purchase” cannot exceed the Event Window specified in event tracking. For example, if the Event Window is set to 14 days, the time window for the “Last…” filters cannot exceed 14 days.
Full Filter Mode
In order to build a new prediction immediately, only a subset of Braze segmentation filters are supported. Full Filter Mode allows you to use all Braze filters but will require one Event Window to build the prediction.
For example, if the event window is set to 14 days, it will take 14 days to collect the user data and build the prediction when using filters only supported in Full Filter Mode. Additionally, some estimates about audience sizes will not be available in Full Filter Mode.
Step 4: Choose the update schedule
The machine learning model created when you complete this page will be used on a schedule you select here, to generate fresh scores of users’ probability to perform the event (likelihood score). Select the maximum frequency of updates that you’ll find useful. For example, if you’re predicting purchases and are planning to send a weekly promotion, set the update frequency to Weekly on the day and time of your choosing.
Preview and demo prediction will never update users’ likelihood scores.
Step 5: Build prediction
Verify that the details you’ve provided are correct, and choose Build Prediction. You can also save your changes in draft form by selecting Save As Draft to return to this page and build the model later.
After you click Build Prediction, the process that generates the model will begin. This could take between 30 minutes to a few hours, depending on data volumes. For this prediction, you will see a page explaining that training is in progress for the duration of the model building process.
When completed, the page will switch to the analytics view automatically, and you will receive an email informing you that the prediction and results are ready. In the event of an error, the page will return to the editing mode with an explanation of what went wrong.
The prediction will be automatically rebuilt (“retrained”) every two weeks to keep it updated on the most recent data available. Note that this is a separate process from when users’ likelihood scores, the output of the prediction, are produced. The latter is determined by the update frequency you chose in Step 4.
Archived predictions
Archived predictions will stop updating user scores. Any archived prediction that is unarchived will continue updating user scores on its predetermined schedule. Archived predictions are never deleted and remain in the list.
 Edit this page on GitHub