Content Blocks Library
The Content Blocks Library allows you to manage your reusable, cross-channel content in a single, centralized location.
With Content Blocks, you can:
- Create a consistent look and feel for your email campaigns by using them as headers and footers.
- Distribute the same offer codes through different channels.
- Create pre-defined assets that can be used to build messages with consistent information and assets.
- Copy entire message bodies to other messages.
Create a Content Block
There are two types of editors used to create a Content Block—classic and drag-and-drop. These two types of editors correspond to the type of Content Block: HTML and drag-and-drop. You can also create and manage your Content Blocks via API.
- Go to Templates > Content Blocks. Click Create Content Block and select Drag-and-drop Content Block.
If you are using the older navigation, this page is located at Engagement > Templates & Media > Content Block Library.
- Drag and drop the editor blocks to build a drag-and-drop Content Block.
- Drag and drop a format block from the Rows tab into the editor to create the layout of your Content Block.
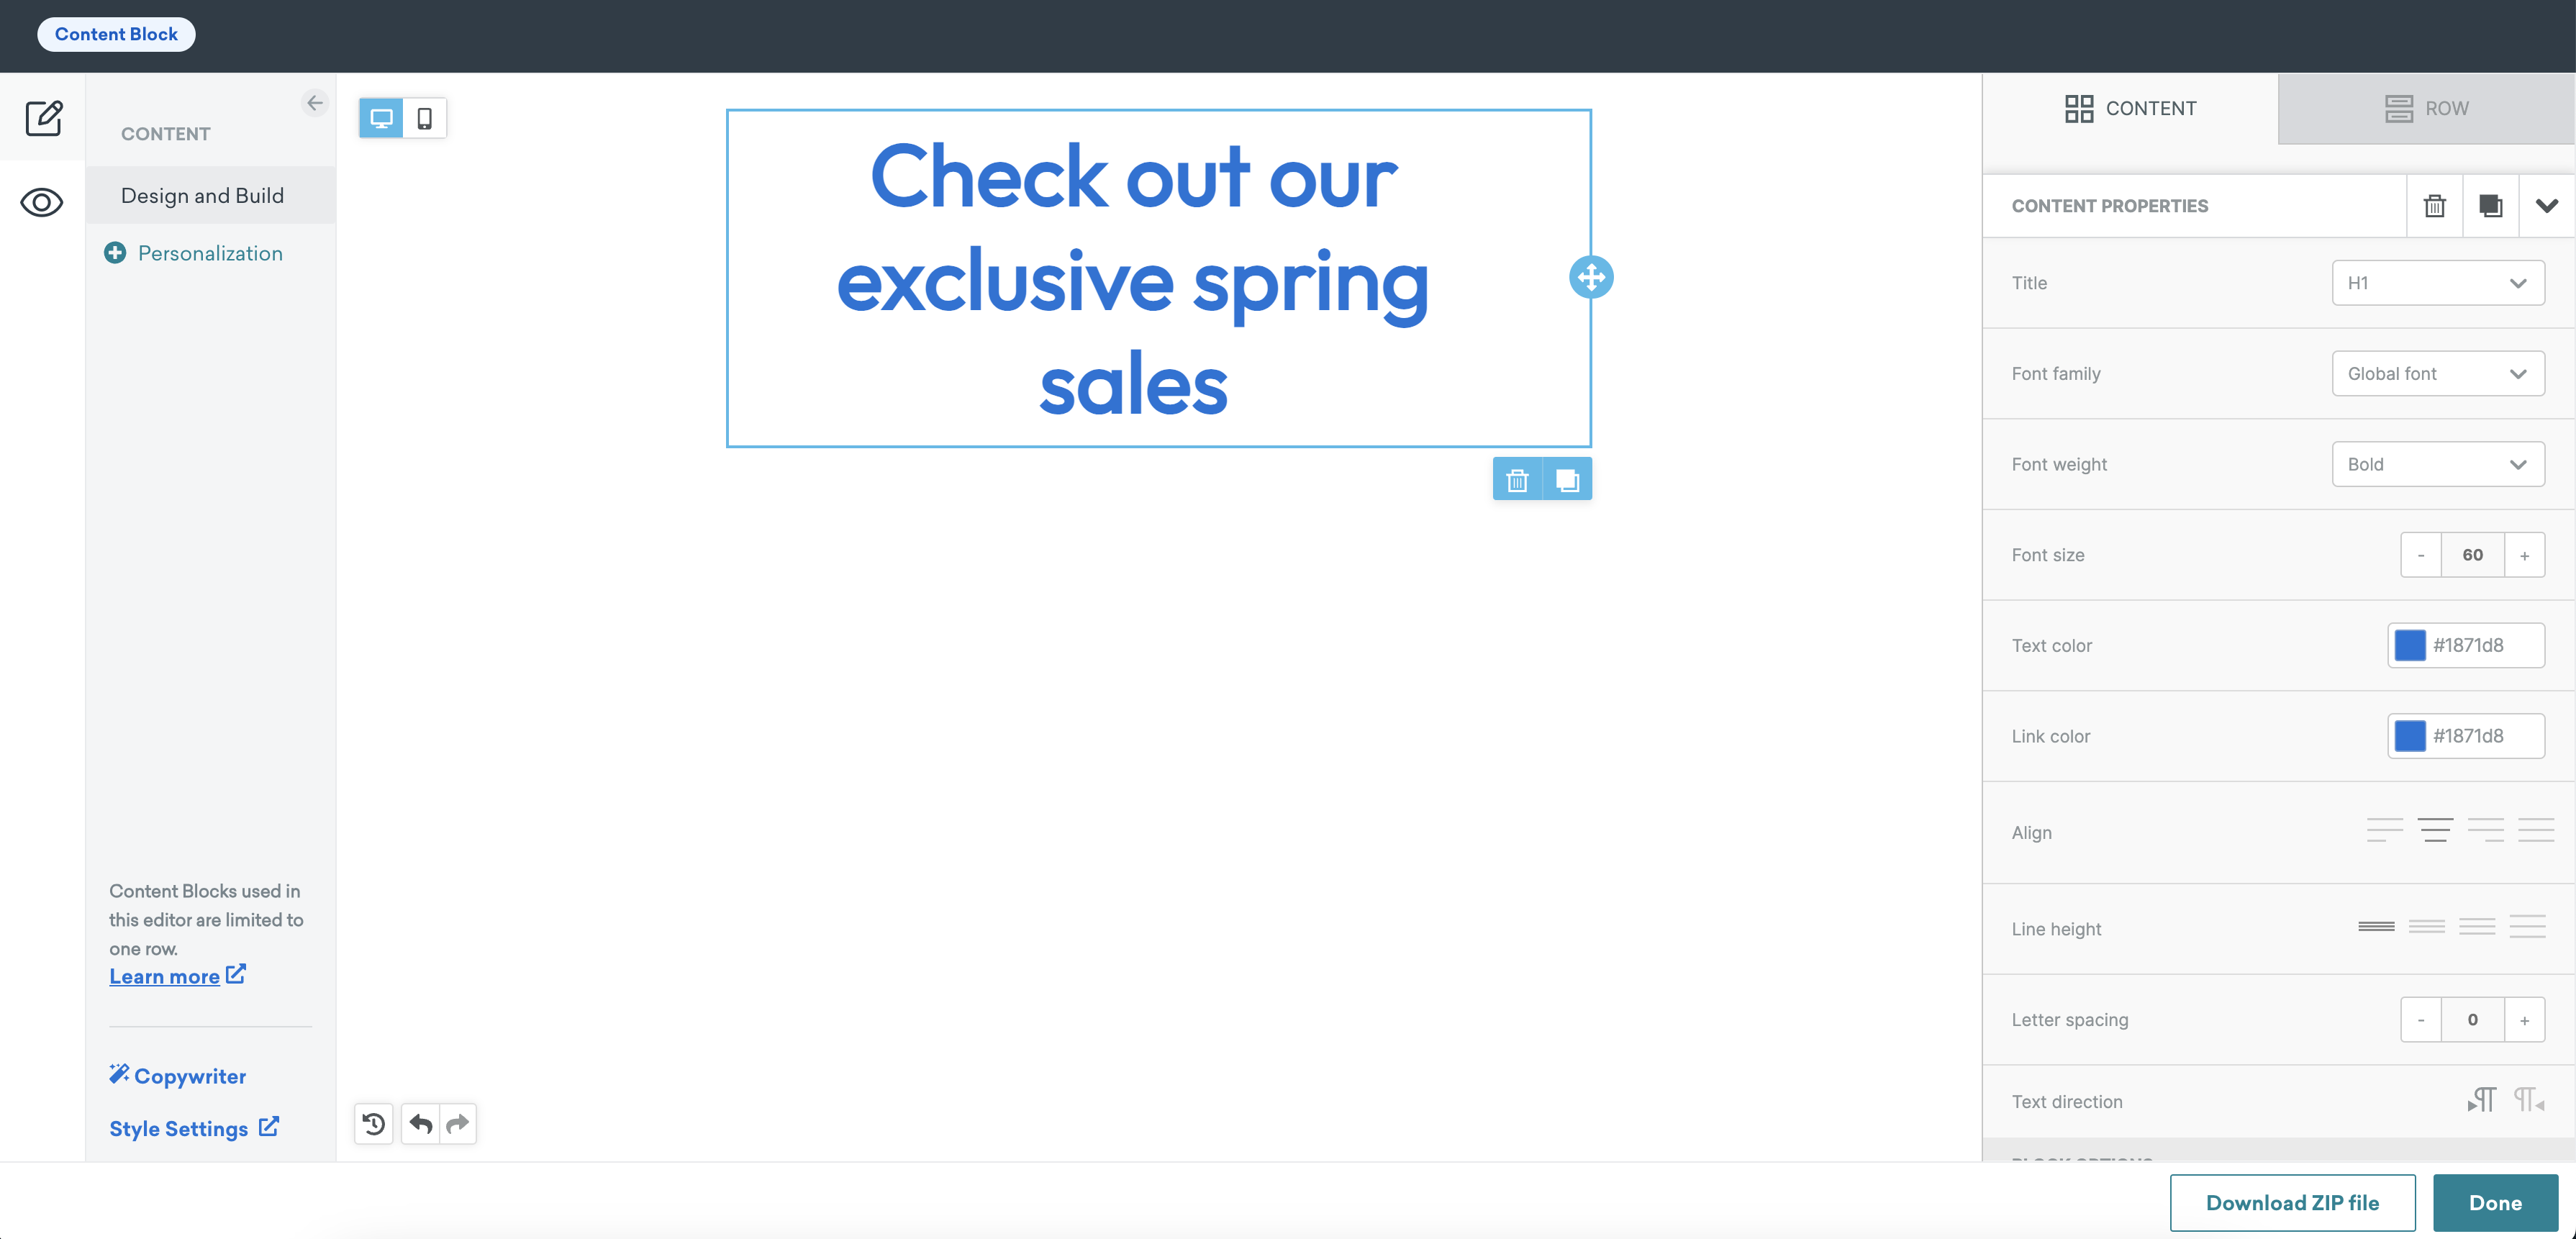
- Add drag-and-drop Content Blocks as needed to build out your email campaigns.
- After creating your Content Block, click Done.
- Give your Content Block a name. This name will auto-populate as part of the Content Block Liquid Tag.
- (optional) Add a description.
- Click Launch Content Block.
- Go to Templates > Content Blocks. Click Create Content Block and select Drag-and-drop Content Block.
If you are using the older navigation, this page is located at Engagement > Templates & Media > Content Block Library.
- Enter your HTML in the HTML tab, or build your Content Block in the Classic tab.
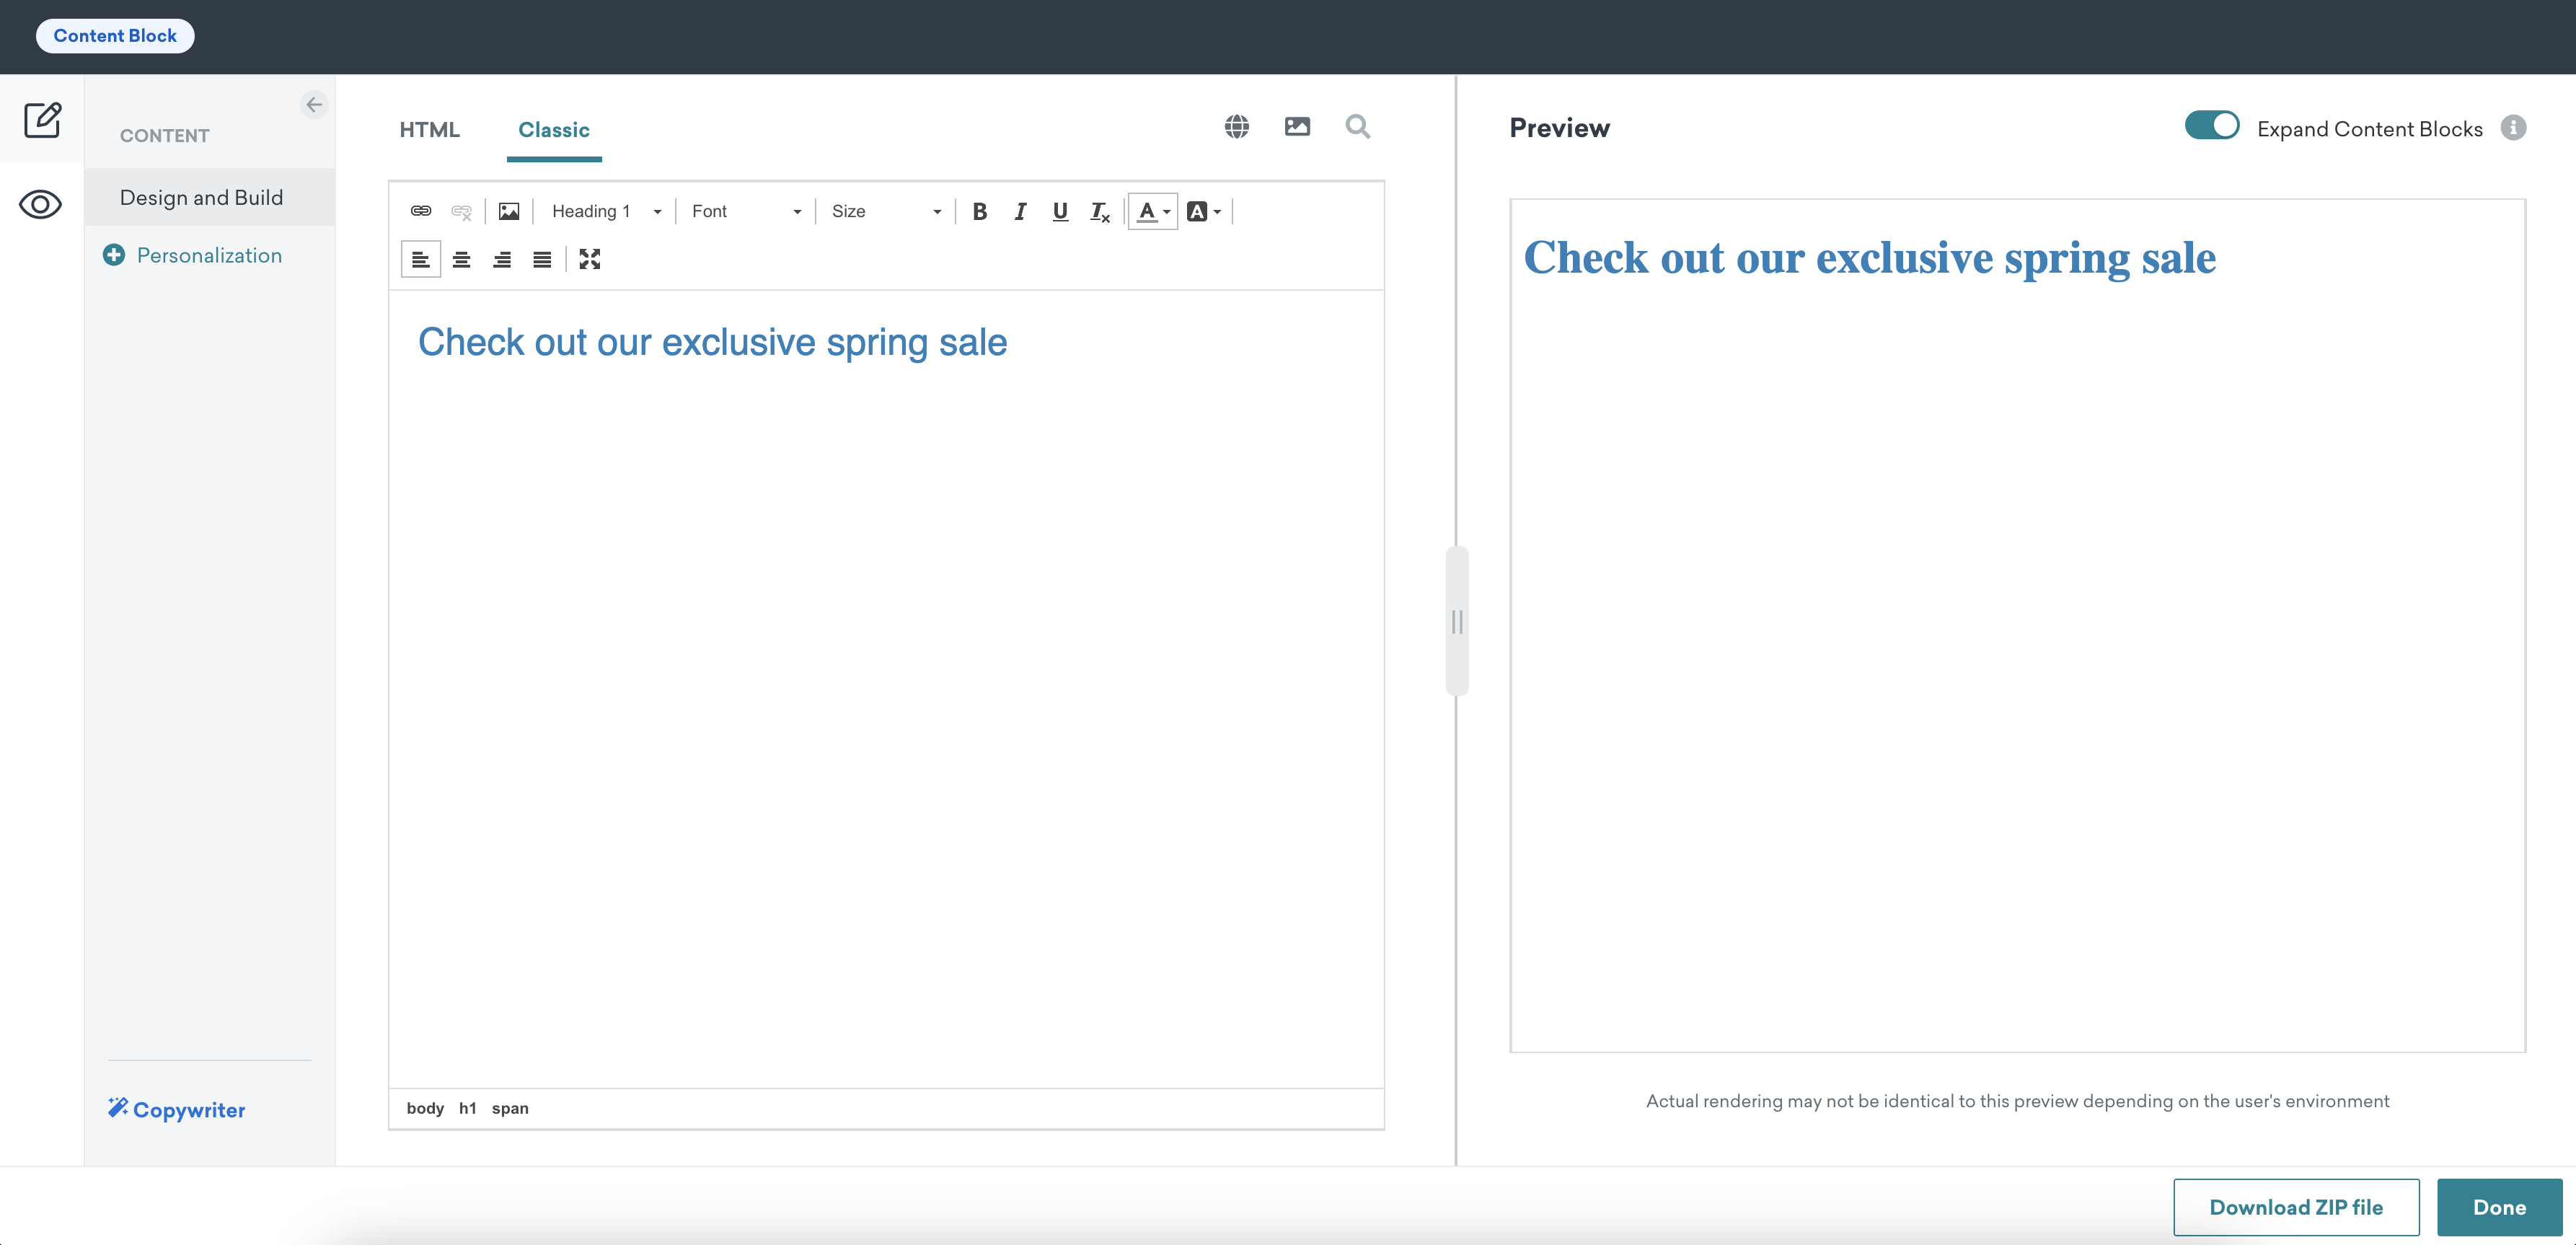
- After creating your Content Block, click Done.
- Enter a name for your Content Block. This name will auto-populate as part of the Content Block Liquid Tag.
- (optional) Add a description.
- Click Launch Content Block.
Content Block specifications
| Content Block Attribute | Specifications |
|---|---|
| Name | Required field with a maximum of 100 characters. It cannot be renamed after the Content Block has been saved. Additionally, you cannot name a new Content Block the same name as a previous Content Block, even if the previous one has been archived. |
| Description | (optional) Maximum of 250 characters. Provide a description of the Content Block so that other Braze users will know what it’s for and where it’s used. |
| Content Size | Maximum of 50kB (kilobyte). |
| Placement | Content Blocks cannot be used within an email footer. |
| Creation | HTML editor or drag-and-drop editor. |
When creating Content Blocks, it sometimes helps to visualize HTML and Liquid by adding line breaks. If these line breaks are left in during sending, you risk having extraneous spaces that can affect how the block will render. To avoid this, utilize the Capture tag on your block along with the | strip filter.
1
2
3
{% capture your_variable %}
{{content_blocks.${your_content_block}}}
{% endcapture %}{{your_variable | strip}}
Using Content Blocks
After creating your Content Block, you can insert it in your messages by following these steps:
- Copy the Content Block Liquid Tag from the Content Block Details section.
- Insert the Content Block Liquid tag into the message. You can also begin typing the Liquid and have the tag auto-populate.
Updating and copying Content Blocks
If you choose to update a Content Block, it will update in all messages the Content Block is used if it is inserted via Liquid. If the Content Block is imported using Content Blocks dropdown under Rows in the drag-and-drop editor, it won’t be updated in all messages.
If you want to update a Content Block for a single message or make a copy to use in other messages, you can either copy the HTML from the original message to your new one or edit the original Content Block (it must have been used in a message already) and save it. You will get a prompt that allows you to save it as a new Content Block.
After making edits to a Content Block, you can save and launch the updated Content Block by clicking Launch Content Block. Or, you can select More > Duplicate to create a duplicate of your Content Block.
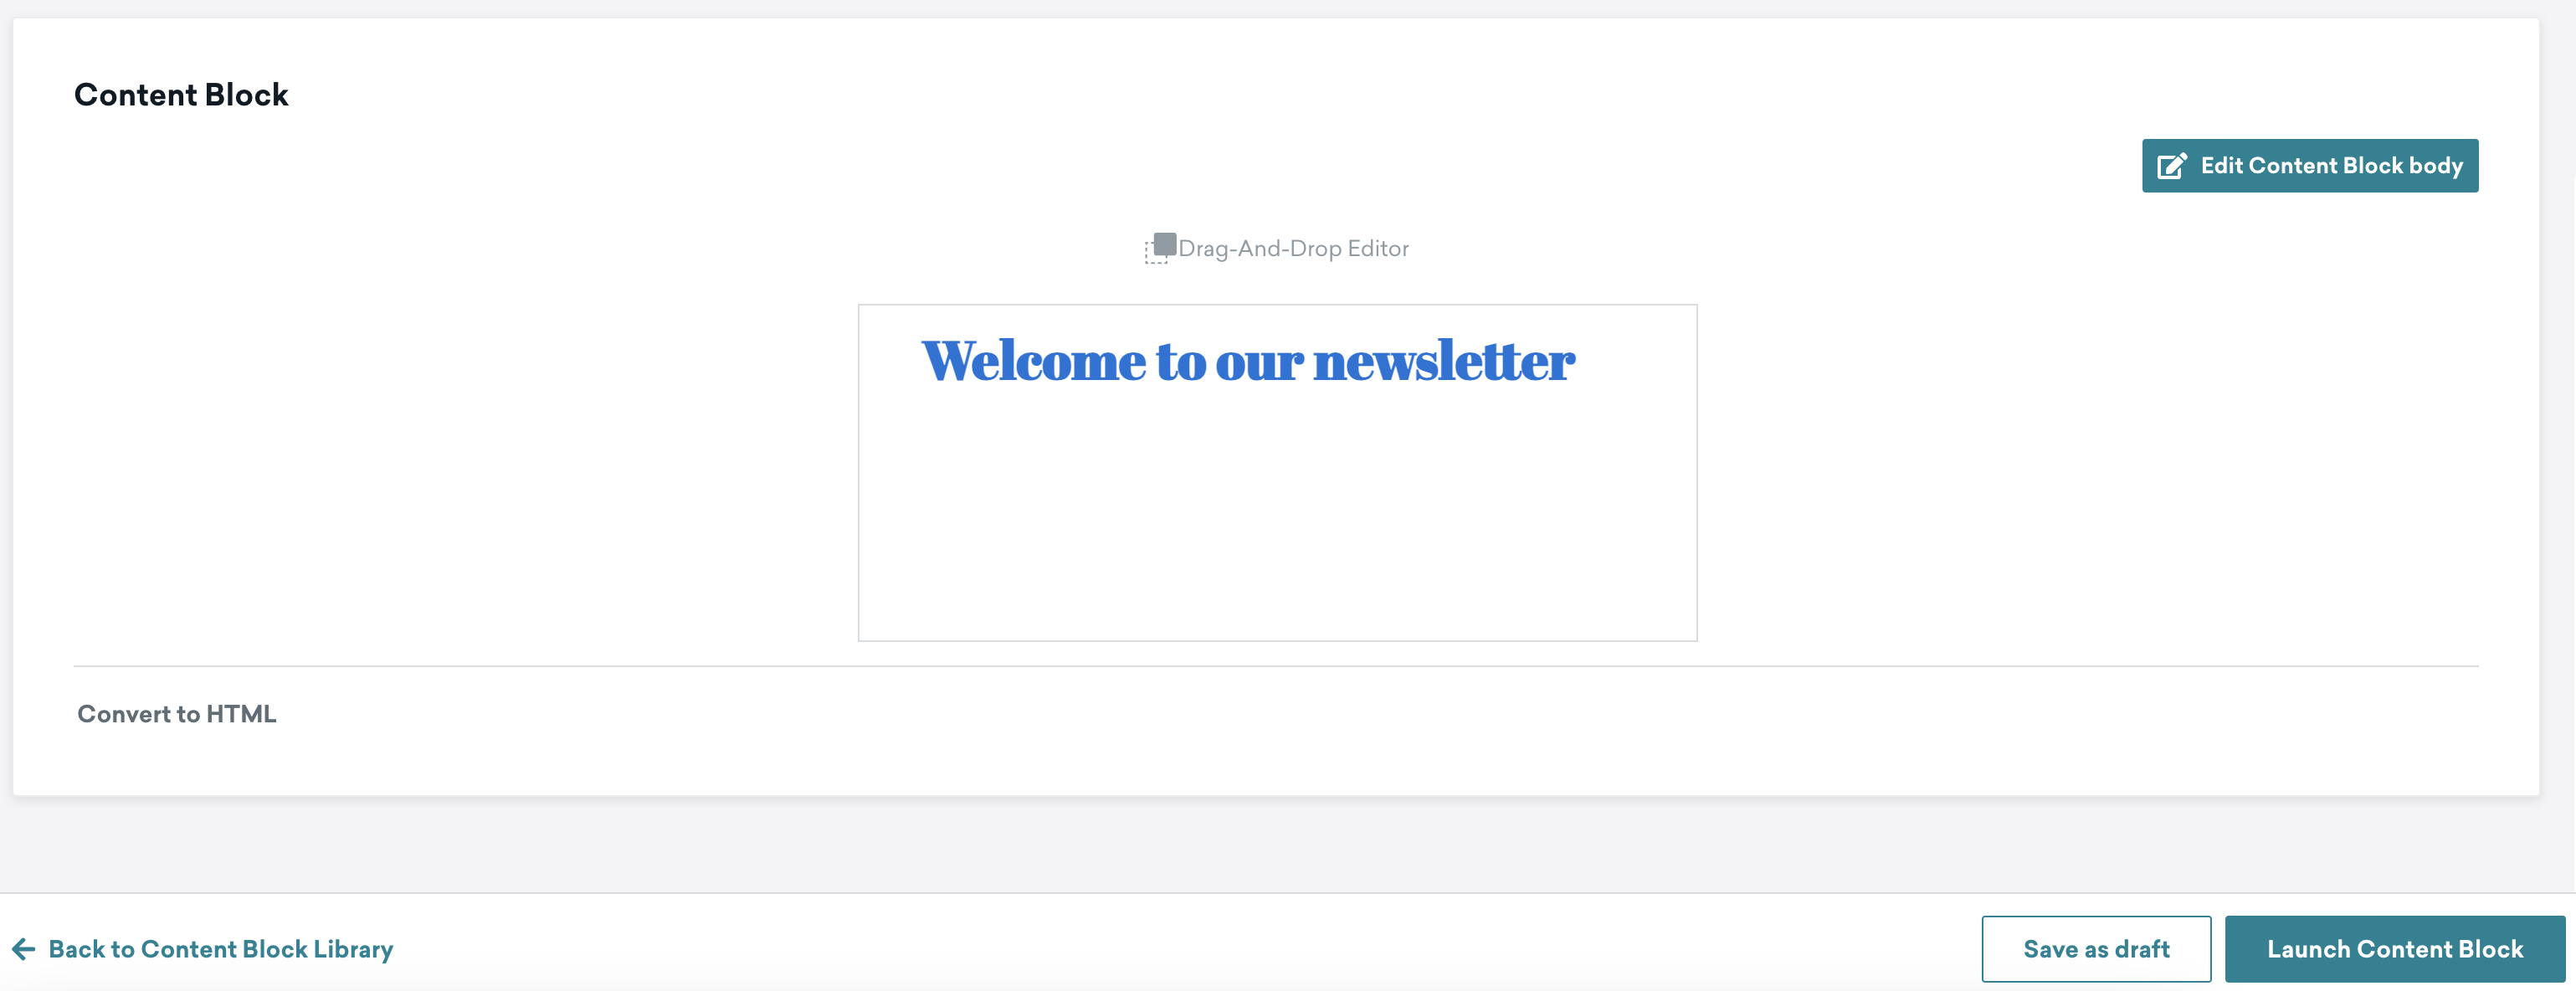
You can also duplicate a Content Block. This creates a draft copy of the Content Block.
Previewing Content Blocks
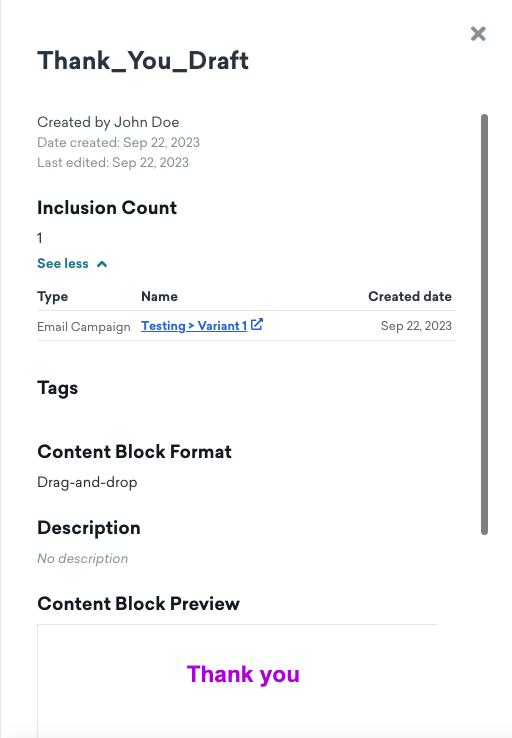
After adding a Content Block in an active campaign or Canvas, you can preview this Content Block from the Content Blocks Library by hovering over the Content Block and selecting the Preview icon.
Nesting Content Blocks
Content Blocks can be nested, but only once. You can nest Content Block A into Content Block B, but you will not be able to then nest Content Block B into Content Block C.
Nothing will prevent you from nesting a third level of Content Block, but you will not see the content expand in nests beyond the second. The content and the Liquid snippet are removed from the message.
Additionally, Content Blocks cannot be used within an email footer, though email footers can be used within Content Blocks.
Archiving Content Blocks
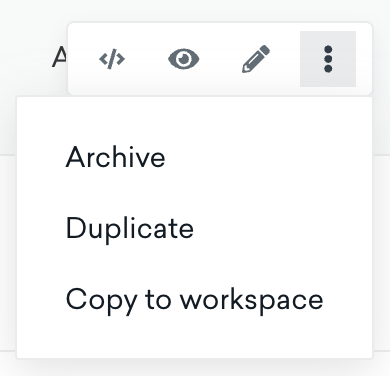
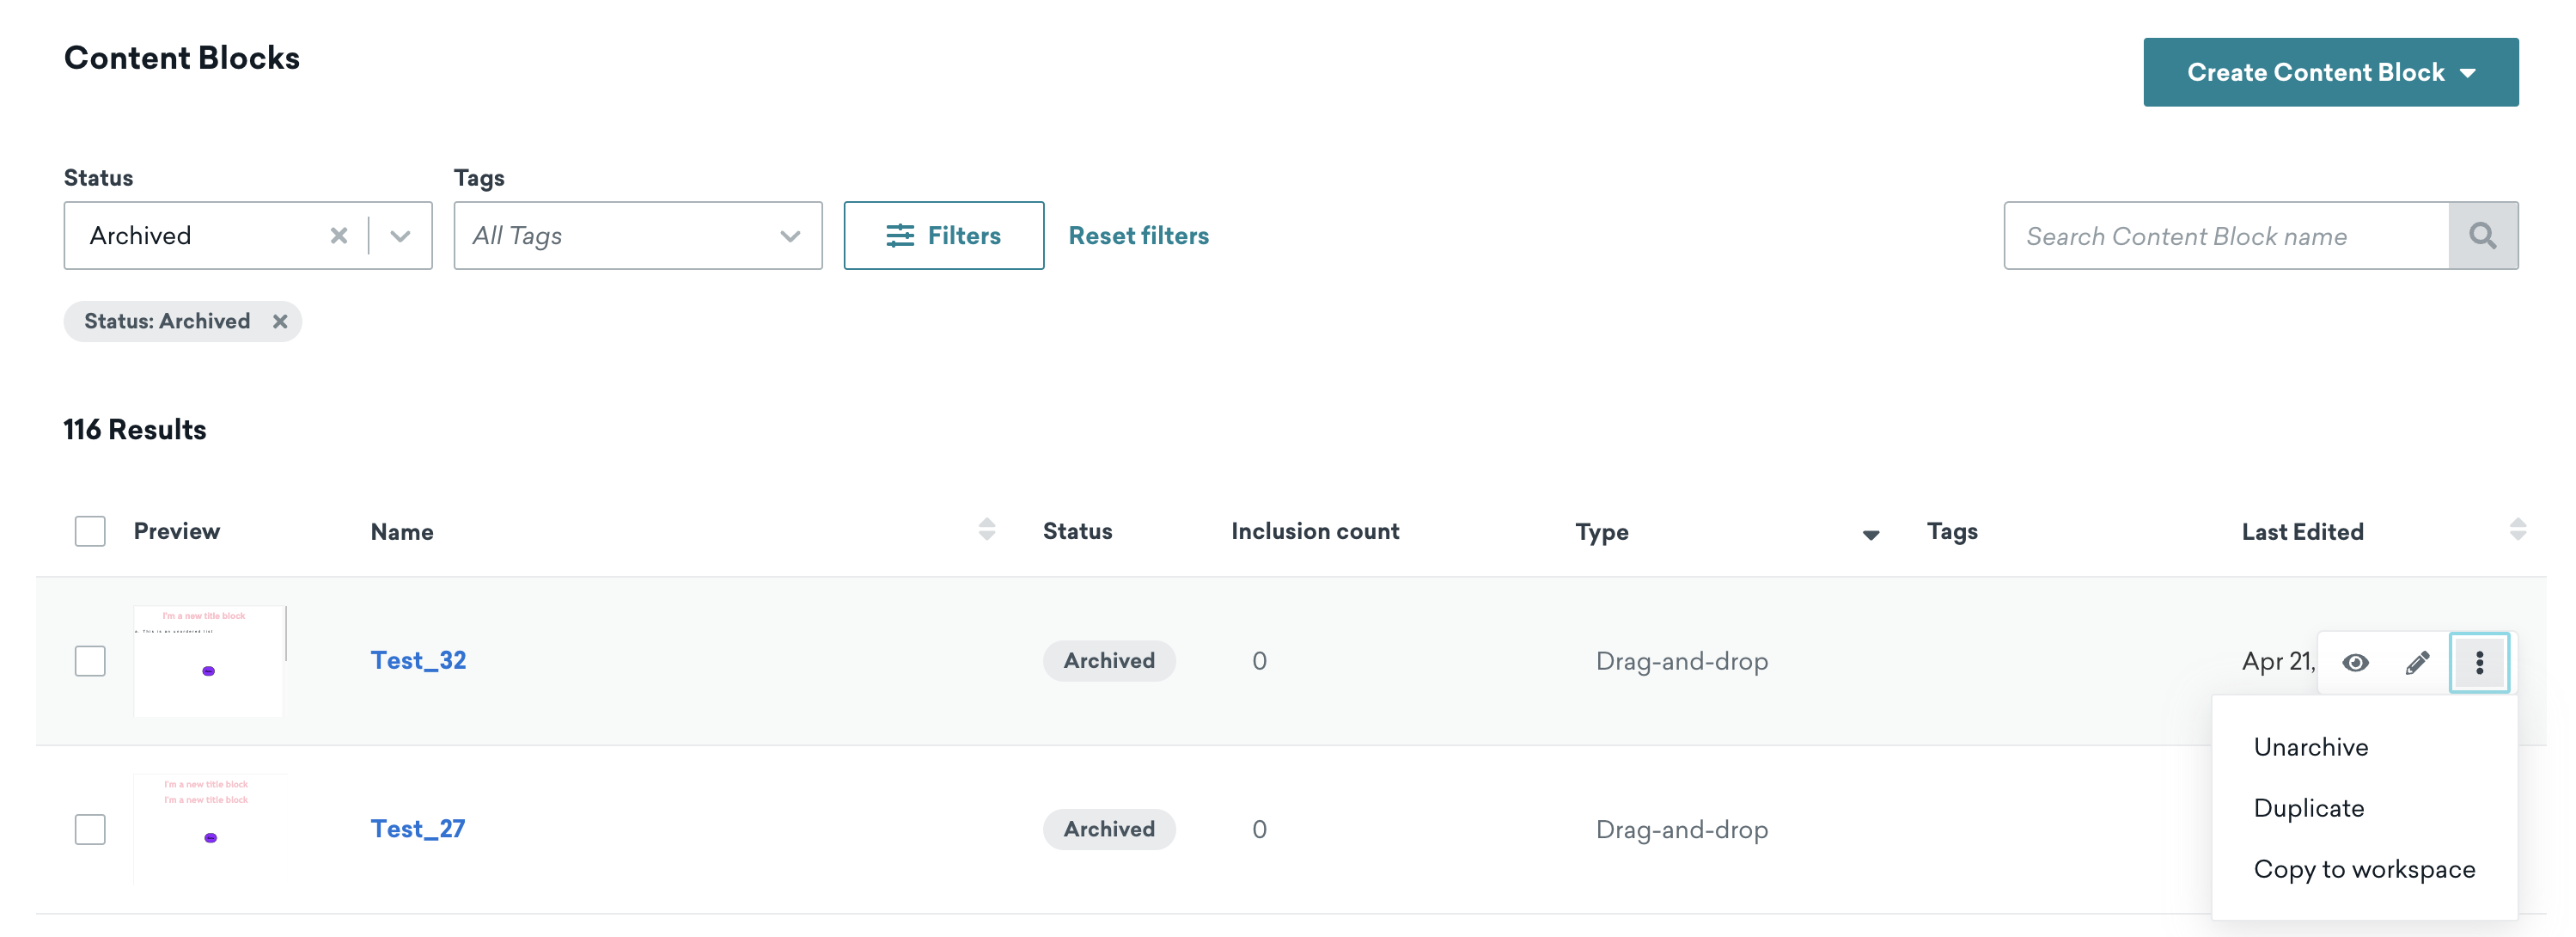
Once you have finished using a Content Block, you can archive it from the Templates & Media page. Archived Content Blocks are read-only, so unarchive the Content Block before editing. Content Blocks cannot be archived if they’re used in any messages.
Best practices
- When your block is only used in a few emails, we recommend archiving the outdated block and updating your live messages with a newer block that has not been archived.
- When your block only has a typo or needs a minor change, we do not recommend archiving the block. Just update and get sending!
- When your block is used in more messages than you can reasonably manage with the first suggestion in this list, we recommend removing all content from the block and then archiving it. This will ensure no outdated information is included in any newly sent emails.
- If you accidentally archive a Content Block, you can unarchive it.
 Edit this page on GitHub