Sending test Canvases
After creating your Canvas, there are several checks you may want to perform before launching, depending on details such as your audience size or number of segmentation filters.
When possible, Braze recommends testing a Canvas before launching. This test will typically take place in your Braze environment. Testing your Canvas can involve duplicating it, taking test users through the user journey, and checking if the user behavior aligns with what you have outlined in your Canvas.
Step 1: Create your test plan
Creating a test plan is essential before you begin testing your Canvas. A test plan can help identify and track specific areas of your Canvas journey.
As you build your testing plan, consider the following questions:
- Has at least one user been created for each Canvas branch and path?
- Are any segments being used in your Canvas?
- If segments are used, there may be prerequisites for a user to fall into the Canvas before they’re eligible for a user journey.
- Do the messages in the test Canvas have any Liquid in the message titles that pull into the user ID or email address to ensure they are easy to identify both the message and user for testing purposes?
Step 2: Identify test users
Next, identify a set of test users that will go through the Canvas steps without actually sending messages to your intended users. Test users can be either existing email addresses that aren’t used for actual services on your Braze dashboard, or new email addresses that are used exclusively for testing purposes.
Step 3: Set up your Canvas
Next, it’s time to test your Canvas! To keep your original Canvas and test Canvas information organized, create a duplicate of your Canvas for testing purposes.

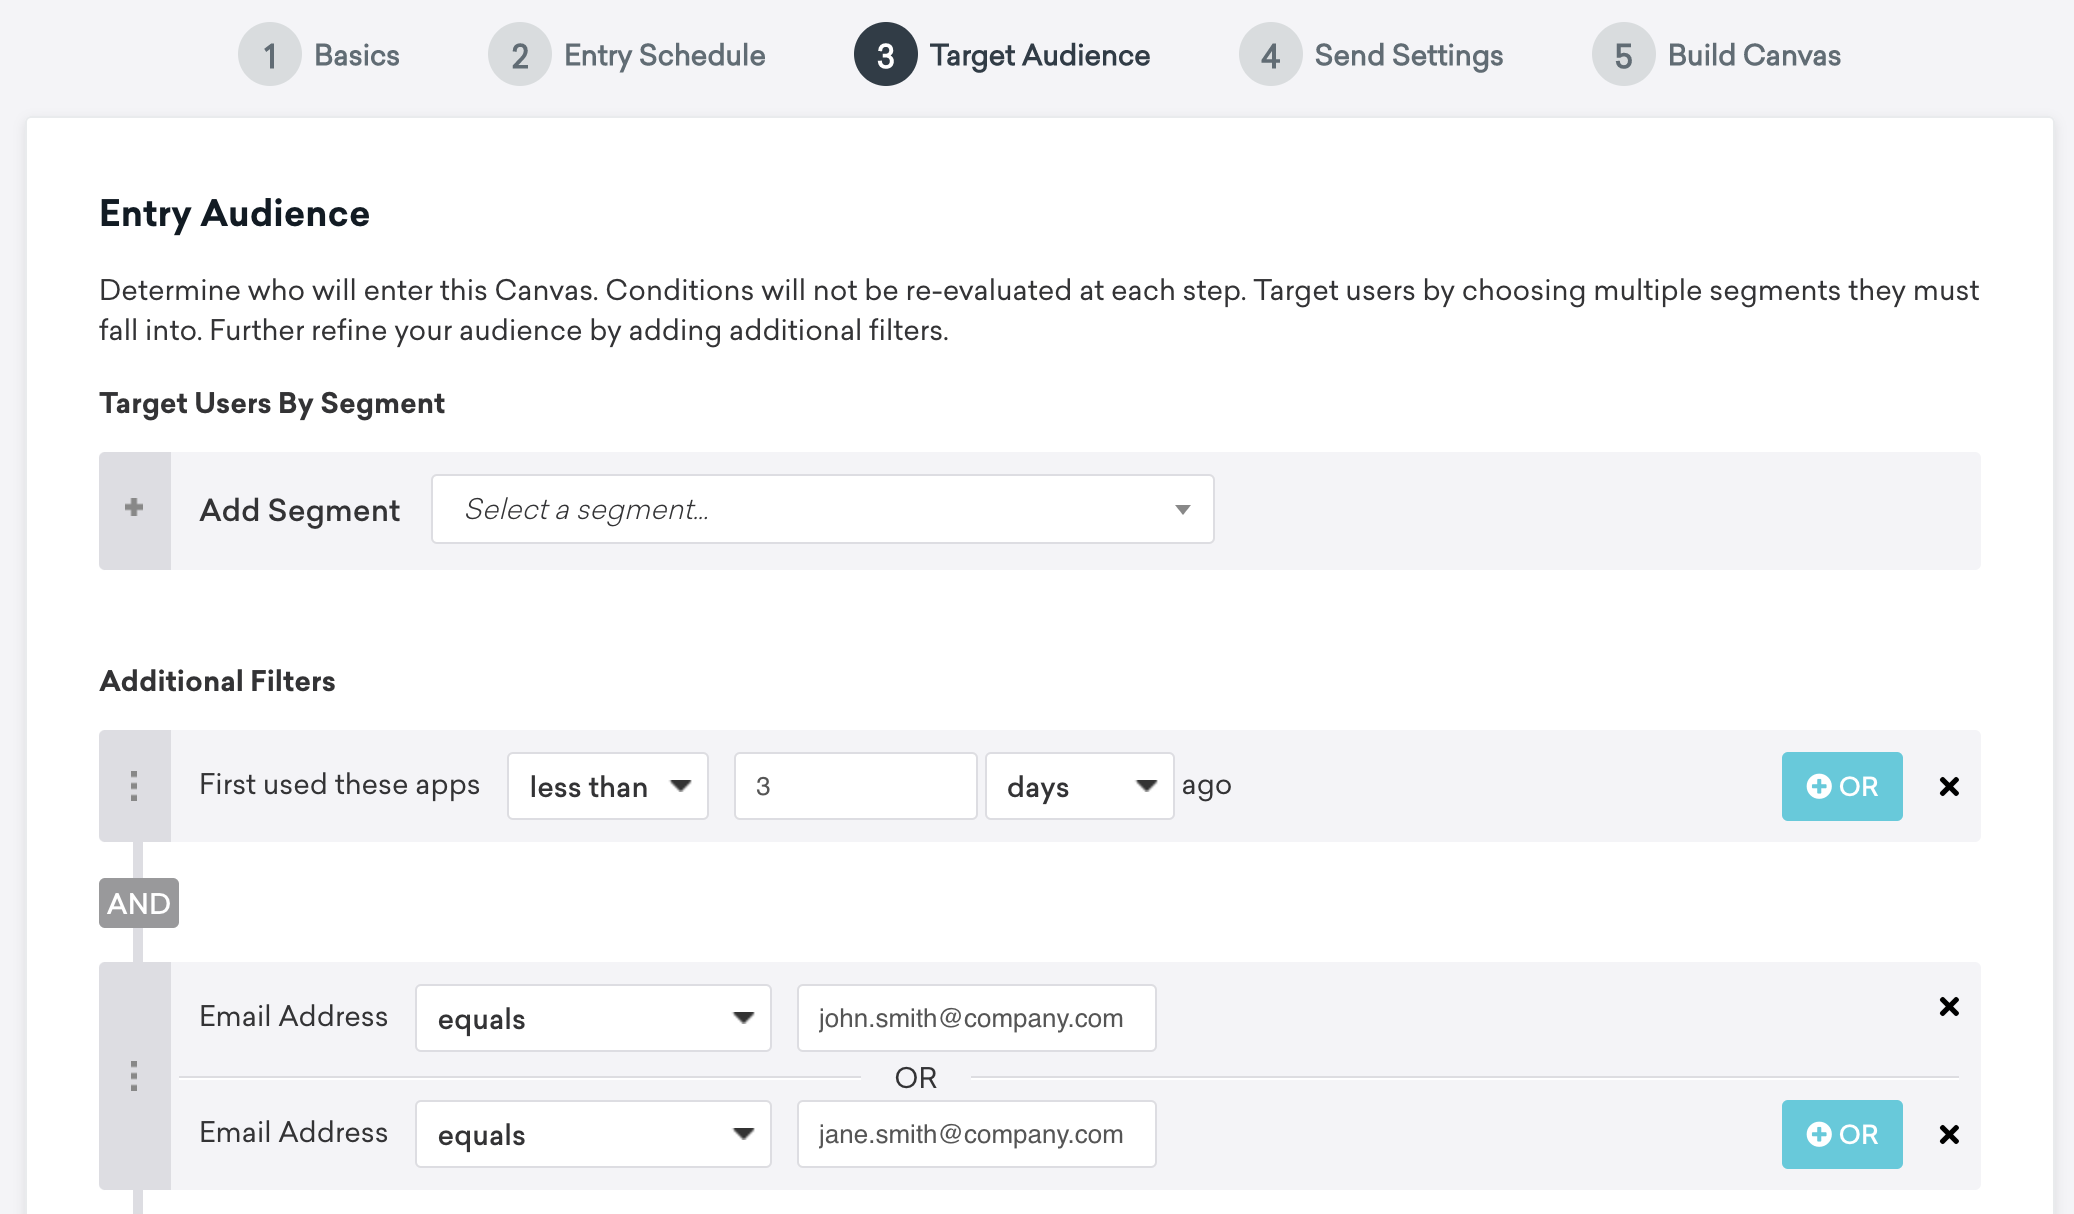
In this duplicated Canvas, edit the Entry Audience portion of the Canvas builder so that only test users are eligible for the Canvas. You can also enter your own email address as a test user by adding the Email Address testing filter.
In the example below, we’ve limited the Canvas to two test users that have first used the app less than three days ago.
Step 4: Launch your test
Launch your test Canvas to allow users to start entering. Next, complete the user behaviors on your application that would send users through the respective Canvas journey.
Verify that your test users are receiving the intended messages from your Canvas steps. Note that your test users may not receive a message due to reasons not limited to:
- Not eligible for the global control group
- Frequency capping limitations
- Mismatched segment membership
- Aborted messages
- Push tokens associated with different users
Continue to iterate Canvas testing to make sure your Canvas performs as intended.
General tips
Identify your Canvas steps
In some cases, a user can potentially receive multiple messages when going through a Canvas. If the delay between steps has been reduced significantly for testing, it may not always be clear which message is being triggered during testing. Ensuring that the test messages including the step name or the user ID (using Liquid) will make it easier to identify and confirm if the correct message has been sent to the correct users.
Create an Internal Group
Instead of creating individual test users, you can create a Content Test Group, which is an Internal Group whose purpose is to review the content of your message. This includes a group of users that will receive test messages from campaigns and Canvases. Then, you can add this test group into the Add Content Test Groups field under Test Recipients.
Reduce time delays
To help run tests more efficiently, we suggest reducing time delays to minutes or seconds for testing purposes so you can view messages in a timely manner. For example, allow at least 2-3 minutes between tests to be able to isolation specific actions to specific Canvas journeys.
Leverage Content Blocks
If any content is going to be repeated in your testing framework (for example, complex Liquid to filter users into different Canvas steps), try saving this repeated content as a Content Block. Now, you’ll be able to include the Content Block throughout the individual Canvas steps.
Use Postman and the Track user endpoint
You can run tests with Postman and the Braze Postman Collection. Use the /users/track endpoint to record and track custom events and purchases for your various test users.
Note that sending data to the user track API can only be done with an external ID. So, test users may need to be added as test users within an internal group in the Braze dashboard so specific errors can be further investigated.
Testing for multiple branches
When you’re testing a Canvas with multiple branches that target users based on different attributes and events, follow this testing plan:
- For each branch, identify the attributes and events that the user must have to be included in the Canvas journey.
- Build those into JSON payload to be posted using the
/users/trackendpoint.
 Edit this page on GitHub