Create an email preference center with drag-and-drop
With the drag-and-drop, you can now create and customize a preference center to help manage which users receive certain types of communication.
Step 1: Create an email preference center
Create a preference center by navigating to Audience > Subscriptions > Email Preference Center.
If you are using the older navigation, go to Users > Subscription Groups > Email Preference Center.
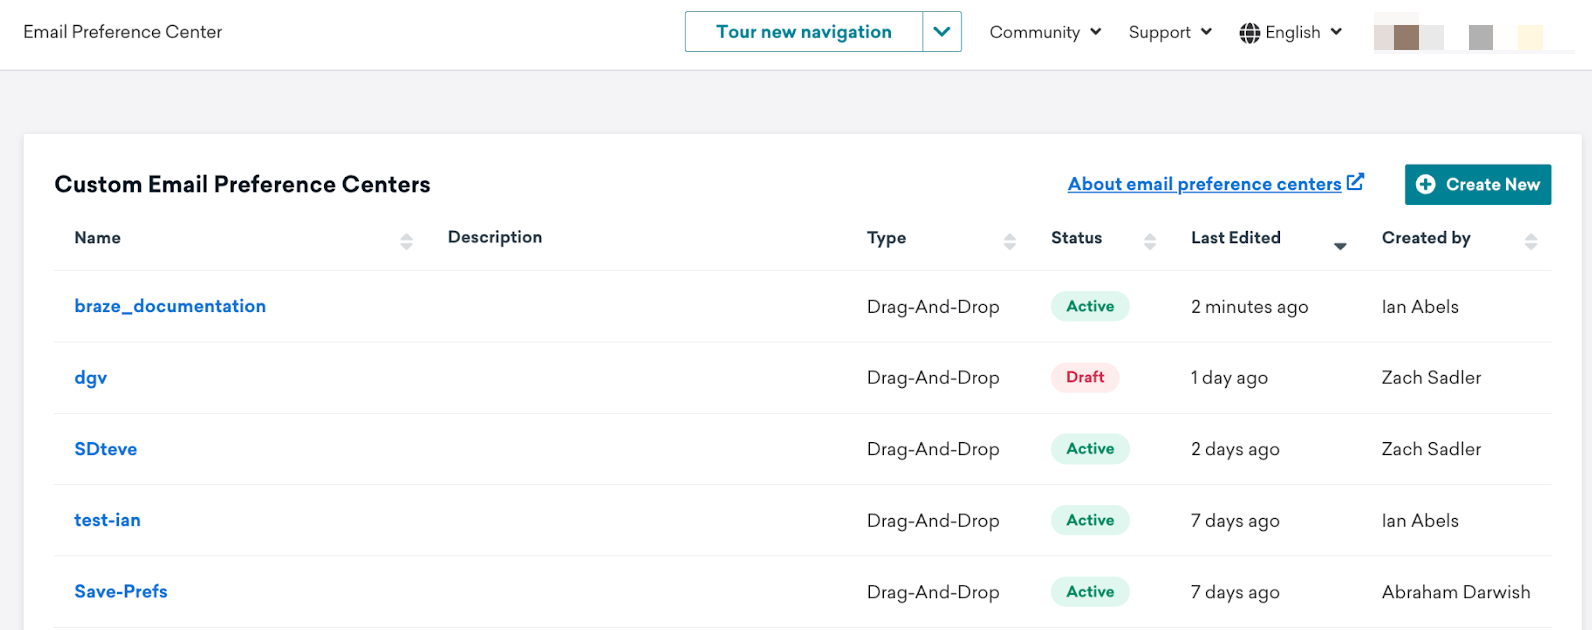
Here, a list of custom preference centers will be displayed. Click Create New to create a new preference center, or click the name of an existing one to make changes.
Step 2: Name the email preference center
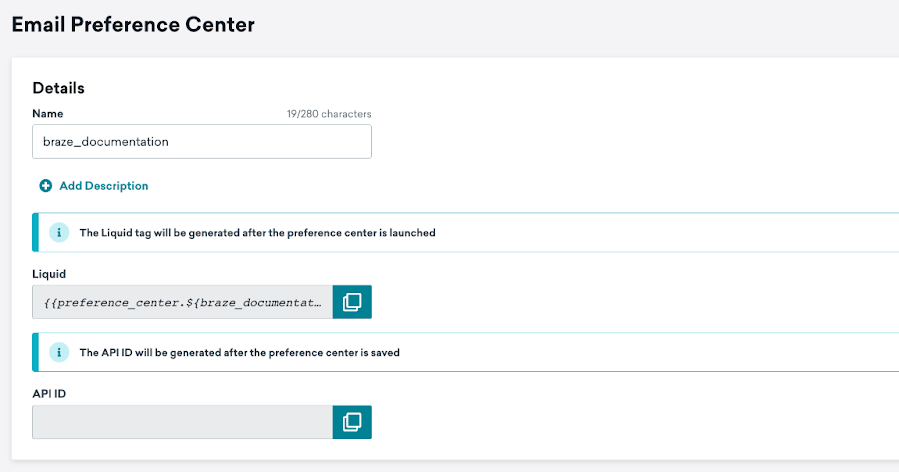
Preference center names can only contain alphanumeric characters, dashes, or underscores. The name you provide will determine the syntax of the generated Liquid tag.
This Liquid tag can be included in any outbound email campaigns or Canvas steps and will direct users to the preference center.
Step 3: Add subscription groups to the preference center
Click Launch Editor to begin designing your preference center in the drag-and-drop editor.
Define available subscription groups
To determine which subscription groups should be shown in the preference center, click the + Add subscription groups button to launch a modal where desired subscription groups can be selected. After selecting, click the Add Subscription Groups button to add them to the preference center.
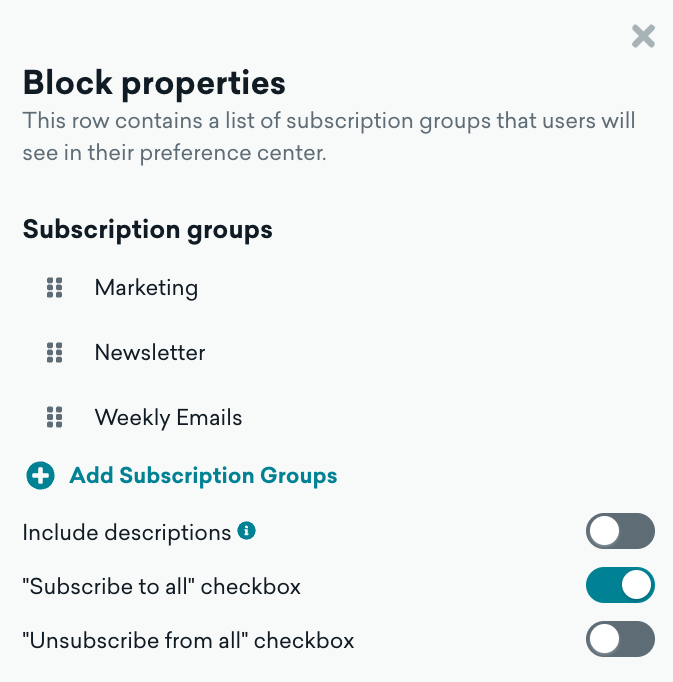
You can further configure the selected subscription groups by clicking on the smart block and adjusting the block properties.
- Adjust the order that subscription groups appear
- Add or remove additional subscription groups
- Include descriptions
- Add or remove a Subscribe to all checkbox which will subscribe the user to all subscription groups shown in this block
- Add or remove an Unsubscribe from all checkbox which will unsubscribe the user from all subscription groups shown in this block
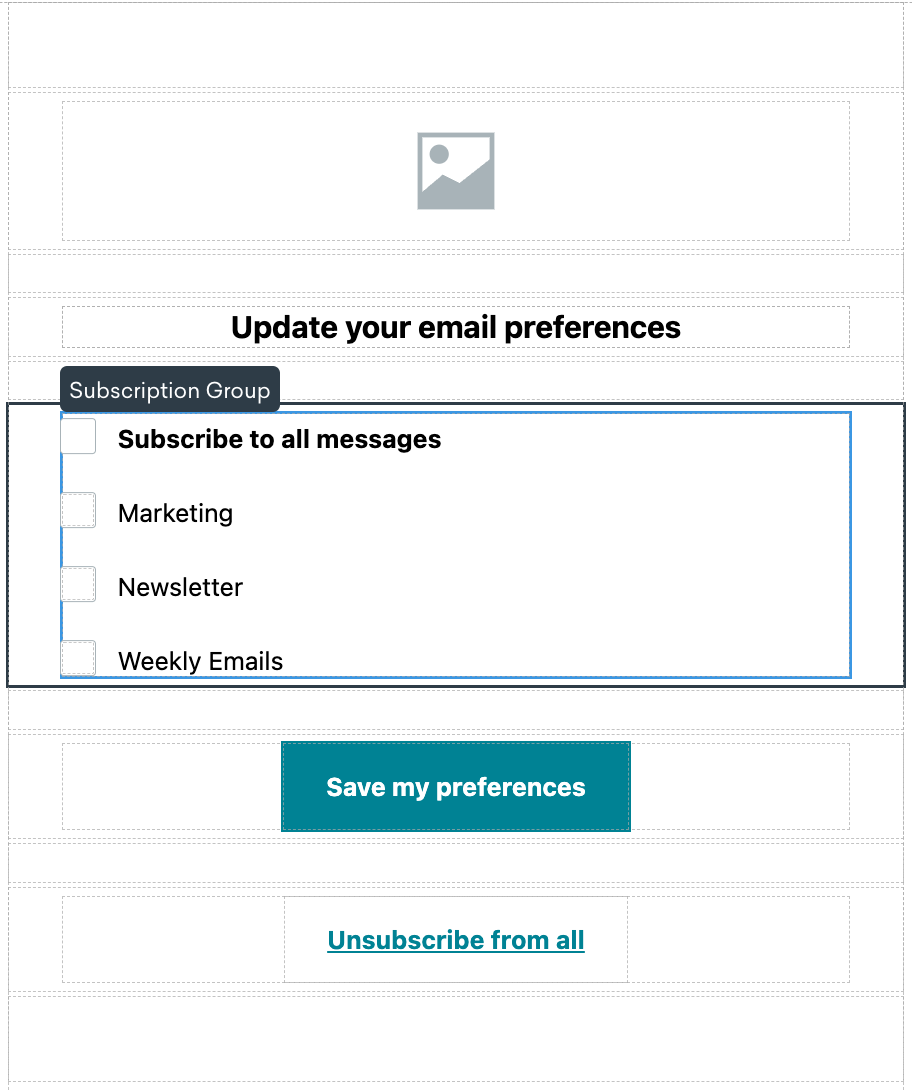
The Unsubscribe from all button at the bottom of the template is non-removable and will globally unsubscribe the user from receiving any email messages.
Step 4: Customize the preference center using the drag-and-drop editor
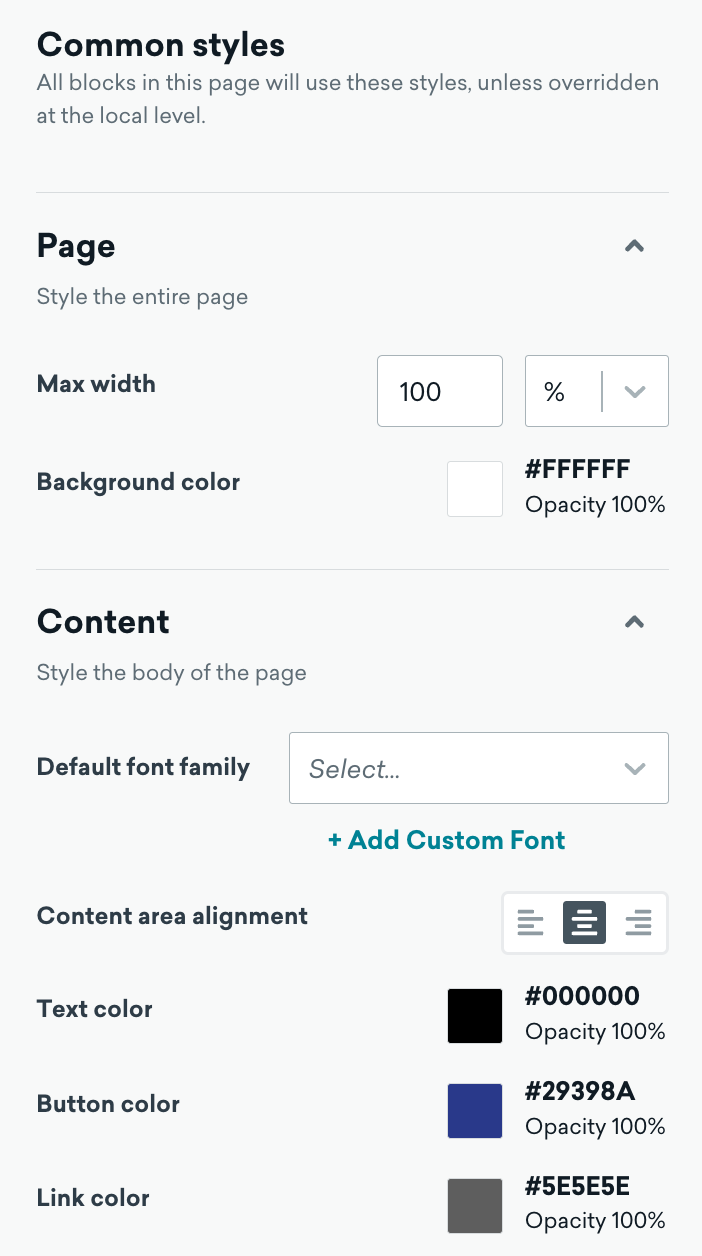
Set common styles
You can set certain styles to be applied across all relevant blocks in your preference center from the Common Styles tab. The styles set in this section are used everywhere in your message except where you override them for a specific block. For an easier design experience, we recommend setting up page-level styles before you customize styles at the block level.
To return to the common styles, click the “X” button on individual block properties. Next, select the message container, message “X” button, or editor background.
Drag and drop preference center components
The drag-and-drop editor uses two key components to make preference center composition quick and easy: rows and blocks. All blocks must be placed in a row.
Rows are structural units that define the horizontal composition of a section of the message by using cells.
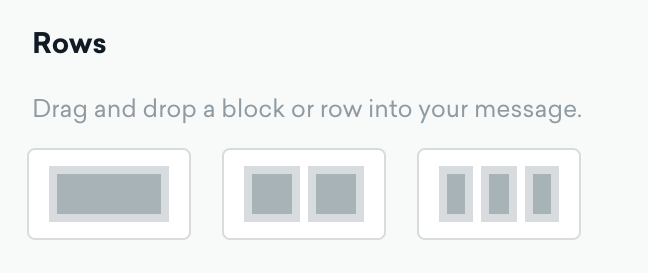
When a row is selected, you can add or remove the number of columns you need from the Column customization section to put different content elements side by side.
You can also slide to adjust the size of existing columns.
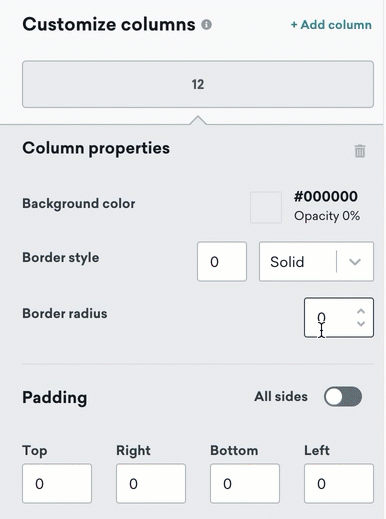
As a best practice, format your row and column properties before formatting any blocks inside the rows. You can adjust the spacing and alignment in many places, so starting from the foundation makes it easier to edit as you go.
Blocks represent different types of content you can use in your message. Simply drag one inside an existing row segment, which will auto-adjust to the cell width.
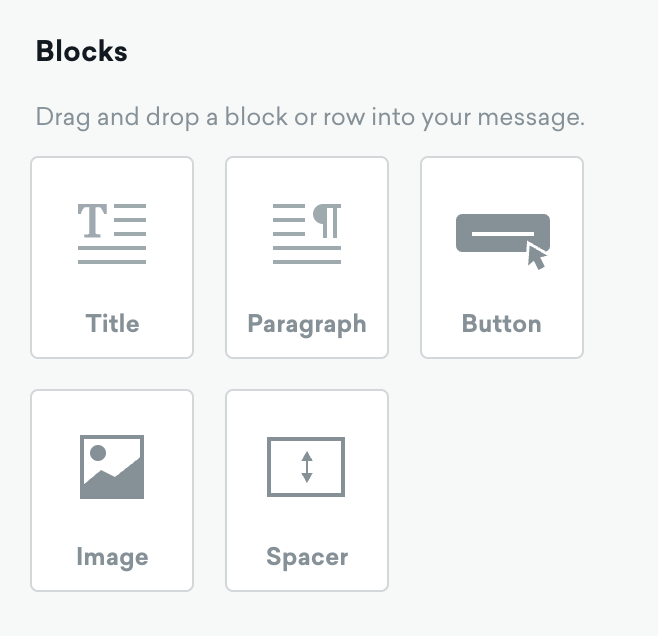
Every block has its own settings, such as granular control on padding. The right-side panel automatically switches to a styling panel for the selected content element. For more information, see Editor block properties.
If you’re using the Custom Code block in your preference center, inline frames may not generate in the custom code when delivered to your users.
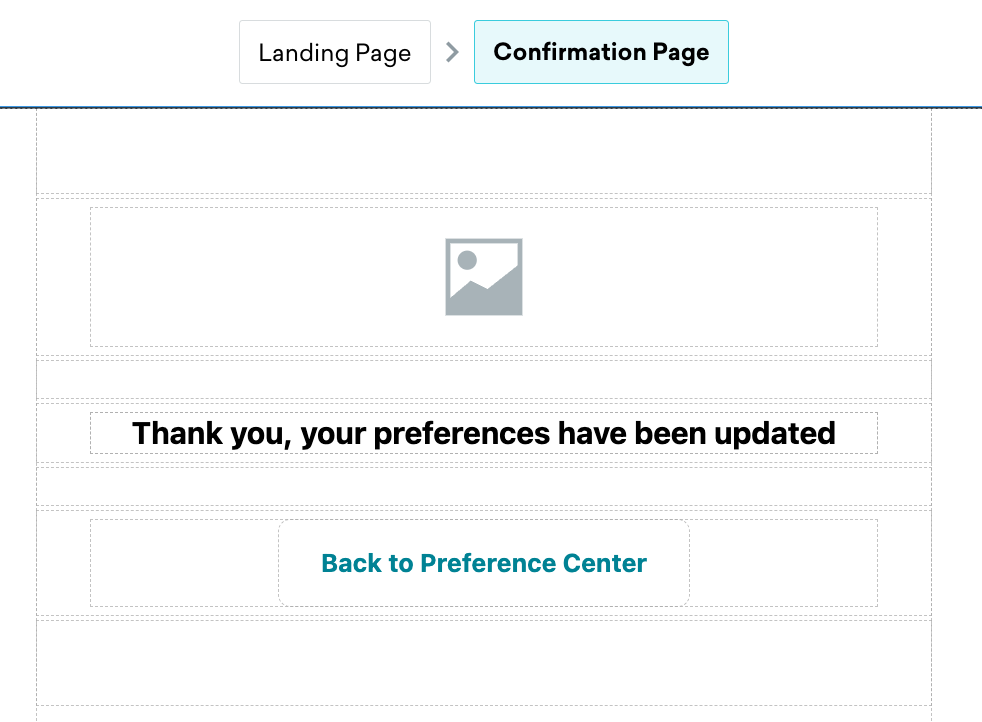
Step 5: Customize your confirmation page
Don’t forget to customize the confirmation page! You can edit this page by clicking on Confirmation Page at the top of the drag-and-drop editor window. This page will be displayed to users after updating their preferences using the preference center. The same styling capabilities above apply to this page as well.
Step 6: Preview and launch your preference center
You can preview your preference center by clicking the Preview tab within the editor. However, testing functionality is disabled. After editing your preference center, you can close the editor by clicking the Done button.
You will see a preview of both the preference center and the confirmation page. Click Save as Draft to return to this preference center later, or if you are satisfied, click Launch Preference Center.
When launching the preference center, you will be prompted to confirm the name, as it cannot be edited after launching. After you confirm the name, the preference center will be launched and ready for use.
Using the preference center
To place a link to the preference center in your emails, copy the Liquid tag of the desired preference center by clicking the Copy Liquid icon.
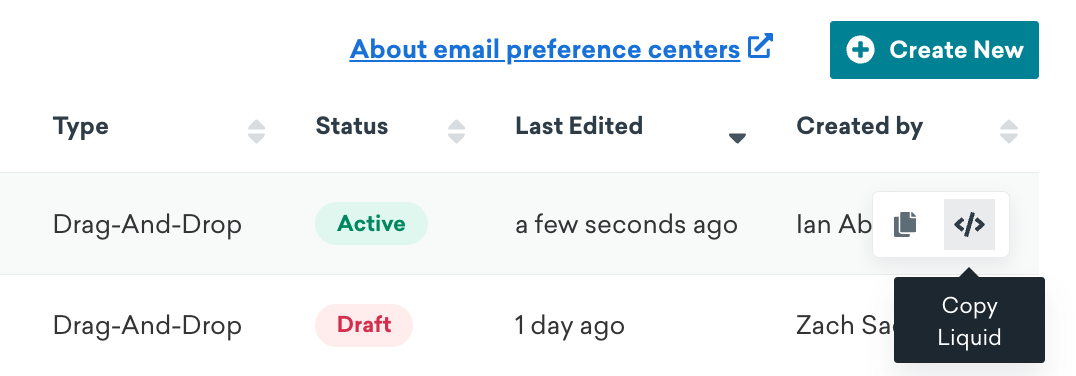
Add the Liquid tag to the desired place in your email, similar to how unsubscribe URLs are inserted.
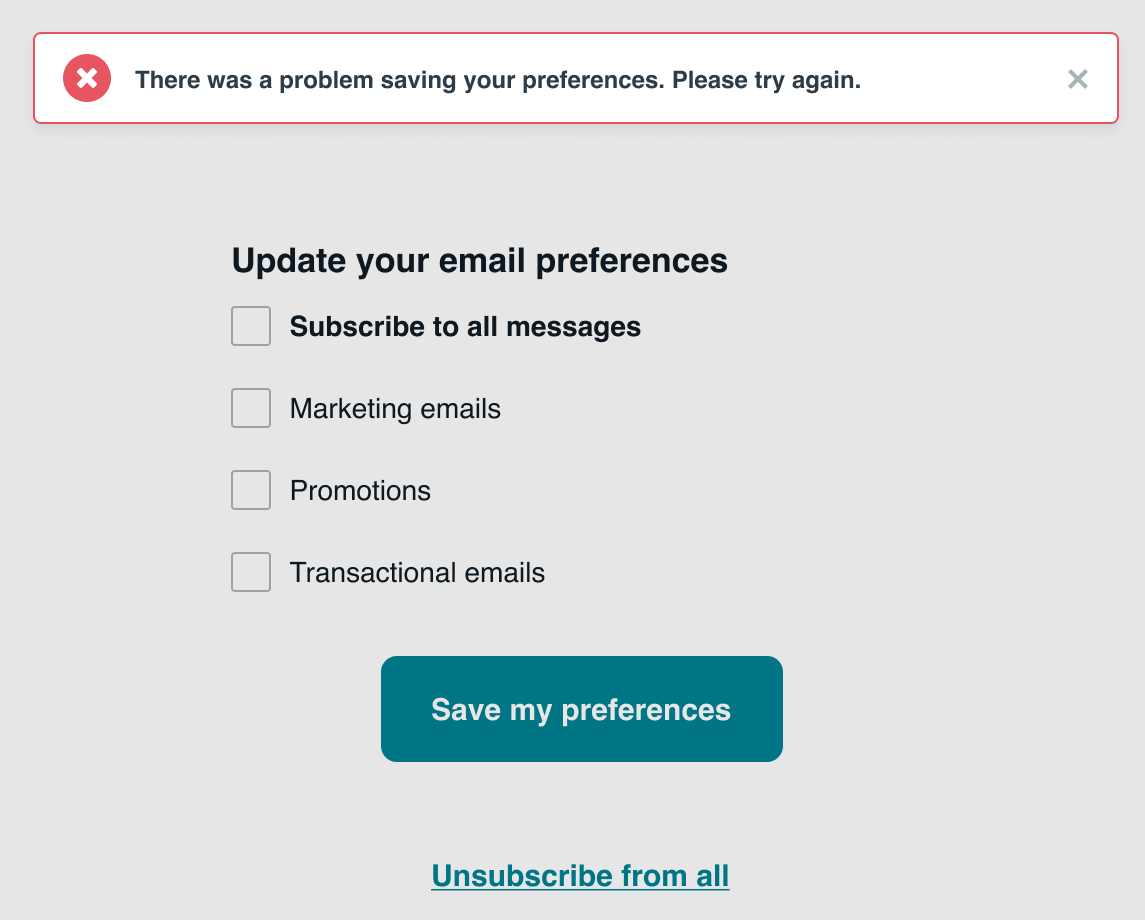
Handling errors
If an error occurs when a user clicks Save on a preference center, they will be presented with the following default error message, which cannot be customized or styled in the editor. However, localization of the error messages is still supported on these pages.
 Edit this page on GitHub