Campaign Connector
Campaign Connector allows you to create campaigns that are triggered when users interact with active campaigns. You can deliver targeted, relevant content at the right time.
How it works
This feature allows you to target users who complete the following interactions with active campaigns:
- View in-app message
- Click in-app message
- Click in-app message buttons
- Click email
- Click alias in email
- Open email
- Directly open push notification
- Click push notification button
- Click push story page
- Perform conversion event
- Receive email
- Receive SMS
- Click shortened SMS link
- Receive push notification
- Receive webhook
- Are enrolled in a control group
- View content card
- Click content card
- Dismiss content card
Campaign Connector triggers cannot be used to trigger in-app message campaigns. In-app messages can only be triggered by SDK events, such as custom events or session start. For more information, see Create an in-app message.
Delivery rules
Note that you can’t use Campaign Connector to send a message to a user after they have completed an interaction with a campaign. For example, if you’re running a marketing campaign for nine weeks and set up a follow-on campaign that uses Campaign Connector at the beginning of week four, the follow-on campaign will only deliver messages to users that interacted with the marketing campaign after the follow-on campaign was published (weeks 4-9). Therefore, in order to ensure that your follow-on campaigns reach every user that you are targeting, you should:
- Set up your original campaign as a draft
- Set up and publish your follow-on campaign
- Publish the original campaign
These delivery rules are particularly pertinent if you are targeting users who are enrolled in a control group, receive an email or receive a push notification. Because users will be enrolled in the control group as soon as you publish the original campaign, you must publish the follow-on campaign before you publish the original campaign. Similarly, if you publish the original campaign before the follow-on campaign, many users may receive your email and/or push notification before the follow-on campaign is published.
Using Campaign Connector with your campaigns
Step 1: Create a new campaign
Compose the messages that you wish to send to your users. You can select a single channel or multi-channel campaign, depending on your use case.
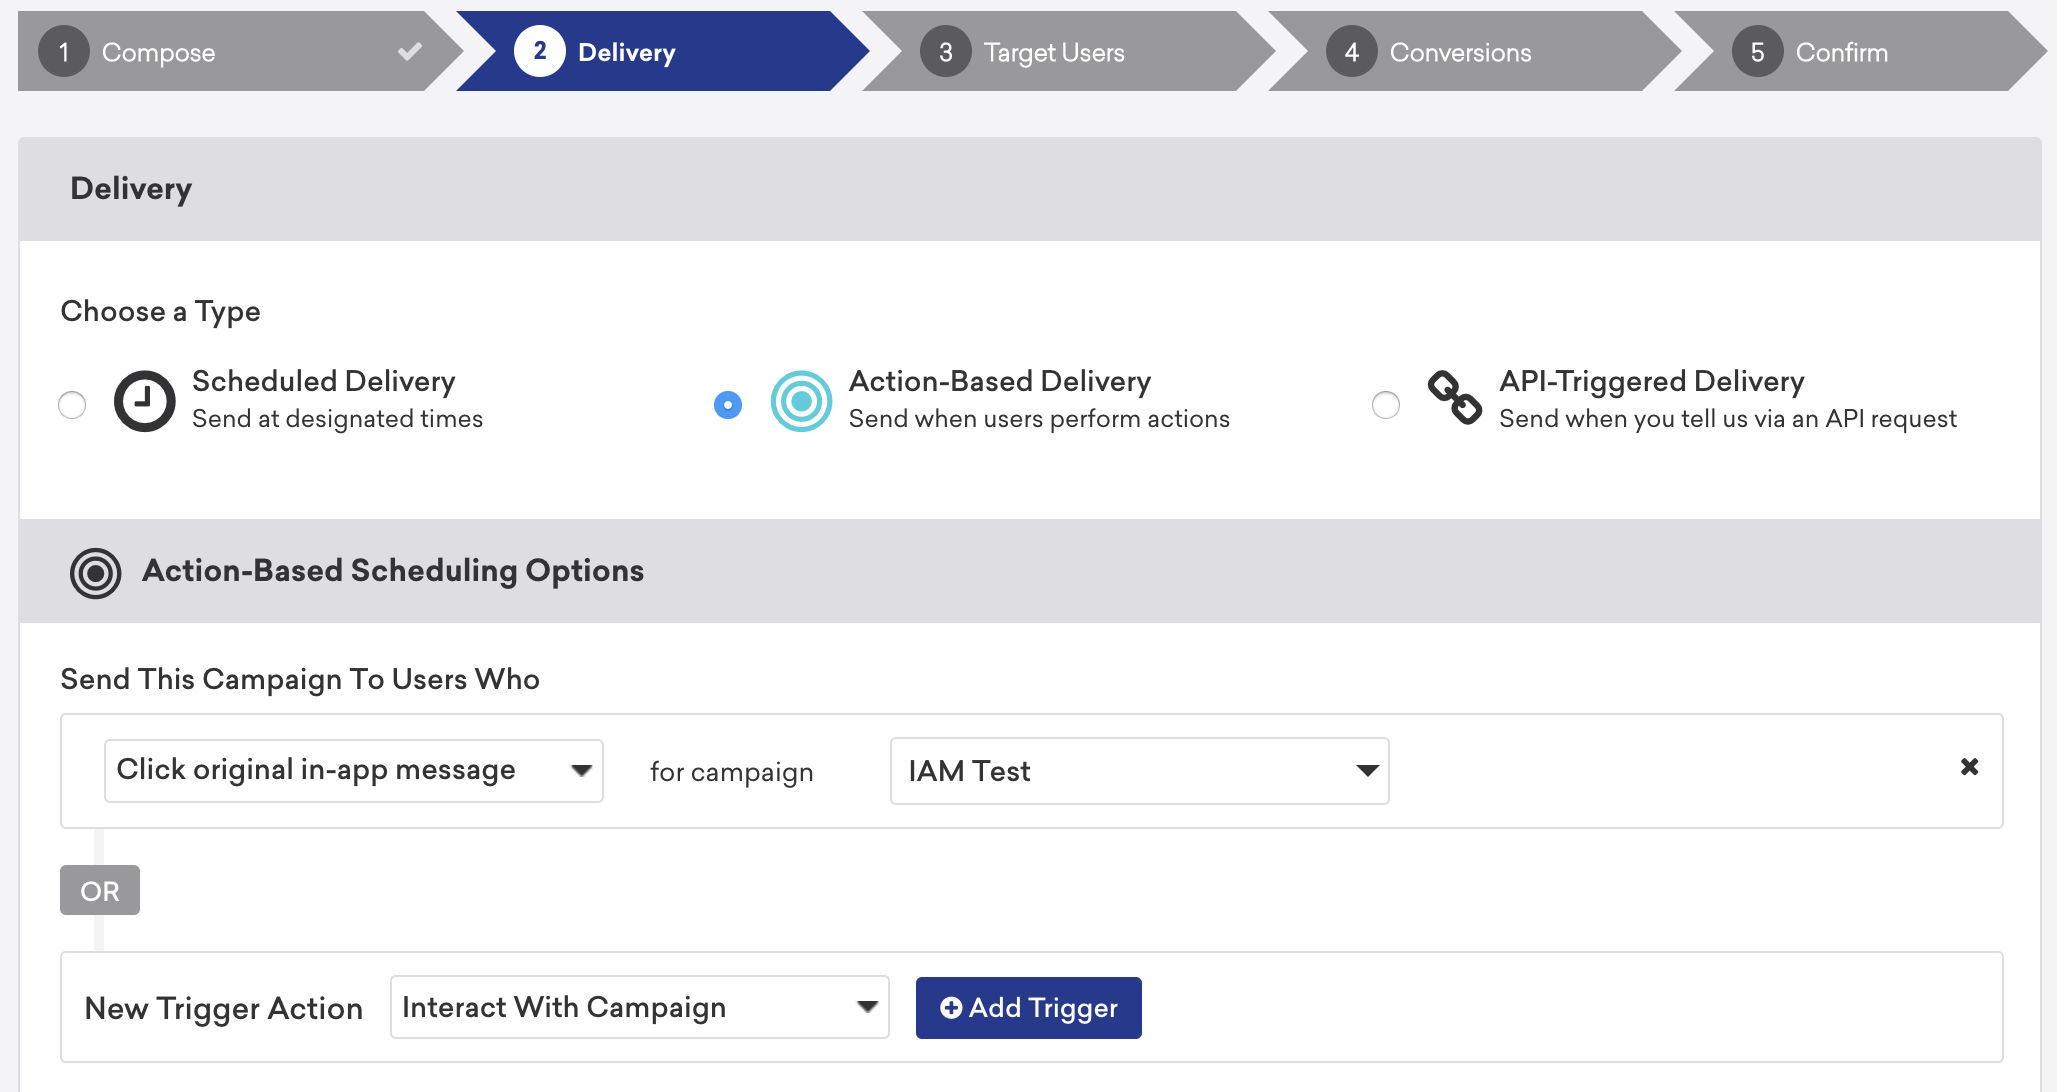
Step 2: Select interaction and target campaign
- Select Action-Based Delivery and add the “Interact with Campaign” trigger to target users who interact with an active campaign.
- Choose the trigger interaction.
- Next, you’ll select the active campaign that you’d like to target.
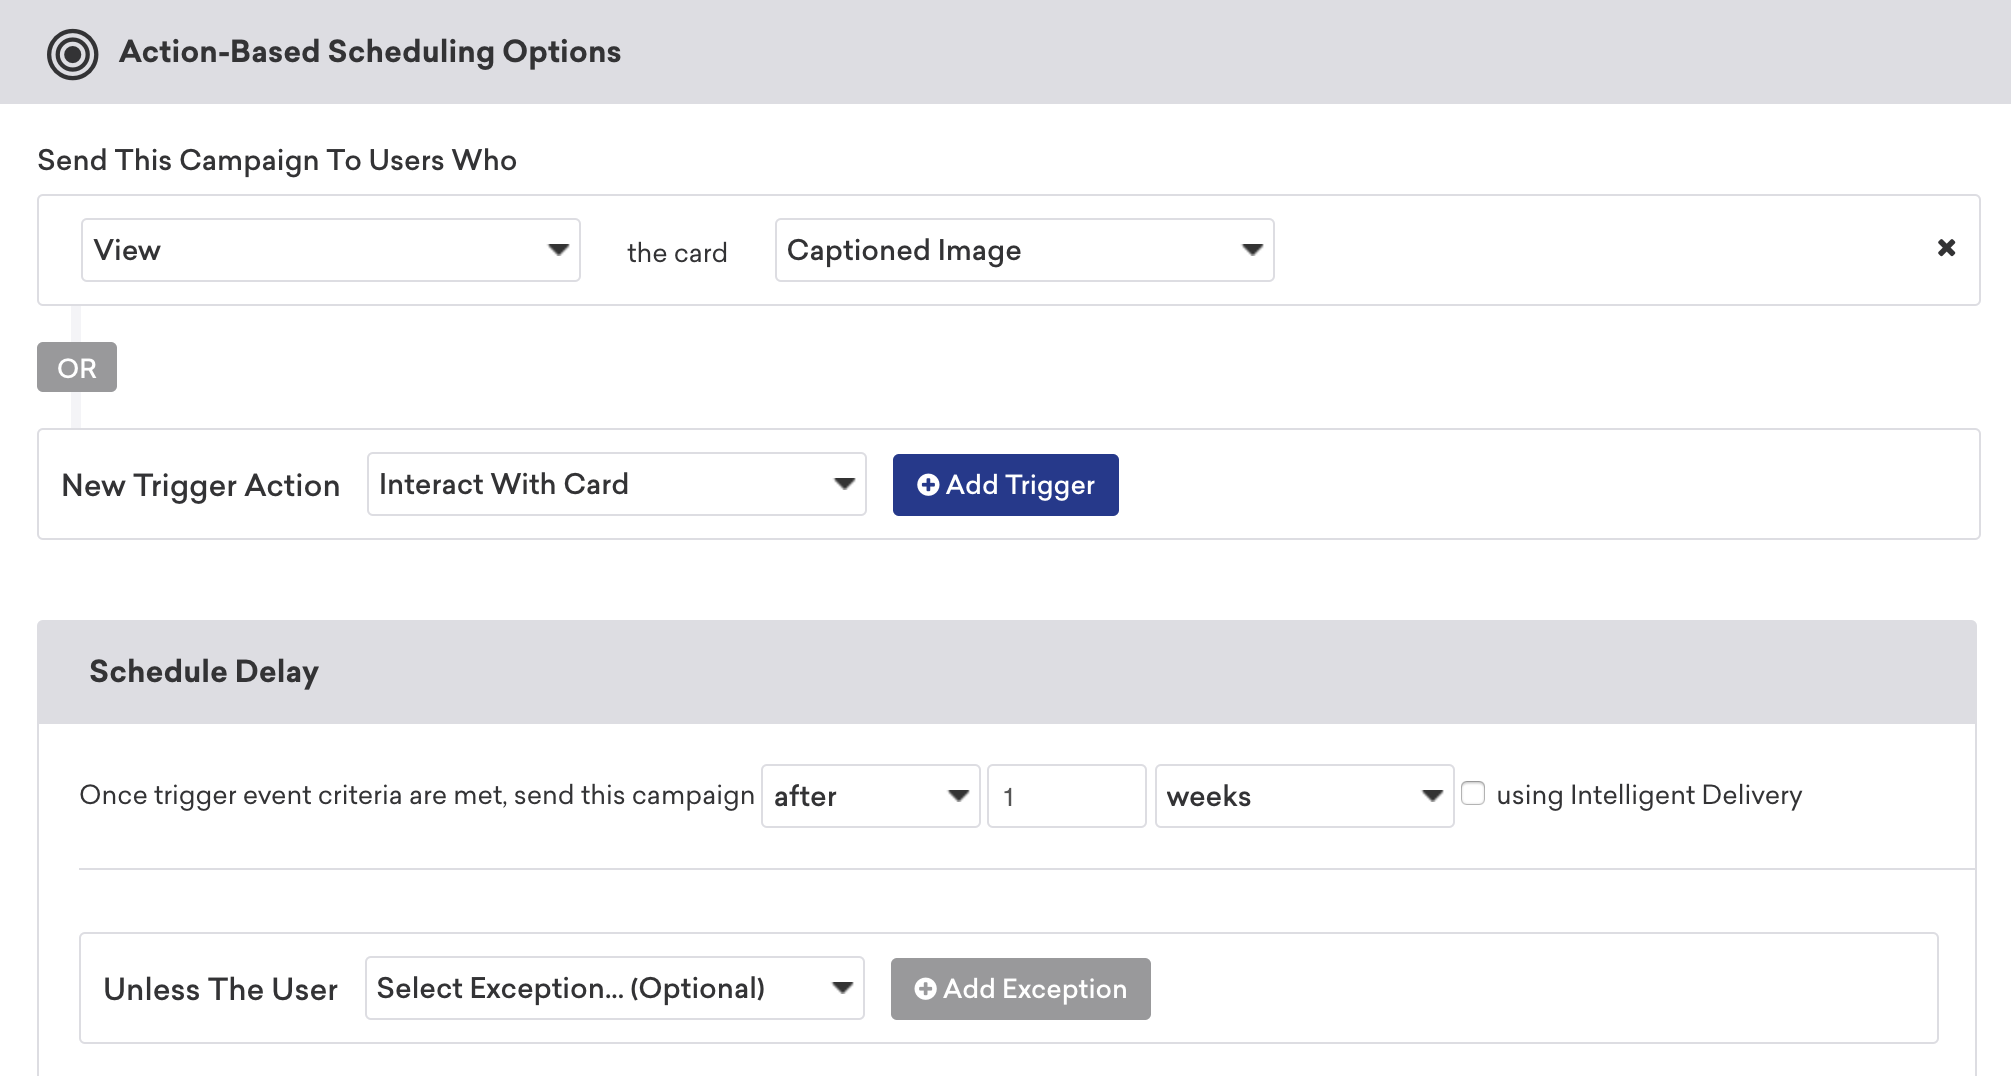
Step 3: Set schedule delay and add exceptions (optional)
If you choose to set a schedule delay, you can add an exception to the trigger action. For example, you might want to resend an email campaign to users who did not open the original email. In this scenario, you can choose “Received email” as the trigger and set a schedule delay of one week. Then, you can add “Open email” as an exception. Now, you’ll resend the email to users who did not open the original email within a week of receiving it.
Exception events will only trigger while a user is waiting to receive the message it’s associated with. If a user performs the action before waiting for the message, the exception event will not trigger.
Step 4: Proceed with campaign creation
Continue creating your campaign just as you normally would. Note that if you want to ensure that you send a message to every user that is going to interact with a specific campaign, then it would be best to target a segment that contains all of the users of your app.
Use cases
You can use Campaign Connector to target users who engage or do not engage with active campaigns.
For example, you might choose to target users who clicked on a promotional push message that advertised free shipping so that you can send them a promotional push message advertising 15% off a purchase.
Campaign Connector can also target users who receive a push notification reminding them that they have abandoned their cart. For example, you might want to resend the notification to users who did not directly open it. However, you’ll likely want to exclude users that have made a purchase since you send the original notification, even if they did not directly open it. You can achieve this use case by adding a “Received push notification” trigger for the campaign “Abandoned Cart,” setting a schedule delay and adding “Makes Purchase” and “Directly opened push notifications” as exceptions.
 Edit this page on GitHub