Create landing pages
Learn how to create and customize a landing page using the drag-and-drop editor, so you can grow your audience and collect preferences directly in Braze.
Prerequisites
To access the landing page builder, you need certain permissions. If you don’t have access, ask your Braze admin for help.
Create a landing page
A landing page is a live, published web page with a shareable URL that your customers can visit.

Landing page templates are unpublished design starting points with no public URL, meaning they can’t be shared with your customers. To create a page from a template, see Using templates.
Step 1: Create a new draft
Go to Messaging > Landing Pages, then select Create landing page. You can also select the name of an existing landing page to duplicate or make changes to it.
Step 2: Enter the page details
Add internal and public-facing details that help you organize, brand, and share your landing page.
General details
Enter a name and description for the landing page. These details are used to search for the page in your internal workspace. They won’t be visible to your customers.
Site details
Set up metatags to customize how your page appears on the browser tab and optimize for search engine results. These are visible to your customers.
We suggest following these best practices:
| Field | Description | Recommendations |
|---|---|---|
| Site title | The title that displays on the browser tab. | Use up to 60 characters. |
| Meta description | A text snippet that displays in search results. | Use between 140-160 characters. |
| Favicon | The icon that appears next to the site title on the browser tab. | Use an aspect ratio of 1:1, and a supported file type of PNG, JPEG, or ICO. |
| Page URL | This is URL path to your landing page. This value is also referenced when using landing page liquid tags that you can embed in a message to automatically identify when they submit your form. | This value must be unique across your workspace. |
Step 3: Customize the page
If you haven’t already, select Save as draft. To start customizing your page, select Edit landing page. The drag-and-drop editor preloads with a default template that you can customize to fit your use case.
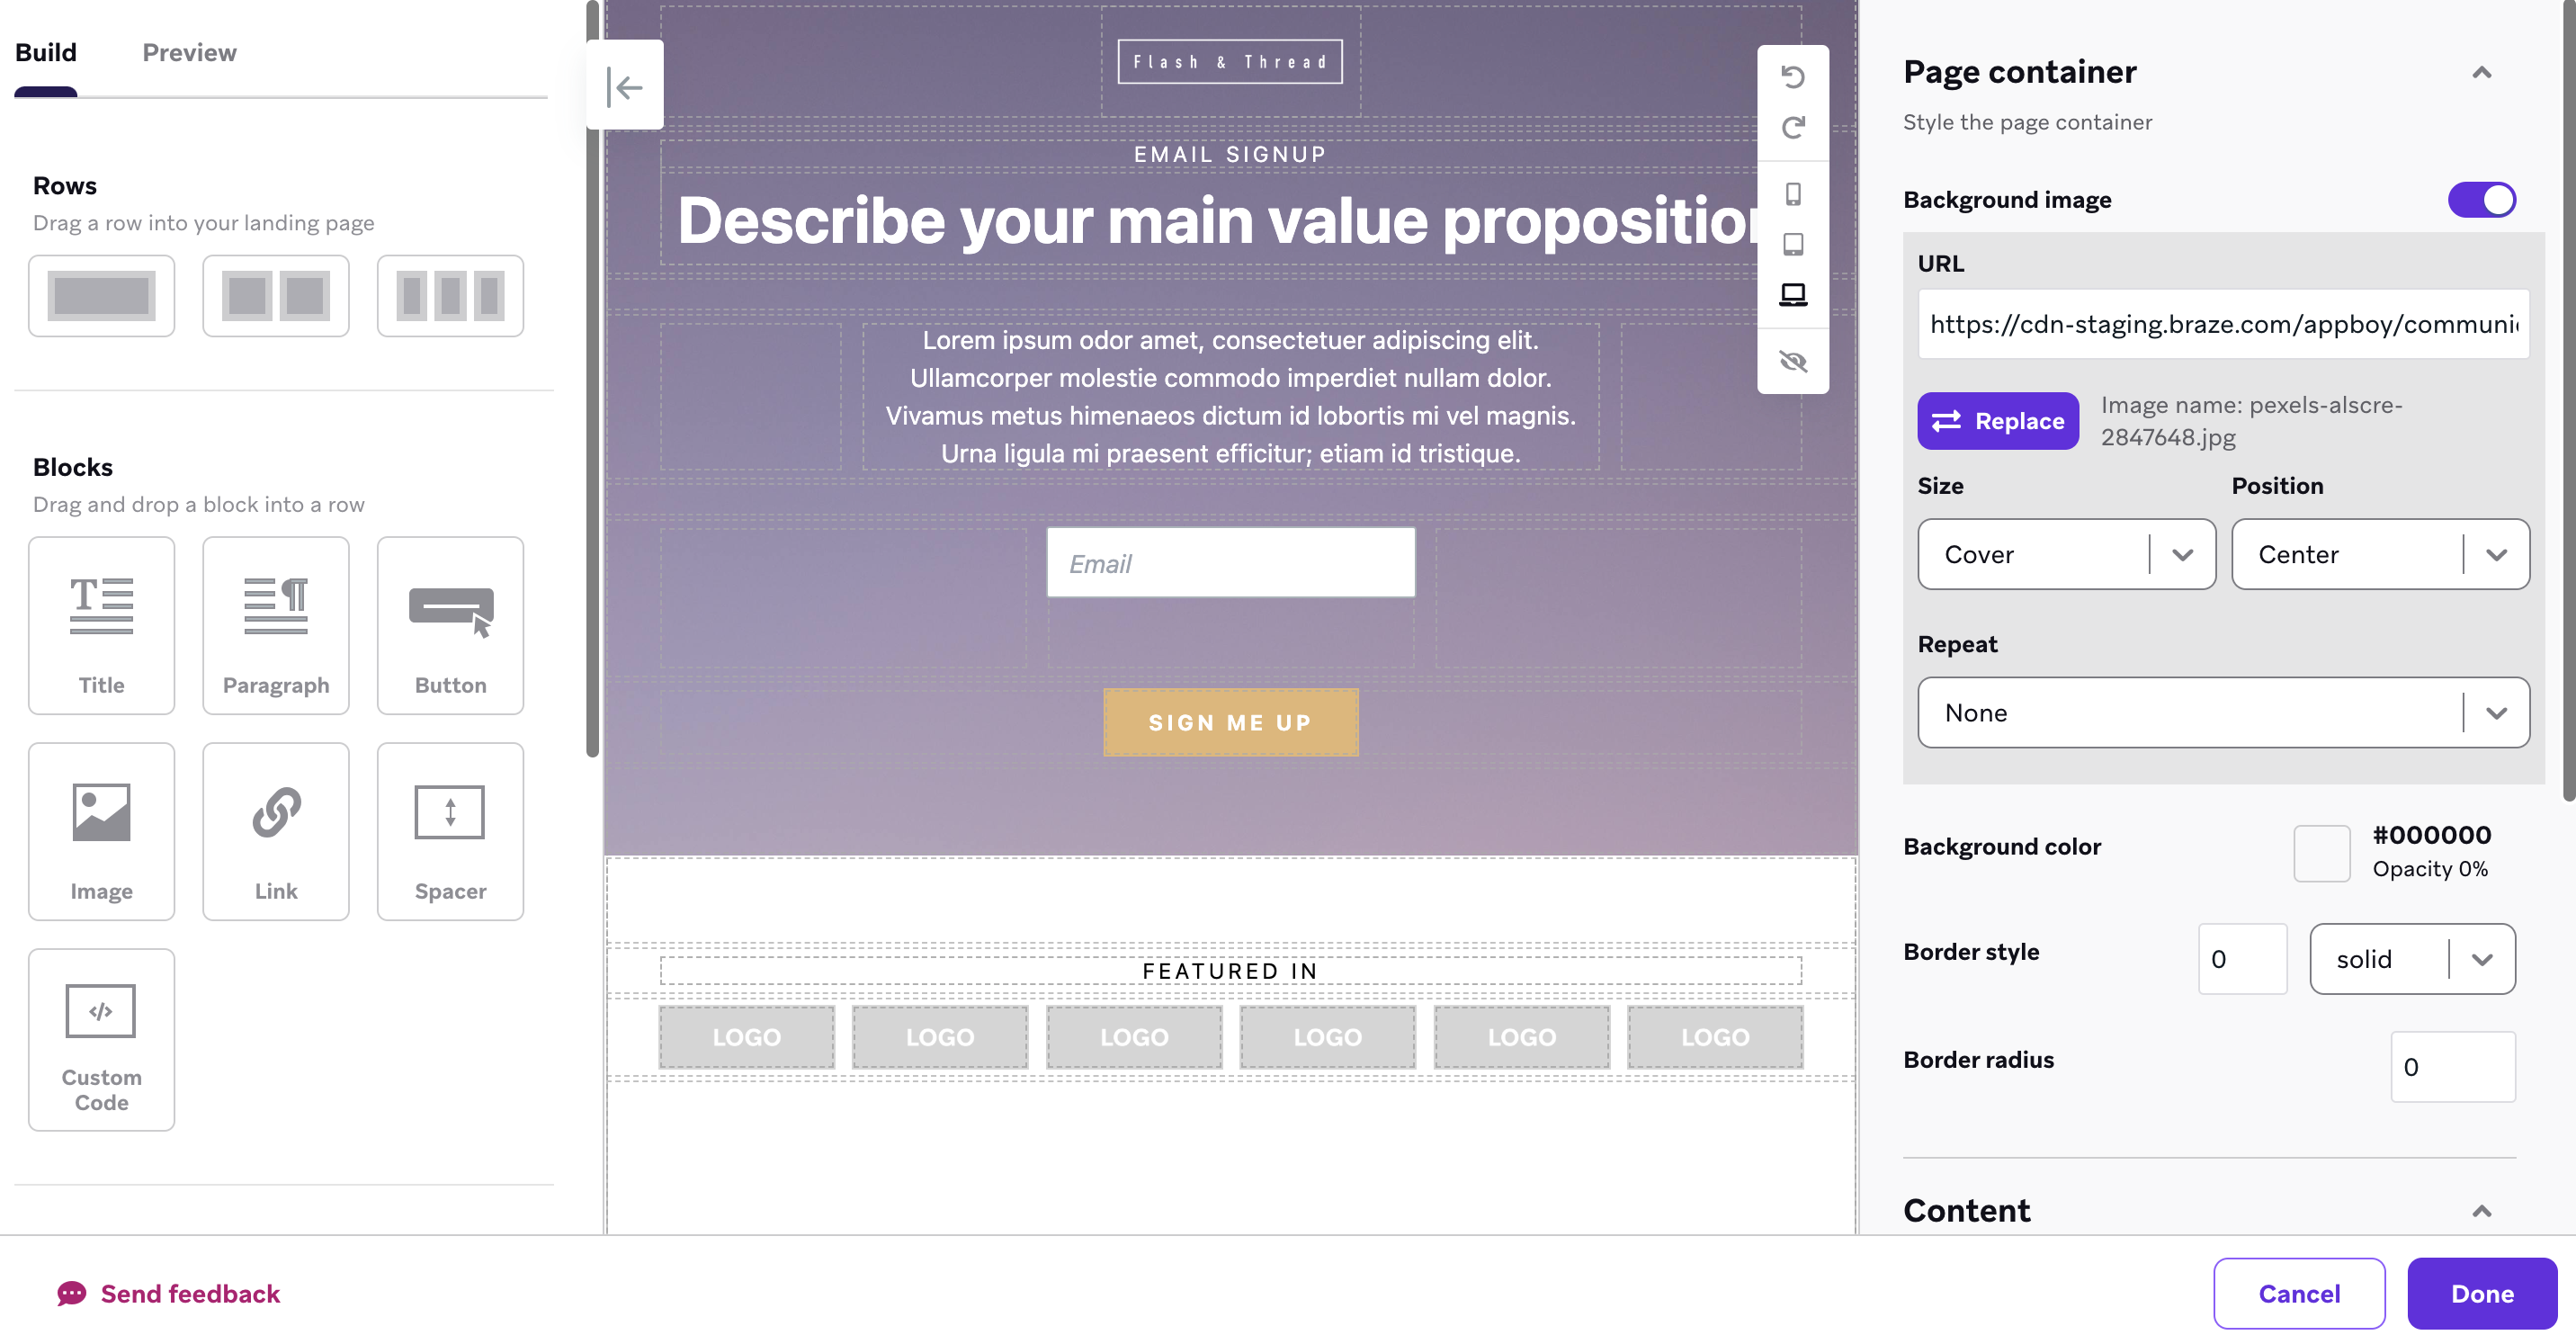
The editor uses two types of components for landing page composition: basic blocks and form blocks. All blocks must be placed in a row. For a dedicated reference of each block and properties, see Editor blocks (landing pages).
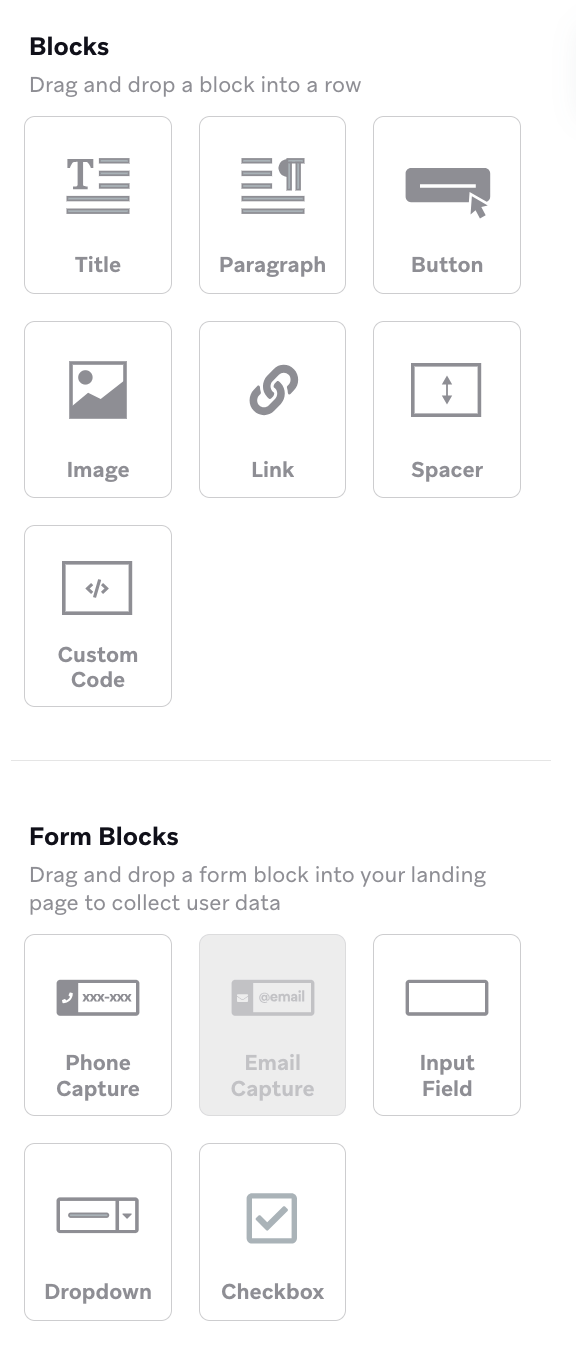
You can use these blocks to add content and customize the layout of your landing page.
| Block Type | Description |
|---|---|
| Title | A text block for adding a heading or title to your content. Useful for structuring sections and improving readability. |
| Paragraph | A text block for longer descriptions or additional context. Supports rich text formatting. |
| Button | A clickable element that directs users to a specified action, such as opening a link or submitting a form. |
| Radio Button | Adds a list of options from which users are required to select one. When submitted, the user profile logs the associated custom attribute. |
| Image | A block for displaying images. You can upload an image or provide a URL to reference an external source. |
| Link | A hyperlink that users can click to navigate to a specified URL. Can be embedded within text or standalone. |
| Spacer | An invisible block that adds vertical spacing between elements for improved layout and readability. |
| Custom Code | A block that allows you to insert and run custom HTML, CSS, or JavaScript for advanced customization—for example, tracking pixels, third-party scripts, or custom CSS such as a max-width for wide browsers. To interface with the Braze SDK from this block, see JavaScript bridge for landing pages and Create custom form blocks. |
Span text
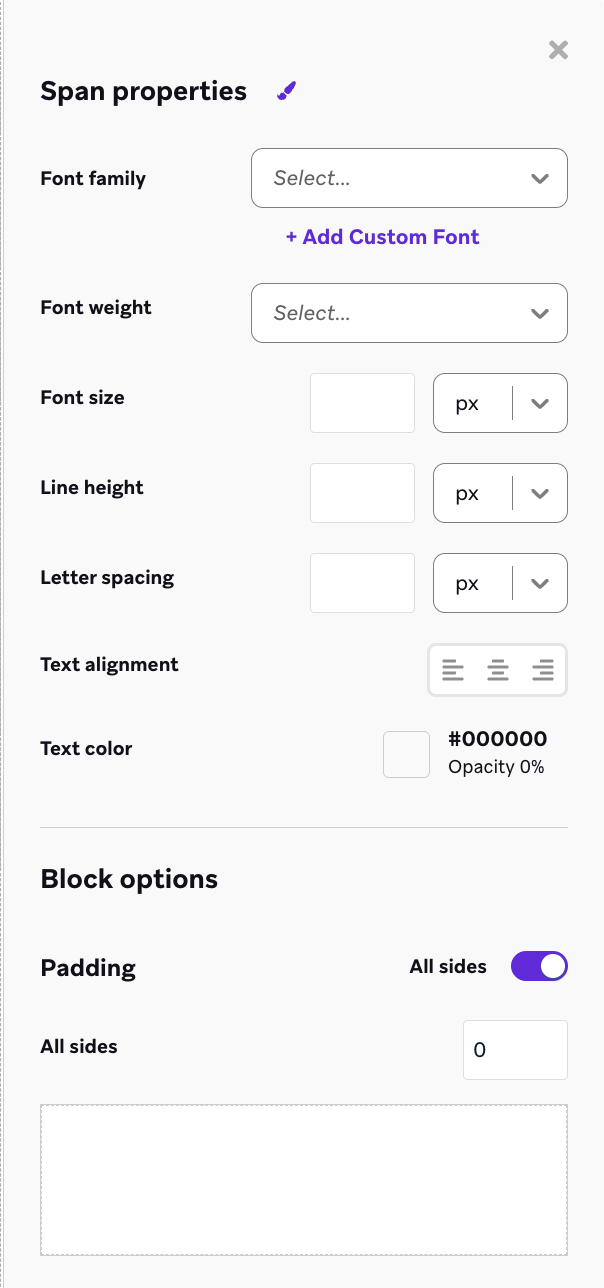
To apply specific styling to text blocks without custom code, highlight the text you want to style and then select Wrap with span for style.

Adjust the span properties to update your text styling, which includes:
- Font family, weight, size
- Line height
- Letter spacing
- Text alignment and color
- Block padding
You can use these blocks to create a form that links user-submitted data to their profile in Braze. Keep in mind, if you use form blocks, you’ll also need to create an additional landing page for the confirmation state.
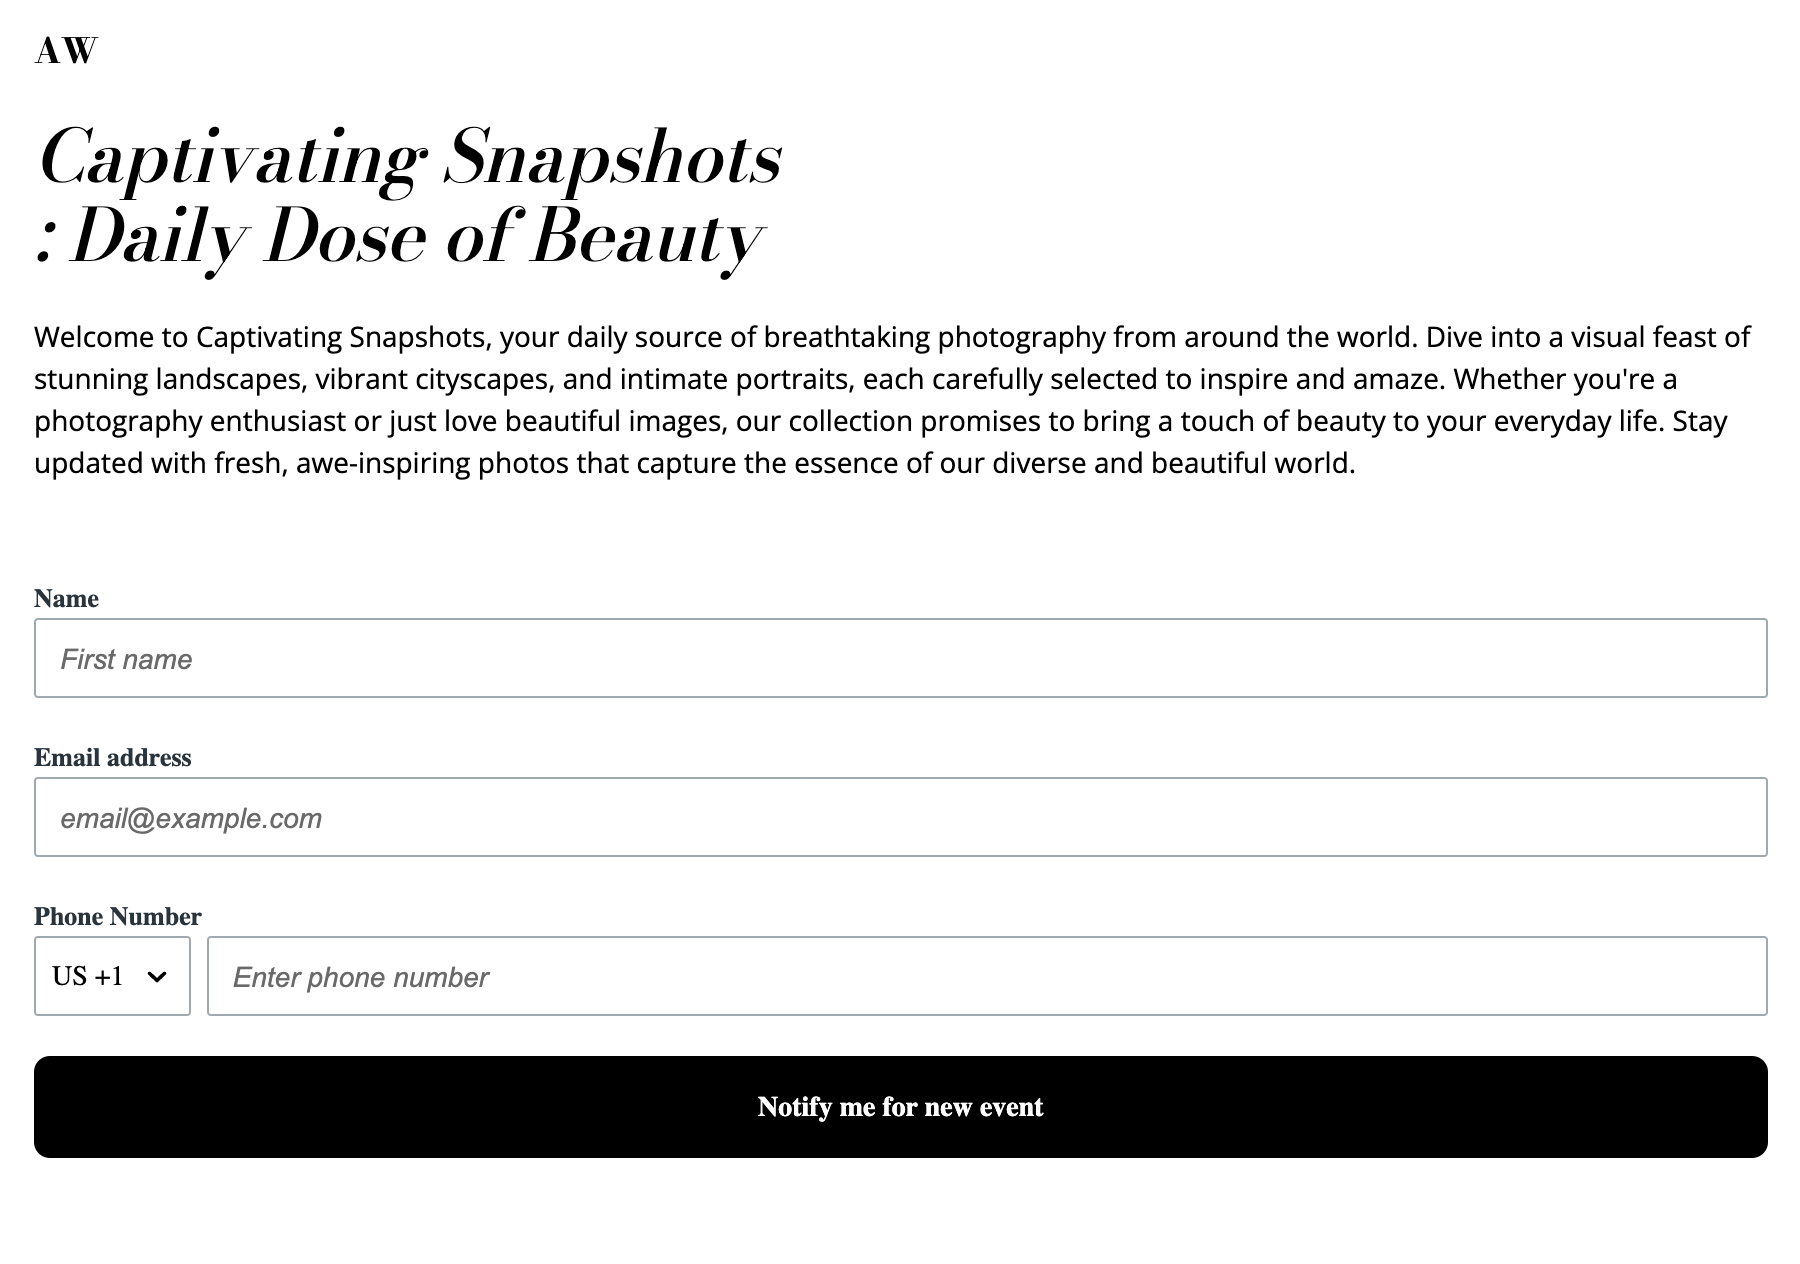

You can break a long form into multiple steps, each with its own fields and a built-in confirmation step, by using a multi-step form instead of placing form blocks directly in a row.
| Block Type | Description |
|---|---|
| Email Capture | A form field for email addresses. When submitted, the email address is added to that user’s profile in Braze. |
| Phone Capture | A form field for phone numbers. When submitted, the user is subscribed to your SMS or WhatsApp subscription group. |
| Input Field | A form field that supports standard attributes (such as first and last name) or a custom attribute string of your choice. |
| Dropdown | Users can select an item from a pre-defined list. You can add any custom attribute strings to the list. |
| Checkbox | If a user checks the box, the block’s attribute is set to true. If left unchecked, its attribute is set to false. |
| Checkbox Group | Users can select from multiple choices presented. Values are either set or added to a defined array custom attribute. |
| Manage Subscriptions | A checklist of email, SMS, or WhatsApp subscription groups. Users select which groups they want to join when they submit the form. Each block is for one channel. For more information, see Manage Subscriptions block. |

After creating a landing page with a form, be sure to embed its landing page Liquid tag into your message. With this tag, Braze can automatically identify and update existing user profiles when they submit the form.
Page container styles
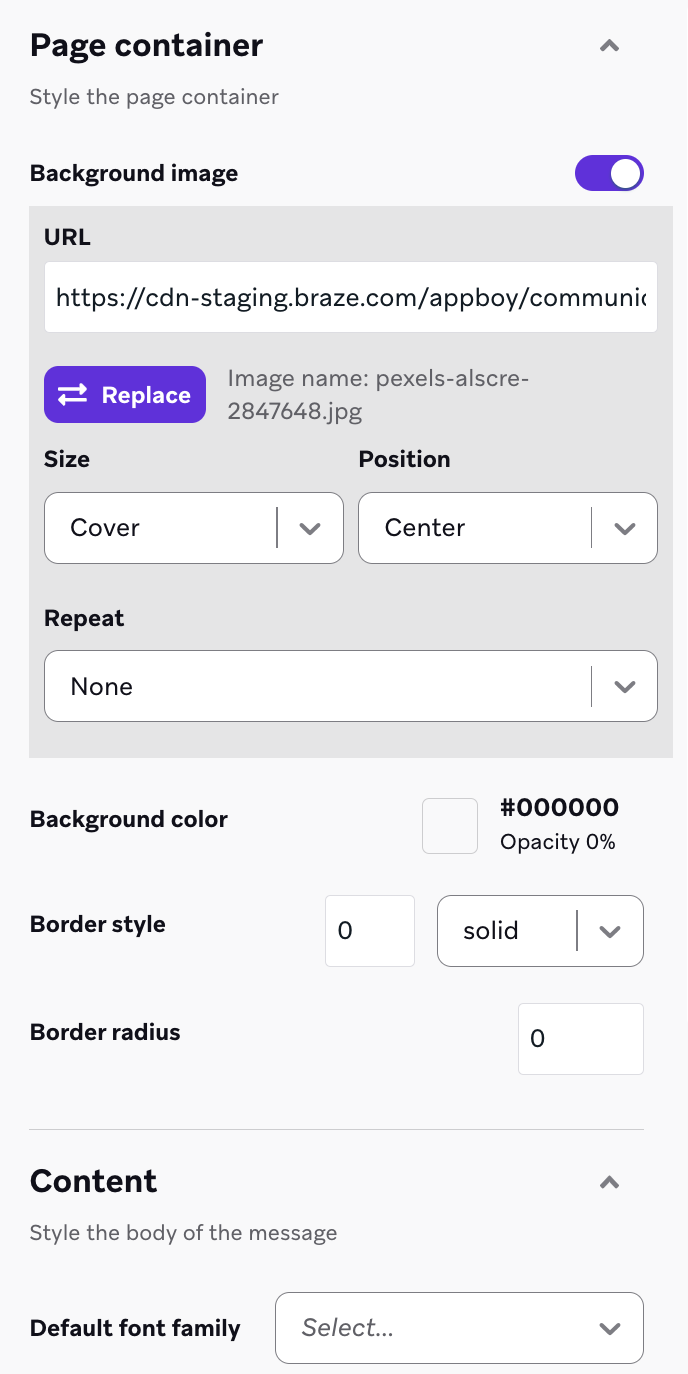
You can set styles to be applied across all relevant component blocks in your landing page from the Page container tab. These styles apply everywhere on your page except where you override them with a specific block.
We recommend setting up page container-level styles before you customize styles at the block level. You can also add a background image for the entire page.
Use Content width to set a max width for your page content on large screens. Choose a preset (Narrow (640px), Normal (1120px), Wide (1440px), or Full width (100%)) or select Custom and enter a value. For layout or styling beyond those options, add CSS in a Custom Code block.
Responsive to user devices
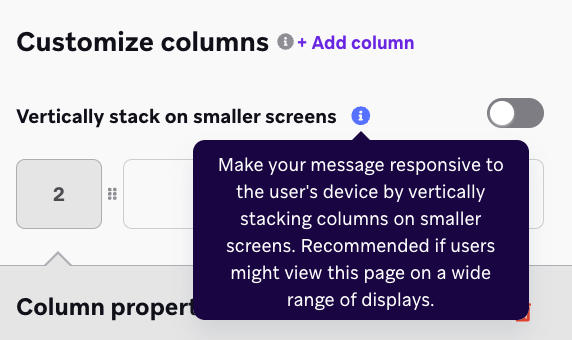
You can make your landing page responsive to the size of a user’s device by vertically stacking columns on smaller screens. To enable this, add a column into the row you want to make responsive, and then toggle on Vertically stack on smaller screens in the Customize columns section.
When enabled, you can also reverse stack columns to control the vertical order of multi-column content on smaller screens. This makes pages look and feel better on mobile without custom code.
Hide rows and blocks by device
You can hide a row or block on desktop or on tablet and mobile devices. Select the row or block on the canvas. In the properties panel, select Hide on, then select Desktop or Tablet and smaller devices.
A hidden row or block doesn’t appear for that device type in the drag-and-drop editor preview or on the live landing page.
Optional and required fields
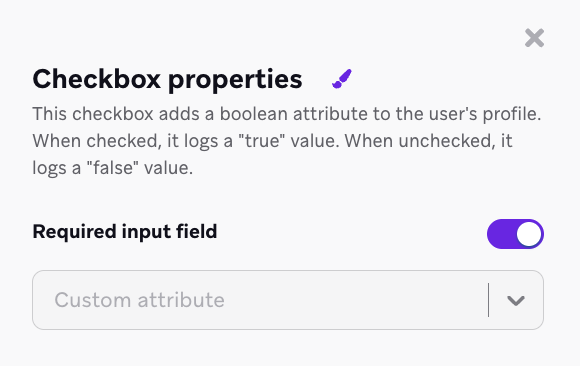
You can choose whether certain form fields are required or optional. Required fields must be filled out before the form can be submitted. Optional fields can be left blank or unselected by a user.
Radio buttons are always required and can’t be set to optional. If you need an optional single-choice field, consider using a dropdown instead.
For example, to enforce consent capture before form submission, you can turn on Required field input to set a checkbox to be required with the appropriate disclaimer text.
Step 4: Create a confirmation page (optional)
If your landing page doesn’t include a form, continue to the next step.
If your form uses a multi-step form, skip this step. Multi-step forms include a built-in, locked confirmation step, so you don’t need a separate confirmation page.
If your landing page includes a form, you can optionally create a second landing page to serve as the confirmation experience. This page should thank users or provide a next step after form submission.
- Select the Submit button on your form
- Choose whether to include a confirmation page when users submit your form
- Use the Open web URL on-click behavior to send users to a confirmation page
- Use the None on-click behavior for users to remain on the landing page
If you don’t include a confirmation page, users may not know their form was submitted successfully. Always include a confirmation experience to complete the journey.
If your confirmation page opens in a new tab, a user who returns to the original landing page and resubmits with updated information can overwrite the previous submission, resulting in inconsistent data.
Step 5: Preview the page
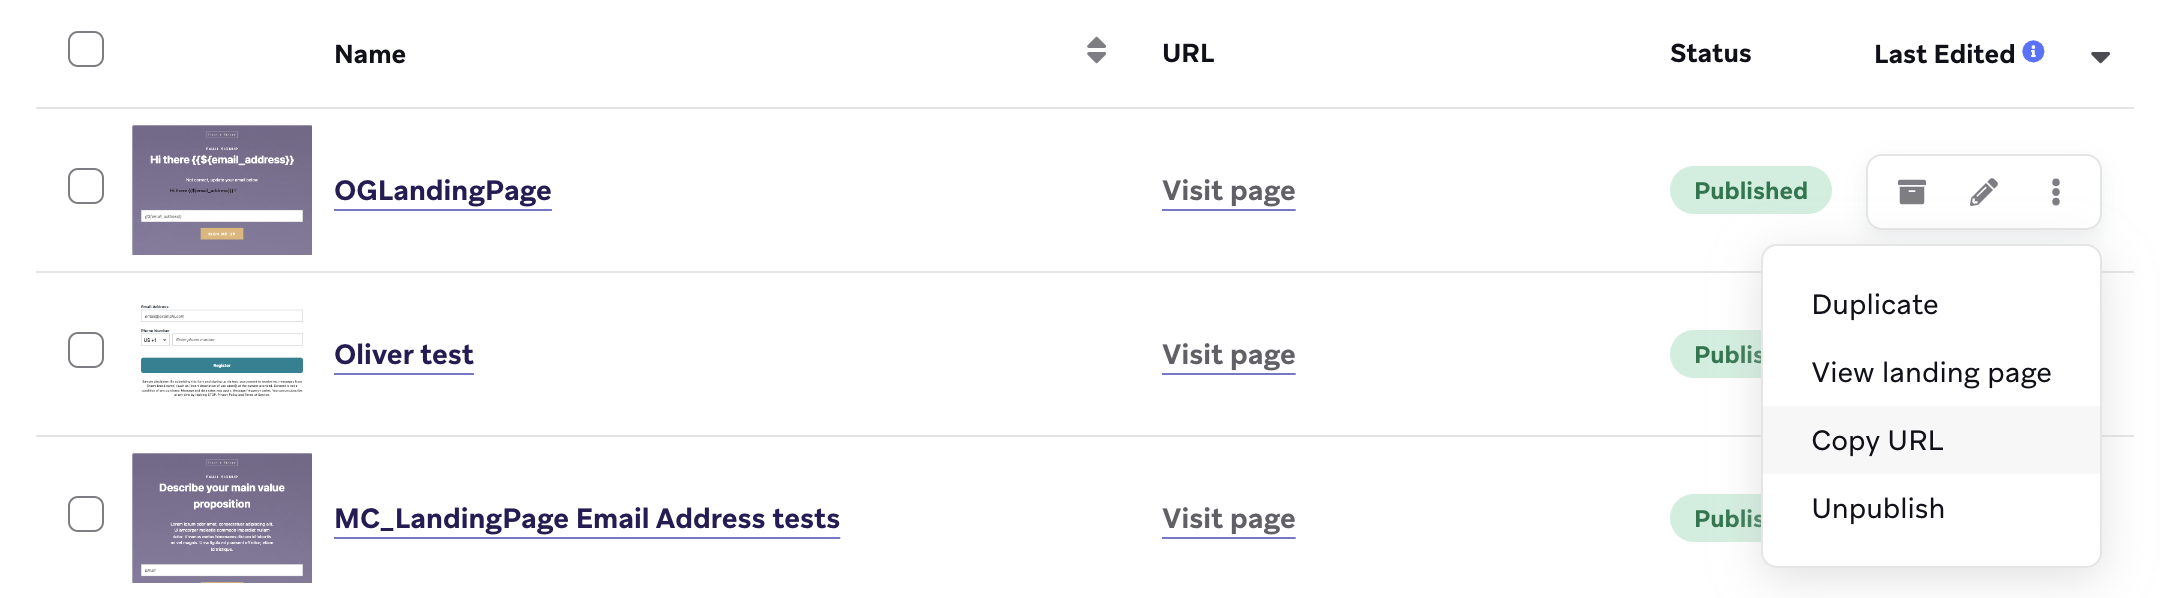
You can preview your landing page in the editor’s Preview tab. After saving your landing page as a draft, you can visit the URL by going to Landing Pages and selecting Copy URL next to your landing page.
Sharing a preview link
In the editor, you can also select Copy preview link to share the page with reviewers who don’t have dashboard access.
- If your landing page doesn’t use Liquid, this link is the same as the direct URL from Copy URL, opened in preview mode.
- If your landing page uses Liquid and you have the Landing Pages Pro entitlement, the link instead renders the live page on demand and reflects your current changes rather than a snapshot from when you generated the link. Content is personalized per user. The preview displays the Braze favicon and cannot be changed.
- If you add Liquid to a landing page without the Pro tier, the Liquid tags don’t evaluate and appear as raw text to visitors on the published page.
For preview links on other channels, see shareable preview.
Step 6: Publish
Before you publish, make sure:
- You haven’t exceeded your plan’s published landing page limit
- Each form-based page links to a confirmation page using the Open web URL action, or uses a multi-step form with its built-in confirmation step
- All required page fields (like URL path and title) are complete
When you’re ready, select Publish Landing Page.
Aggressive pop-up blockers and ad blockers on iOS and in Safari (including Safari’s built-in controls and third-party extensions) can negatively impact how landing pages behave when a form Submit button also opens another URL, whether that URL opens in the same tab or a new tab.
Use templates
Landing page templates are reusable design starting points that help you build landing pages faster. A template has no public URL and can’t be visited by customers. To create a live landing page from a template, select the template when creating a new landing page, customize it as needed, then publish it.
Templates can be accessed and managed in both the landing page editor and from the Landing Page Templates page (Content > Landing Page). Landing page templates require a name and optional description.
Manage templates
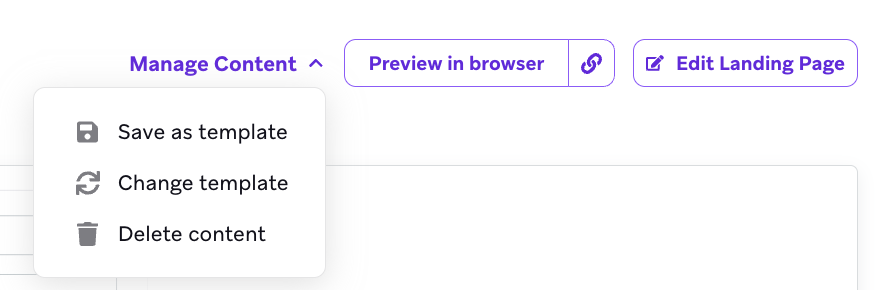
You can preview, archive, or edit landing page templates. You can duplicate your own landing page templates (located in Your Templates), but not Braze Templates. When editing a landing page, you can save your landing page as a template, make changes to the template, or delete the content of the landing page.
View analytics
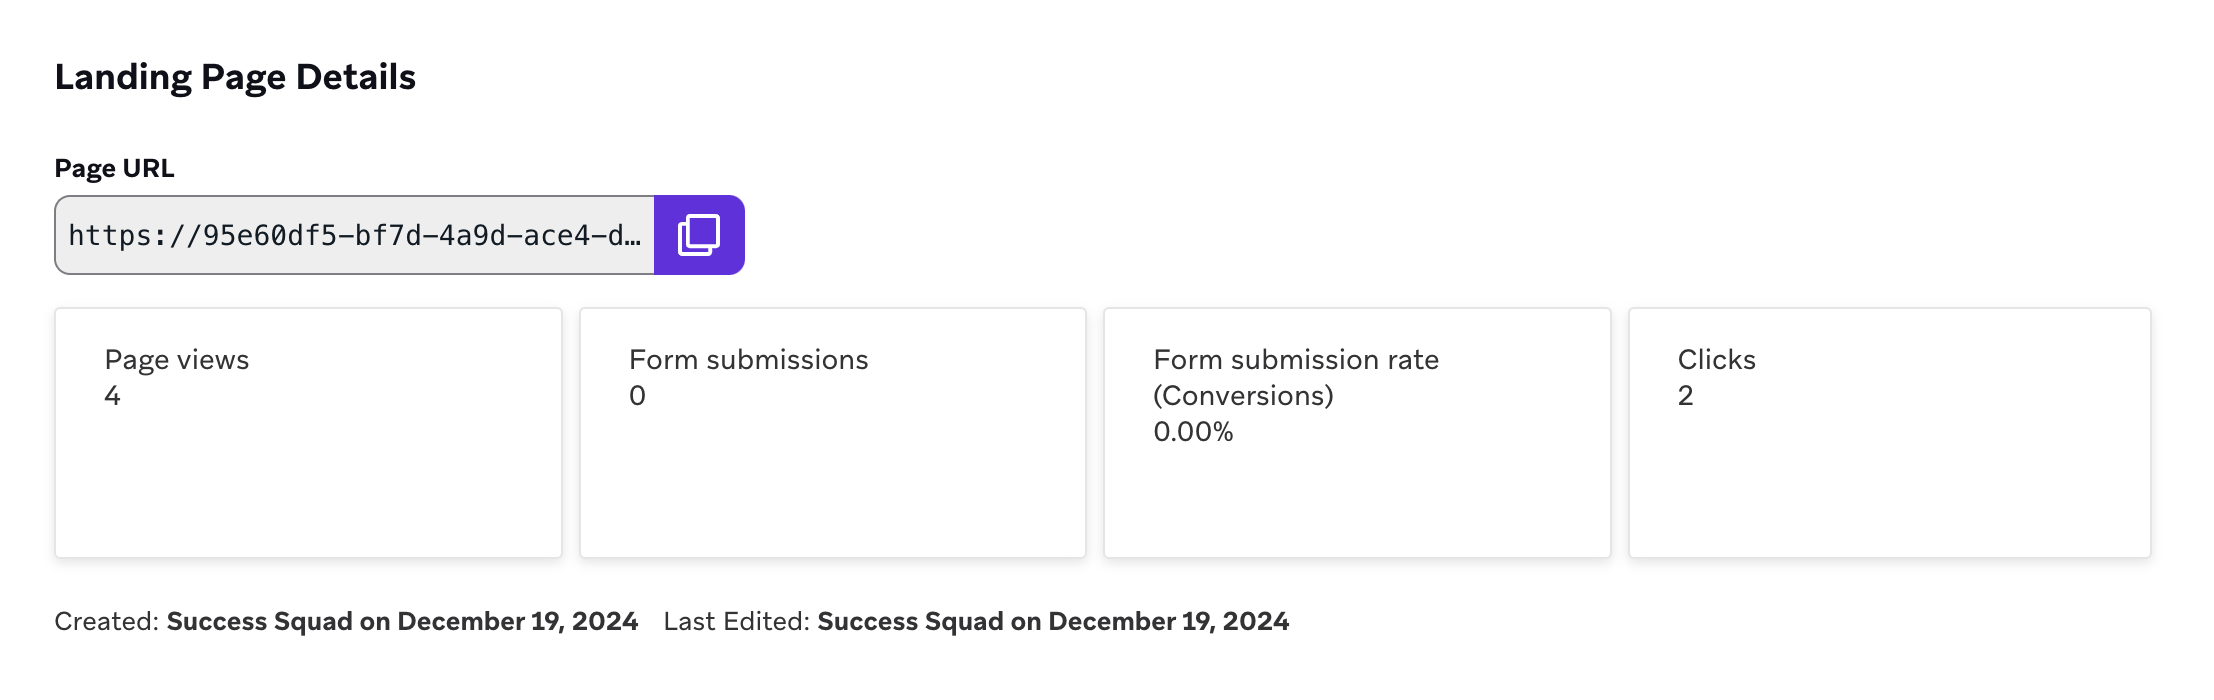
To analyze the effectiveness of your landing page, go to Messaging > Landing Pages, then selected a landing page you’ve published. Here, you can track the number of page views, page clicks, page submissions, and the submission rates for your landing page.
Handle form submission errors
If a user tries to submit a form with missing or unsupported input, they’ll see a generic error message and won’t be able to submit.
Common causes:
- Required fields are left blank
- Special characters are used in text inputs
- A required checkbox is not selected
Error messages shown to users can’t be customized. Preview your landing page to confirm field behavior before publishing.