Ketch
Ketch enables businesses to be responsible stewards of their data. Ketch provides simplified privacy operations and complete, dynamic data control and intelligence.
The Braze and Ketch integration allows you to control customer communication preferences within the Ketch preference center and automatically propagate these changes to Braze.
Looking for guidance on creating subscription groups? Check out our articles for SMS subscription groups and email subscription groups.
Prerequisites
| Requirements | Description |
|---|---|
| Ketch Account | A Ketch account with admin privileges is required activate this integration. |
| Braze API key | A Braze REST API key with users.track, subscription.status.get, subscription.status.set, users.delete, users.alias.new, users.export.ids, email.unsubscribe, and email.blacklist permissions. This can be created in the Braze dashboard (Developer Console > REST API Key > Create New API Key). |
Integration
Step 1: Set up the Braze connection
- In your Ketch instance, navigate to Data Systems, and select Braze. Then, click New Connection.
- Give your Braze connection an identifiable name, which will be used to refer to this connection in API-based processes. Note that a code will also be created for that connection. This code should be unique across all connections.
- Confirm the identity mapping of your users. By default, Ketch will map user identities by a user’s email address, or by the
external_idin Braze. - Add the Braze API key and provide the API endpoint. Note this API endpoint is based on which Braze instance your organization is using.
Step 2: Configure subscription preferences
- Go to Policy Center > Subscriptions. If you do not see the subscriptions tab under Policy Center, make sure you have access to the marketing preference center, and verify that you have the correct account permissions to access this portion of the product.
- Click Create New Subscription to create a new topic. Each subscription will have a name and a code.
- Add the channels for sending your subscription topics. Each channel will show in the marketing preference center for your users. You can also add the details of how you want the Ketch preference center to orchestrate a particular opt-in or opt-out signal.
- Select the Braze connection you would like to use to orchestrate the opt-in and opt-out signals.
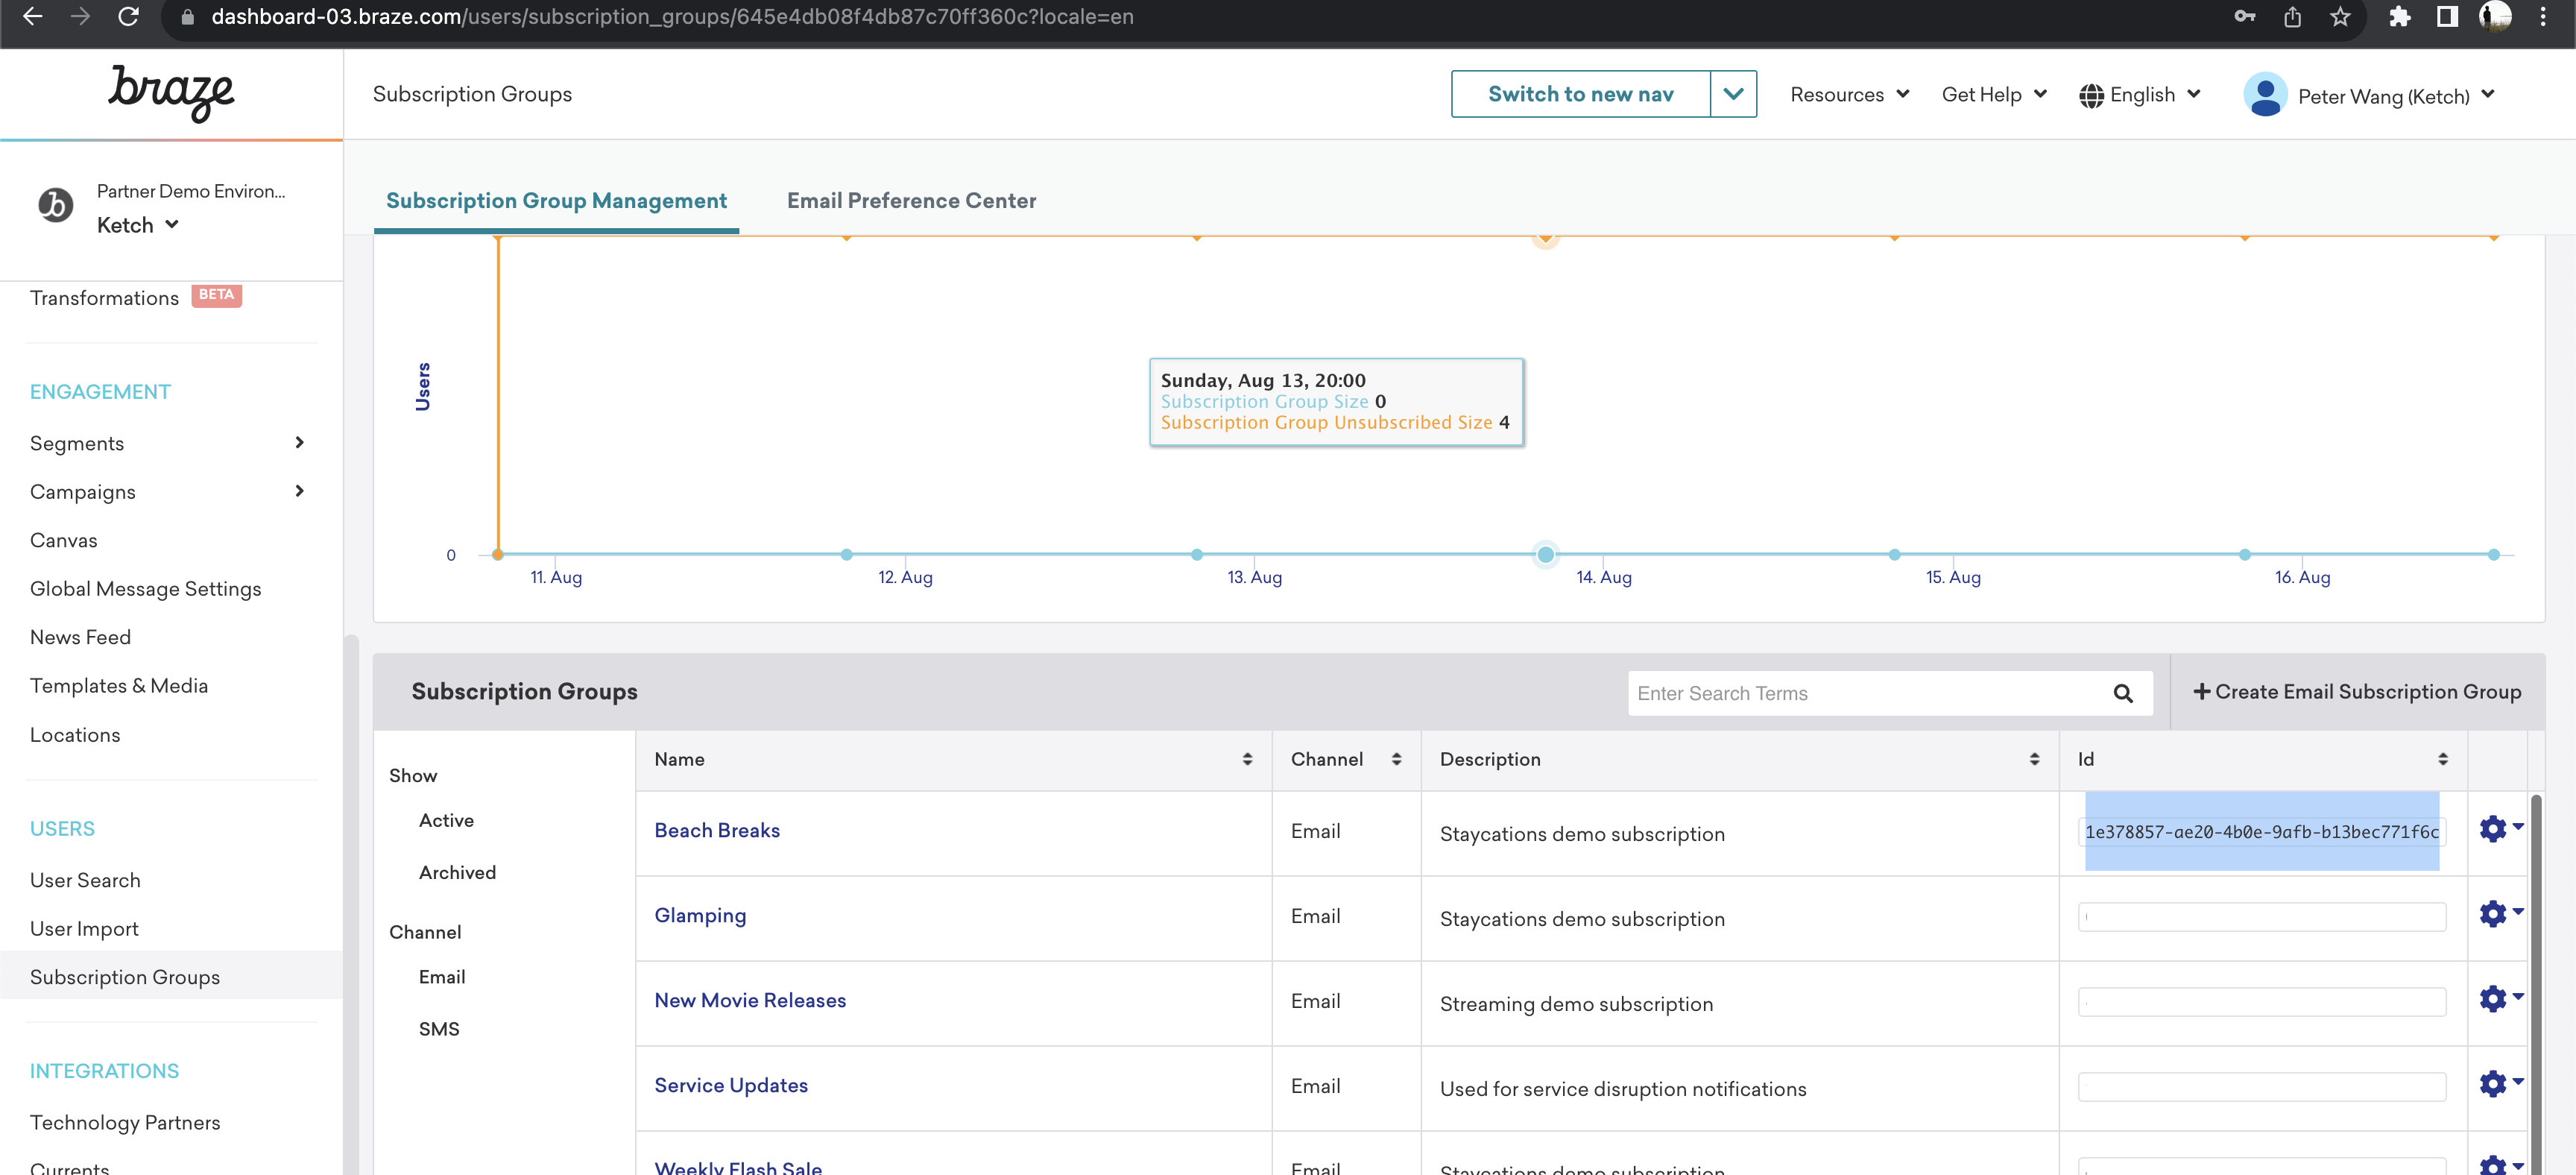
- Enter the Braze
subscription_group_idfor the subscription group to which you want to send the Ketch user preferences.
In order to collect and orchestrate user opt-in and opt-out signals, identities must be properly configured. Ketch recommends configuring email as the identifier to orchestrate user preference signals for this integration.
Step 3: Configure identities
A user can only see the marketing preference center when Ketch can confirm that user’s marketing preference identity. If Ketch cannot capture the user’s identity properly, then the marketing preferences page will not display to that user since Ketch is be unable to manage their user preferences.
- To configure the marketing preference identity, go to the Settings page in Ketch, and click Identity space. You will need to either create a new identity space or edit an existing identity space to assign that identity space as the marketing preference identity. Check that the Ketch tag deployed on the property properly captures that identity space.
- Go to Experience Server > Properties, and edit the desired property. Under the data layer for that property, make sure to enable the custom identity space. Then, configure how the marketing preference identity is captured on this site.
- Once you have the identity space configured, test to see if the preference center appears by opening the preference center on the website where the Ketch tag has been deployed.
 Edit this page on GitHub