Inkit
Inkit and Braze empower organizations to securely generate and distribute documents - both digitally as well as via direct mail.
The Braze and Inkit integration allows you to generate documents and mail them directly to Braze users with Braze webhooks.
Prerequisites
| Requirement | Description |
|---|---|
| Inkit account | An Inkit account is required to take advantage of this partnership. |
Inkit API key<INKIT_API_TOKEN> |
This key is found on your Inkit Dashboard under the Development tab and will enable you to connect your Braze and Inkit accounts. |
Inkit template ID<INKIT_TEMPLATE_ID> |
After creating a template, you can copy the template ID from the Templates tab to use in your template in Braze. For example, you might create a template called invoice_template in the Inkit environment with the Template ID: tmpl_3bDScFl9cwr3OAVR1RSdEC. |
| HTTP header | The HTTP header is part of the API request that you send from Braze to Inkit. In it, you will include your Inkit API key to authenticate and authorize calls to the Inkit API. |
Integration
Step 1: Create an Inkit template
On the Inkit platform, create a template to be used in your Braze campaign in HTML, Word, PowerPoint, Excel or PDF. Check out Inkit documentation to learn more.
Step 2: Create your Braze webhook template
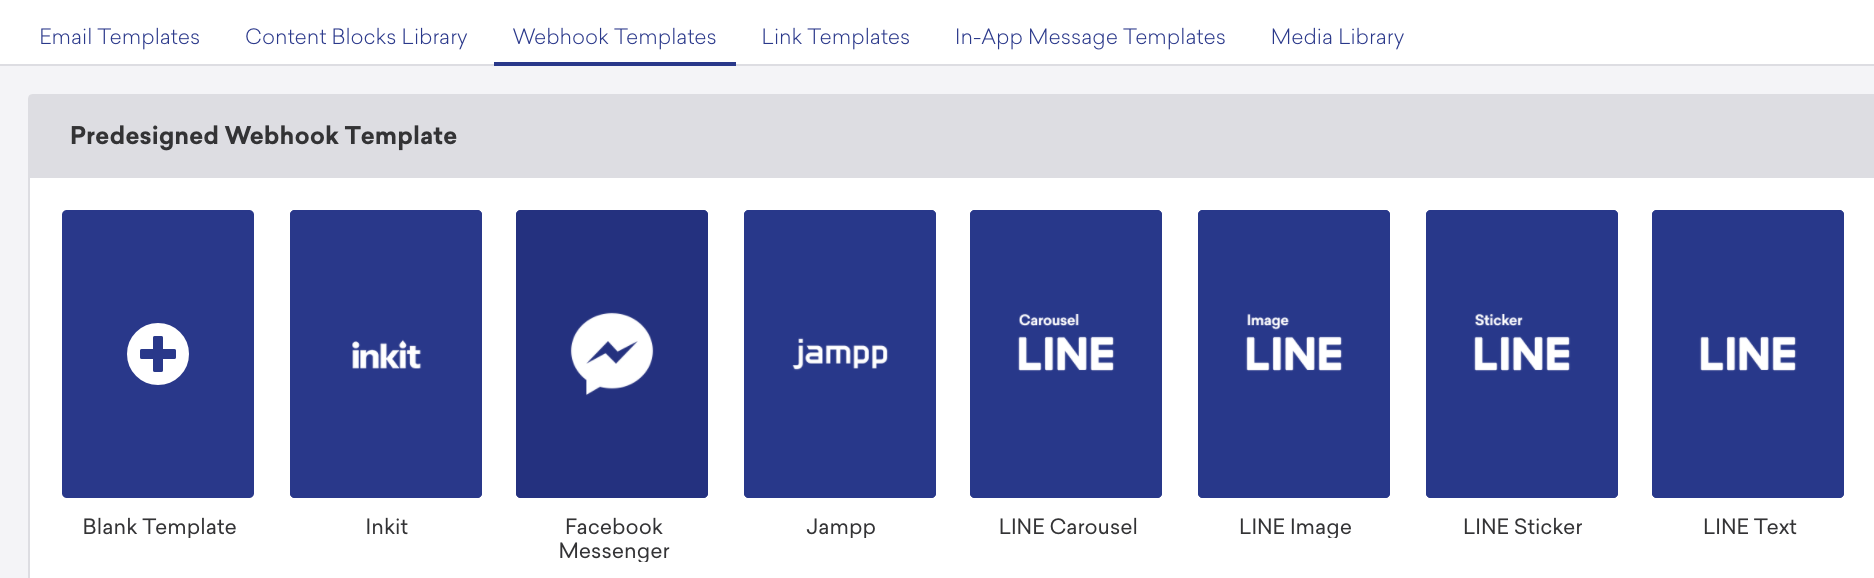
To create an Inkit webhook template to use in future campaigns or Canvases, navigate to Templates > Webhook Templates in the Braze platform.
If you are using the older navigation, go to Engagement > Templates & Media > Webhook Templates.
If you would like to create a one-off Inkit webhook campaign or use an existing template, select Webhook in Braze when creating a new campaign.
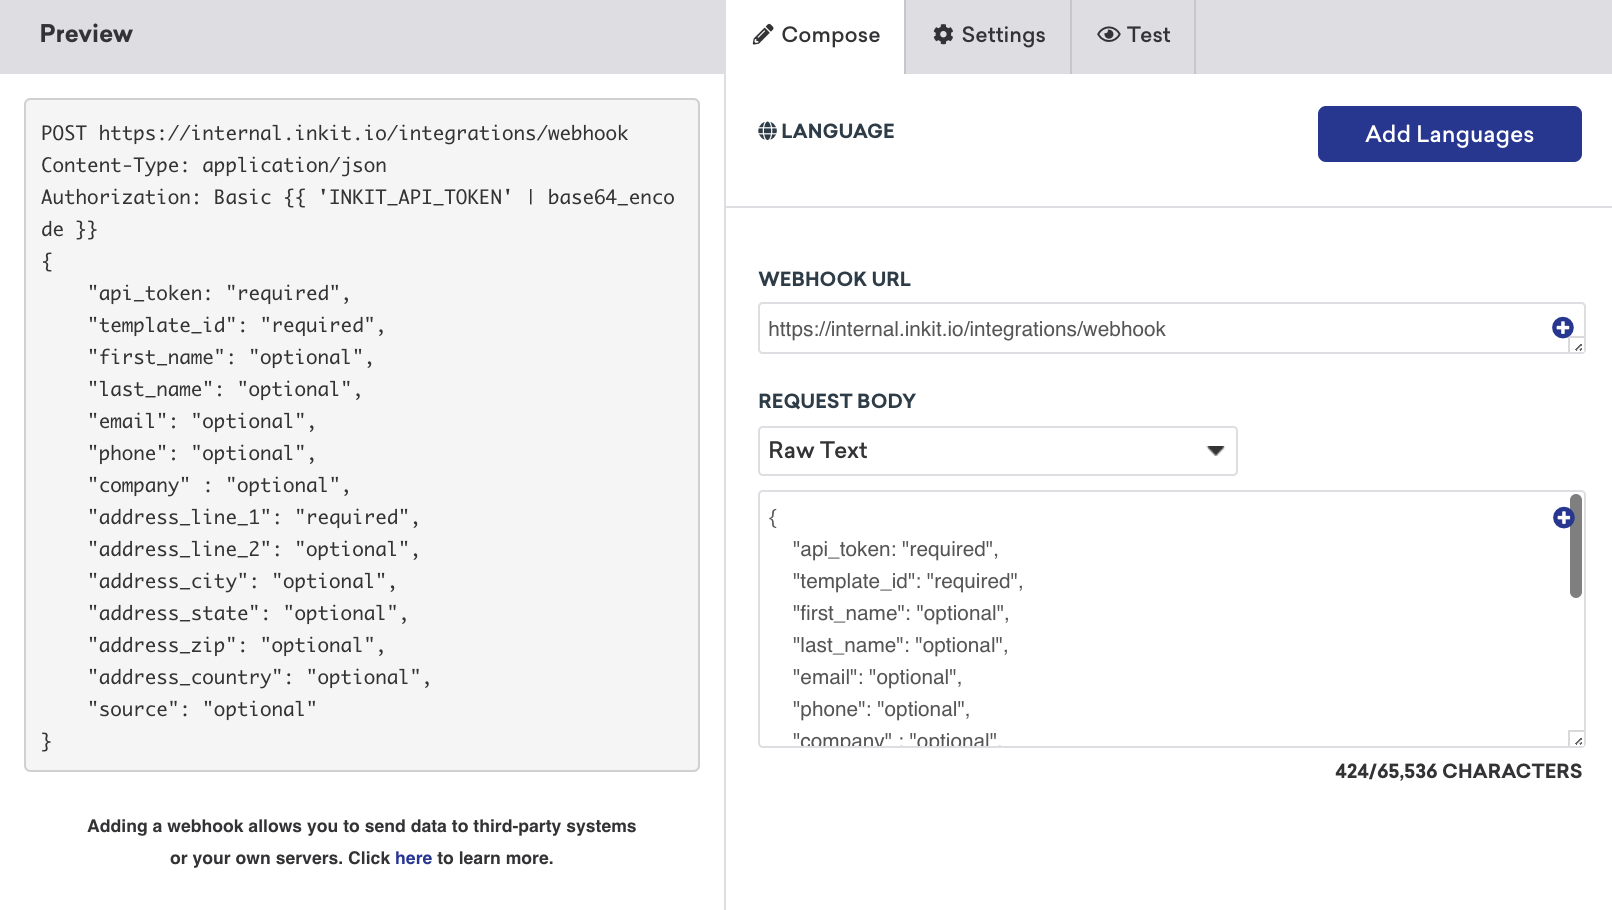
Once you have selected the Inkit webhook template, you should see the following:
- Webhook URL: Blank
- Request Body: Raw Text
In the Webhook URL field, you will need to create and input a Inkit webhook URL.
Request headers and method
Inkit requires an HTTP Header for authorization, including your Inkit API key encoded in base 64. The following will already be included within the template as a key-value pair, but in the Settings tab, you must replace the <INKIT_API_TOKEN> with your Inkit API key.
- HTTP Method: POST
- Request Header:
- Authorization: Basic
{{ '<INKIT_API_TOKEN>' | base64_encode }} - Content-Type: application/json
- Authorization: Basic
Request body
Ensure that your Liquid matches the proper custom attributes associated with the following required and optional fields. You can also add custom data fields to any request.
1
2
3
4
5
6
7
8
9
10
11
12
13
14
15
16
{
  "api_token": "<INKIT_API_TOKEN>",
  "template_id": "<INKIT_TEMPLATE_ID>",
  "first_name": "{{${first_name}}}",
  "last_name": "{{${last_name}}}",
  "email": "{{${email_address}}}",
  "company": "{{custom_attribute.${company_name}}}",
  "phone" : "{{${phone_number}}}",
  "address_line_1": "{{custom_attribute.${address}}}",
  "address_line_2": "{{custom_attribute.${address2}}}",
  "address_city": "{{${city}}}",
  "address_state": "{{custom_attribute.${state}}}",
  "address_zip": "{{custom_attribute.${zip}}}",
  "address_country": "{{${country}}}",
  "source" : "Braze"
}
Step 3: Preview your request
Your raw text will automatically highlight if it is an applicable Braze tag. street, unit, state, and zip must be set up as custom attributes to send this Webhook.
Preview your request in the Preview panel or navigate to the Test tab, where you can select a random user, an existing user, or customize your own to test your webhook.
Remember to save your template before leaving the page!
Updated webhook templates can be found in the Saved Webhook Templates list when creating a new webhook campaign.
 Edit this page on GitHub