OneTrust
OneTrust is a privacy and security software provider providing the visibility you need to better understand your trust landscape, action to leverage powerful insights, and automation to keep you elevated from the competition.
The Braze and OneTrust integration allows you to use the OneTrust workflow builder to create security workflows for your product.
Prerequisites
| Requirements | Description |
|---|---|
| OneTrust account | A OneTrust account to take advantage of this partnership. |
| Braze API key | A Braze REST API key with permissions required for the endpoint your OneTrust action will use. This can be created in the Braze dashboard from Settings > API Keys. |
| Braze instance | Your Braze instance can be obtained from your Braze onboarding manager or can be found on the API overview page. |
Integration
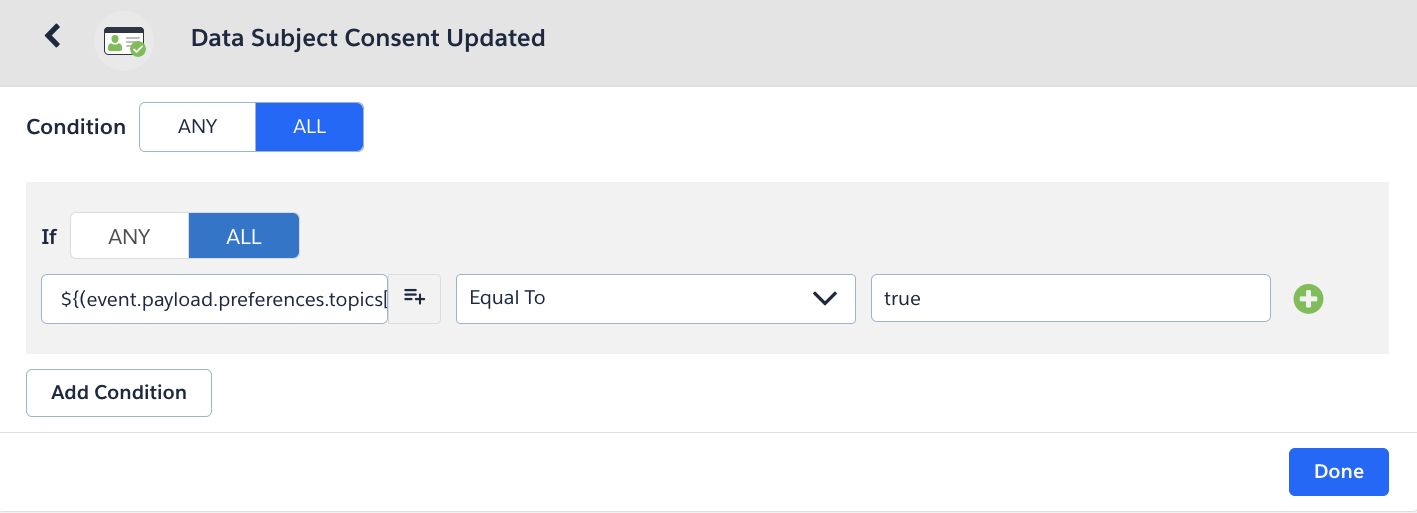
The following integration provides guidance on creating a user consent update workflow and a user delete workflow. For more details on additionally supported Braze endpoints, refer to Other supported actions.
Add Braze credentials to OneTrust
In the OneTrust Integrations menu, Navigate to Credentials > Add New button to bring up the Select System screen. Here, find Braze, then click the Next button.
Follow the prompts in the Enter Credential Details screen and provide the following information. Save your credentials when complete.
- Credential name
- Set the connector type to Web App
- Hostname:
<your-braze-instance-url> - Request Header:
- Authorization: Bearer
- Content-Type: application/json
- Token:
<your-braze-api-key>
Add Braze as a system
Step 1: Create a workflow
- In the OneTrust integrations menu, navigate to Gallery > Braze > Add to create a new workflow.
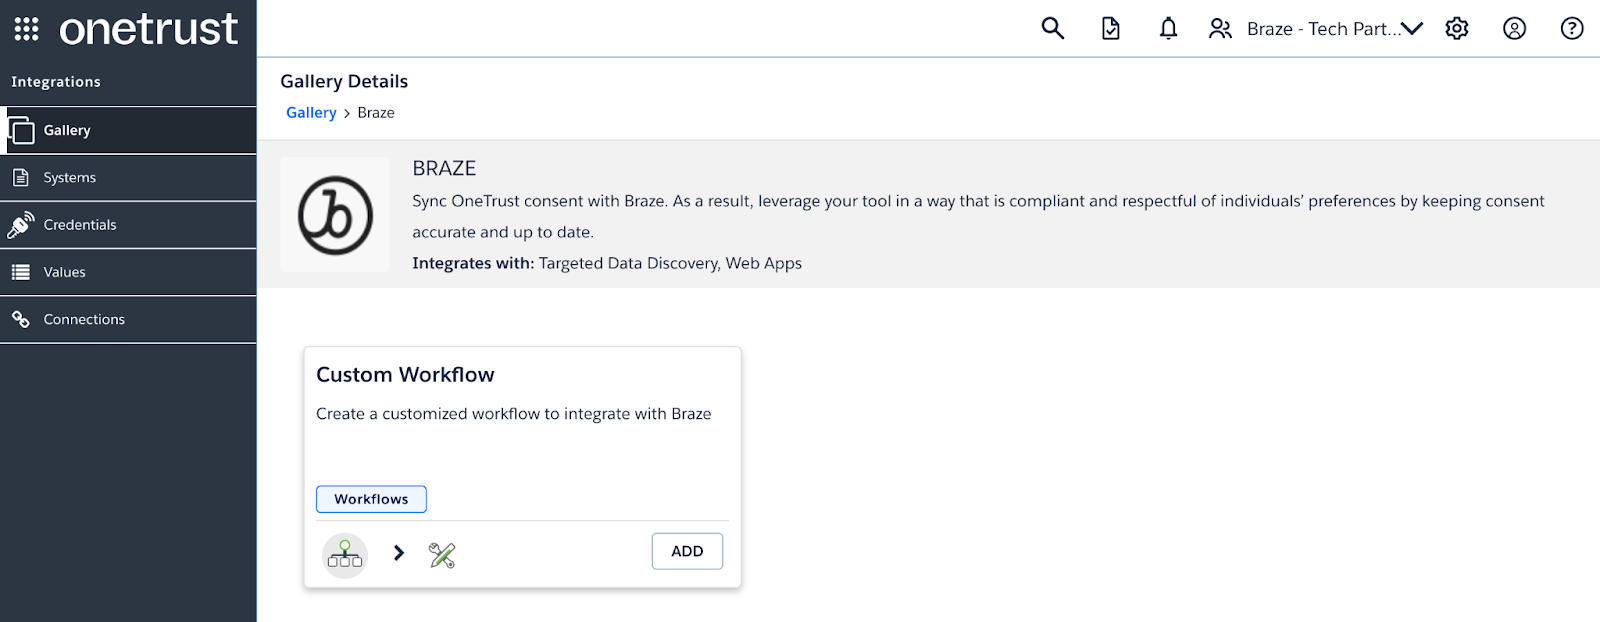
- Provide a name and notification email in the workflow modal. Click the Create button. On creation, you will be taken to the Workflow Builder. Your Braze workflow will be seeded with API calls and actions that can be used to process deletion requests.
- In the Workflow Builder, choose the action you want to trigger in the workflow.
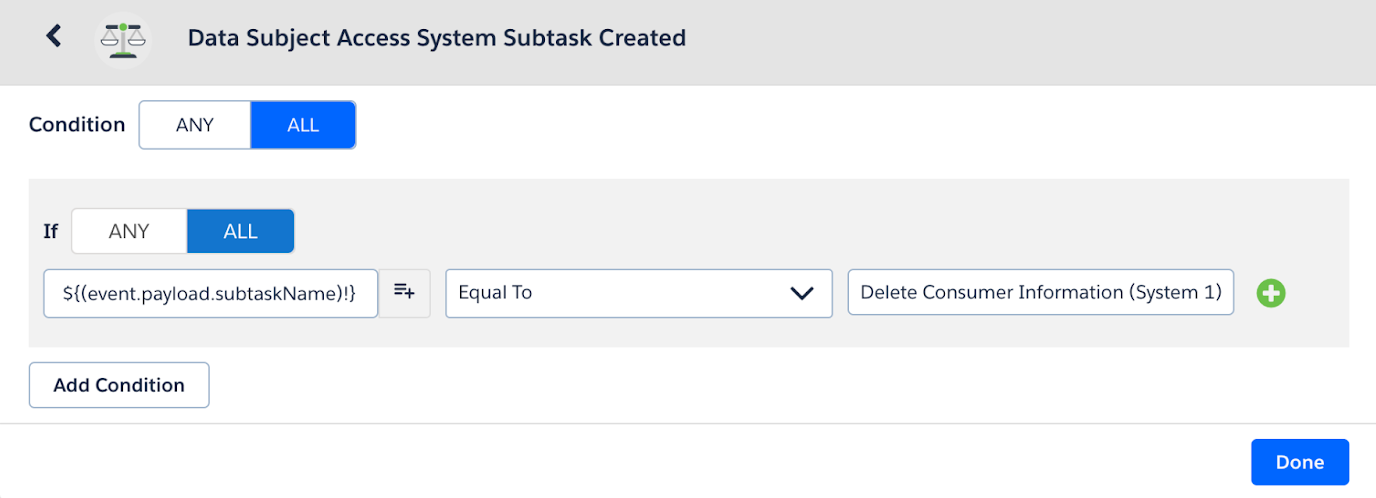
Step 2: Select action
- When complete, click Done and choose Add Action.
- To delete a user from Braze, choose the POST User Delete Action action.

- To delete a user from Braze, choose the POST User Delete Action action.
- Choose your desired Action, select your previously created Braze credentials, and click Next.

Step 3: Update request body
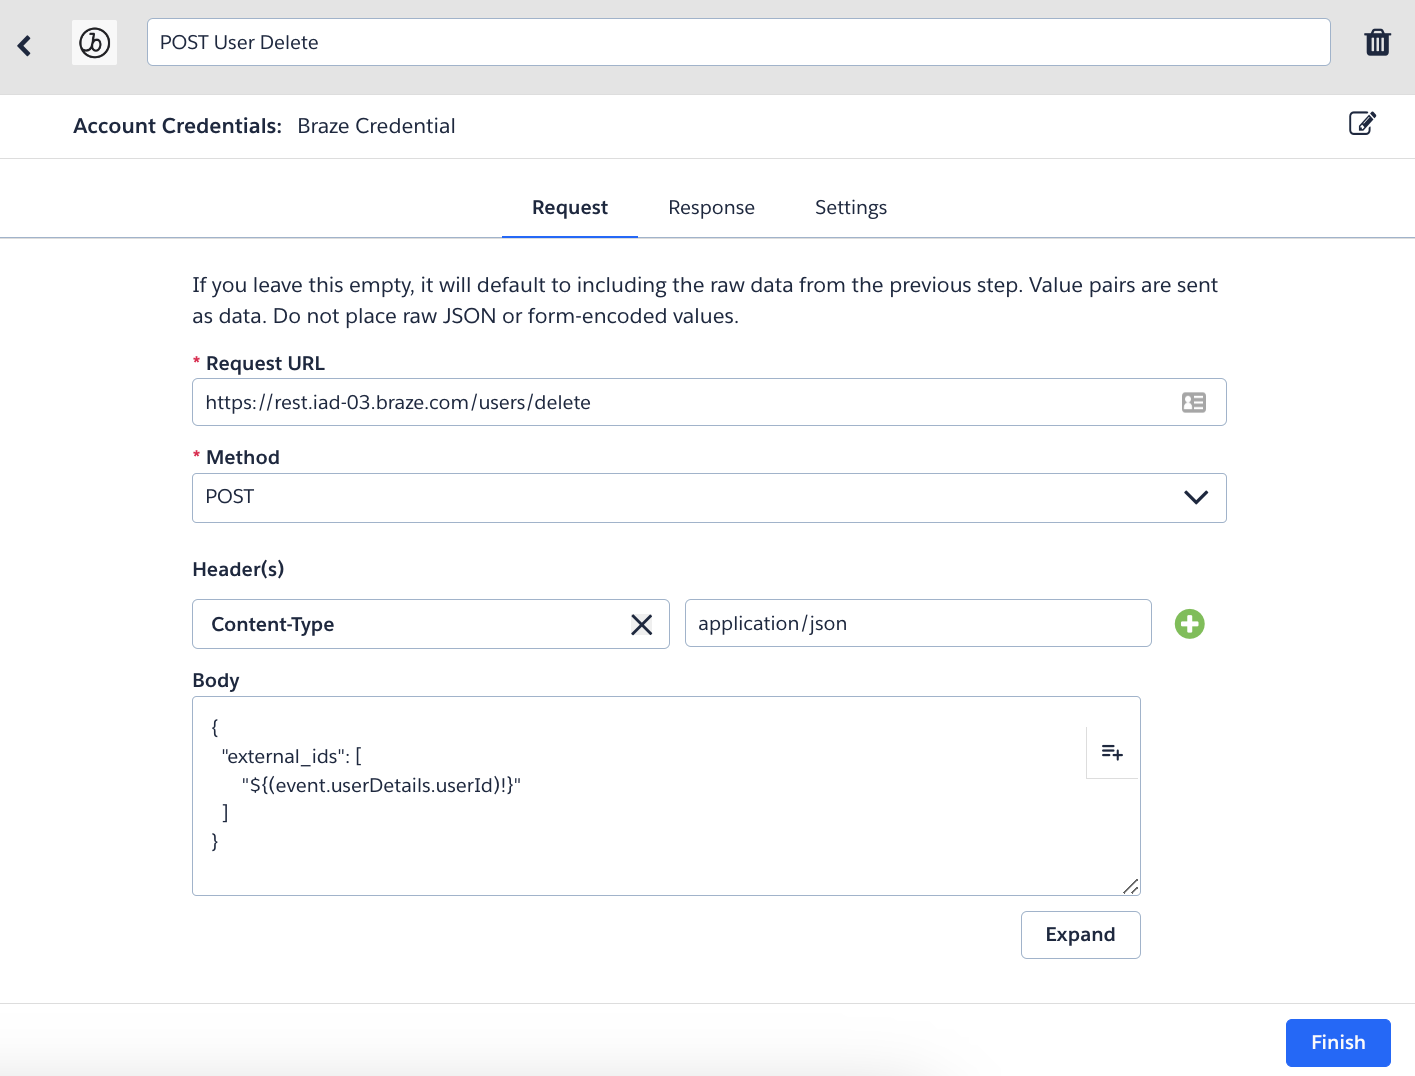
- Update the body to include any necessary dynamic values. Make sure the body of the action matches the
/users/deleteendpoint. - When finished editing, select Finish then Activate to enable the workflow.
Update the data subject request workflow
- On the Privacy Rights Automation menu, select Workflows.
- Select the workflow you want to update with the Braze integration.
- Select the Edit button to enable editing.
- Next, select the workflow step to add the Braze integration to and click Add Connection.
- Add the previously created Braze workflow as a system subtask.
Other supported actions
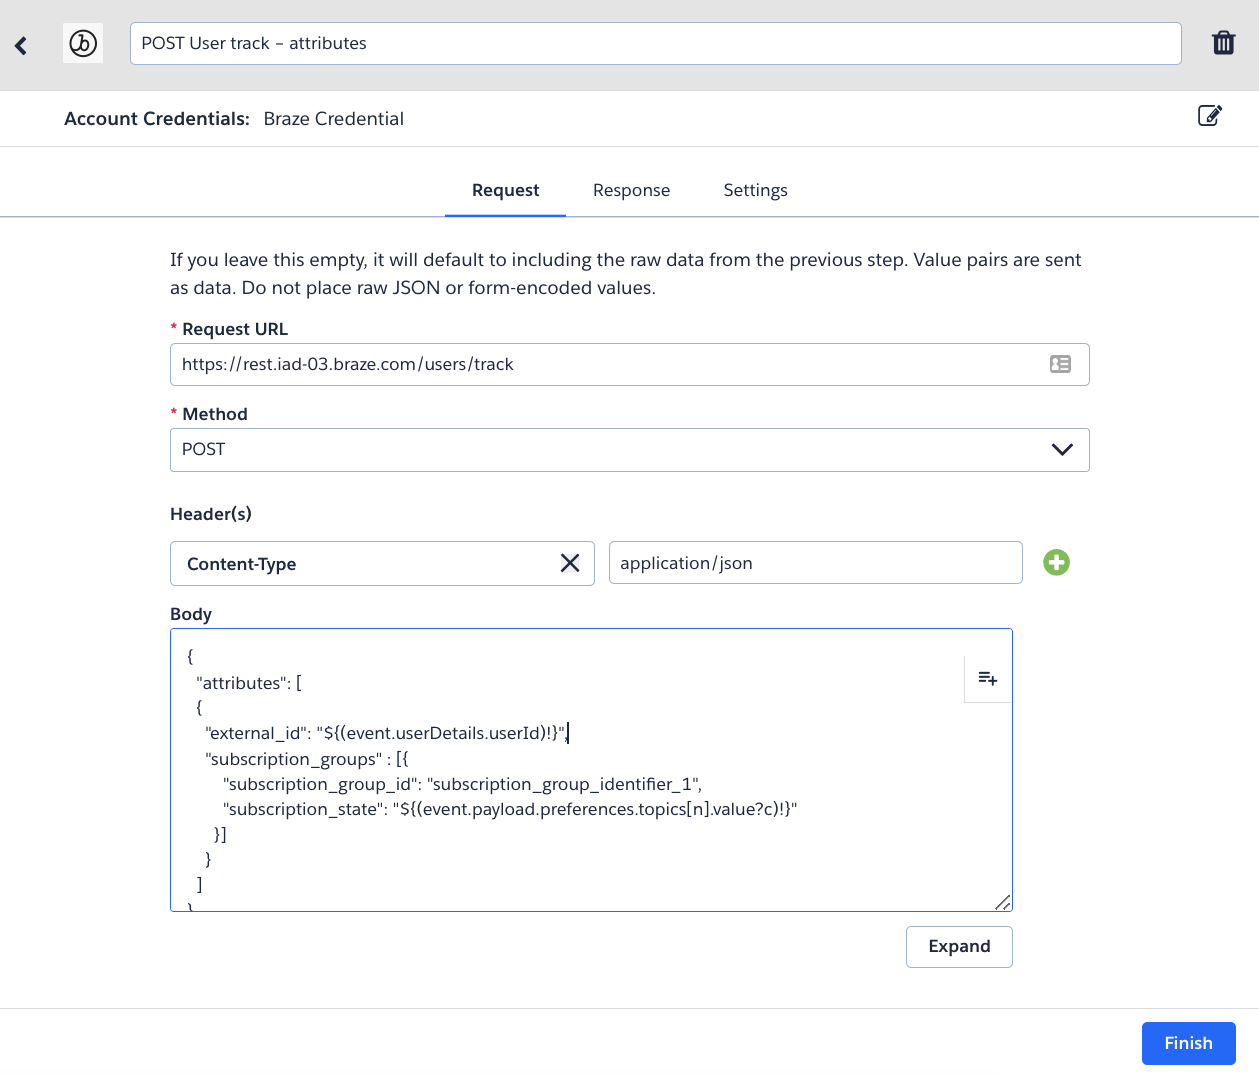
In addition to the POST User track - Attributes, POST Set Users Subscription Group Status, and POST User Delete actions, Braze supports other endpoints that can be used to create custom workflows and used as subtasks within existing workflows.
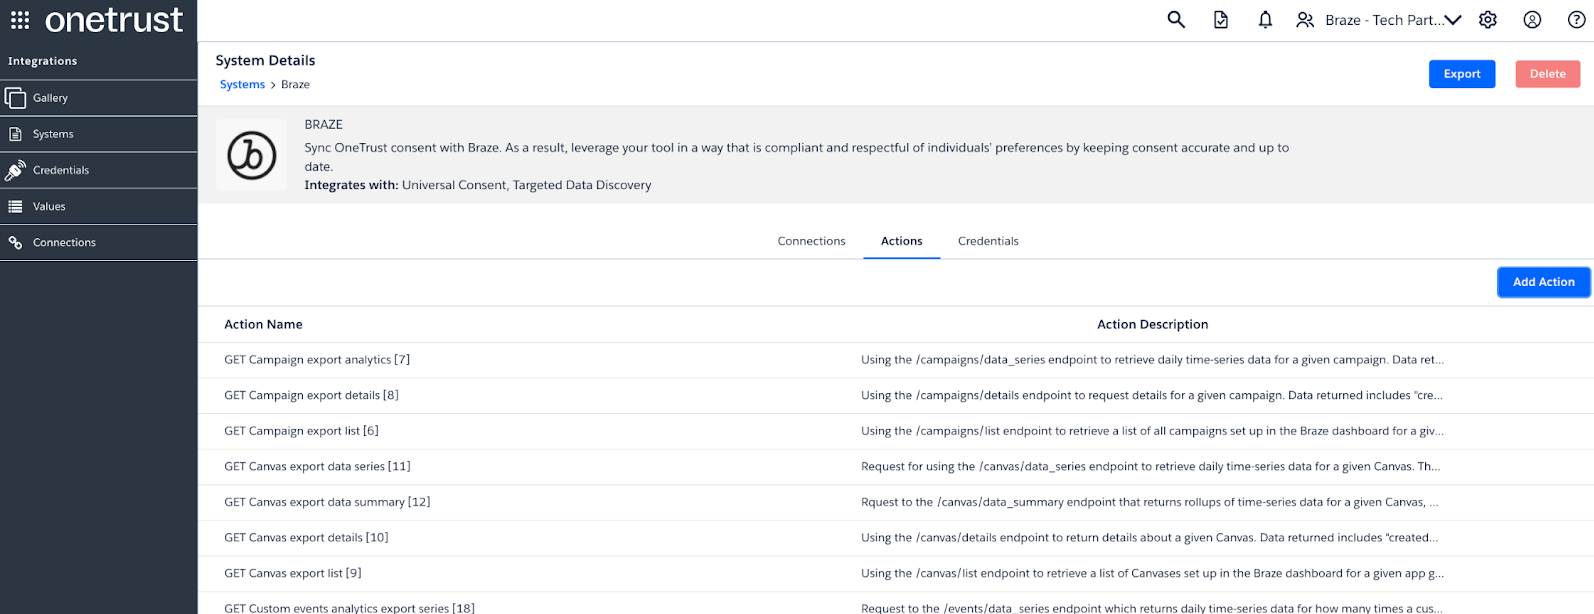
To see a full list of supported actions:
- In OneTrust, click into Systems from your Integrations menu.
- Choose the Braze system.
- Navigate to the Actions tab.

 Edit this page on GitHub