Email subscriptions
Learn about user subscription states, how to create and manage subscription groups, and how to segment users based on their subscriptions.
This document is for informational purposes only. It is not intended to provide, nor may it be relied upon as providing legal advice in any capacity. Sending marketing and transactional emails may be subject to specific legal requirements. To ensure that you are doing so in compliance with all applicable laws, rules, and regulations specific to your company, you should seek the advice of your legal counsel and/or regulatory compliance team.
Subscription states
Braze has three global subscription states for email users. These states gate your messages from users. For example, users in the unsubscribed state don’t receive messages targeted at subscribed or opted-in.
| State | Definition |
|---|---|
| Opted-in | A user has explicitly confirmed they want to receive email. We recommend an explicit opt-in process to get consent from users to send emails. |
| Subscribed | A user has neither unsubscribed nor explicitly opted-in to receive emails. This is the default subscription state when a user profile is created. |
| Unsubscribed | A user has explicitly unsubscribed from your emails. |
Braze does not count subscription state changes against your data points, globally, and around subscription groups.
Unsubscribed email addresses
Braze automatically unsubscribes any user who manually unsubscribes through a custom footer. If the user updates their email address and Resubscribe users when they update their email is enabled in Sending Configuration, normal sending resumes.
If a user marks one or more of your emails as spam, Braze sends only transactional emails to that user. Transactional emails refer to the Send to all users including unsubscribed users option in Target Audience.
Refer to our IP warming best practices for guidance on how to re-engage your users effectively.
Bounces and invalid emails
A Hard Bounce is when an email fails to deliver to the recipient due to a permanent delivery error. A hard bounce might occur because the domain name doesn’t exist or because the recipient is unknown.
A Soft Bounce is when an email fails to deliver to the recipient due to a temporary delivery error, even though the recipient’s email address is valid. A soft bounce might occur because the recipient’s inbox is full, the server was down, or the message was too large for the recipient’s inbox.
When an email address hard bounces, Braze doesn’t automatically set the user’s subscription state to “unsubscribed”. If an address hard bounces (invalid or doesn’t exist), Braze marks it invalid and doesn’t attempt further sends. If the user changes their email address, Braze resumes sending. Braze retries soft bounces for 72 hours.
Updating email subscription states
There are four ways to update a user’s email subscription state:
SDK integration
Use the Braze SDK to update a user’s subscription state.
REST API
Use the /users/track endpoint to update the email_subscribe attribute for a user. For example, to set a user’s email subscription state to unsubscribed when they use a custom unsubscribe link, include email_subscribe: "unsubscribed" in the user attributes in your request.
User profile
- Find the user through Search Users.
- Under Engagement, select Unsubscribed, Subscribed, or Opted In to change the user’s subscription status.
If available, the user profile also displays a timestamp for when the user’s subscription was last changed.
Preference center
Include Preference center Liquid at the bottom of your emails to let users opt in or out. Braze manages subscription state updates from the preference center.
Checking email subscription state

You can check a user’s email subscription state in the following ways:
- REST API export: Use the Export users by segment or Export users by identifier endpoints to export individual user profiles in JSON format.
- User profile: Find the user’s profile on the Search Users page, then select the Engagement tab to view and manually update a user’s subscription state.
When a user updates their email address, their subscription state will be set to subscribed, unless the updated email address already exists elsewhere in a Braze workspace.
Subscription groups
Subscription groups are segment filters that can further narrow your audience from the global subscription states. You can add up to 350 subscription groups per workspace. These groups allow you to present more granular subscription options to end-users.
For example, suppose you send out multiple categories of email campaigns (promotional, newsletter, or product updates). In that case, you can use subscription groups to let your customers pick and choose which email categories they want to subscribe or unsubscribe from in bulk from a single page, using an email preference center. Alternatively, you could use subscription groups to let your customers choose how frequently they want to receive emails from you, by creating subscription groups for daily, weekly, or monthly emails.
Use the Subscription Group endpoints to programmatically manage the subscription groups that you have stored on the Braze dashboard to the Subscription Group page.
Creating a subscription group
- Go to Audience > Subscription Group Management.
- Select Create email subscription group.
- Give your subscription group a name and description.
- Select Save.
All subscription groups are automatically added to your preference center.

Segmenting with a subscription group
When creating your segments, set the subscription group name as a filter. This will confirm that users who have opted into your group will receive your emails. This is great for monthly newsletters, coupons, membership tiers, and more.

Archiving subscription groups
Archived subscription groups cannot be edited and will no longer appear in segment filters or in your preference center. If you attempt to archive a group that is being used as a segment filter in any email, campaign, or Canvas, you will receive an error message that will prevent you from archiving the group until you remove all usages of it.
To archive your group from the Subscription Groups page, do the following:
- Find your group in the list of subscription groups.
- Select Archive from the dropdown menu.
Braze doesn’t process state changes for users in archived groups. For example, if you archive Subscription Group 1 while Alex is subscribed to it, Alex remains “subscribed” even if they click an unsubscribe link. This doesn’t matter because Subscription Group 1 is archived and you can’t send messages using it.
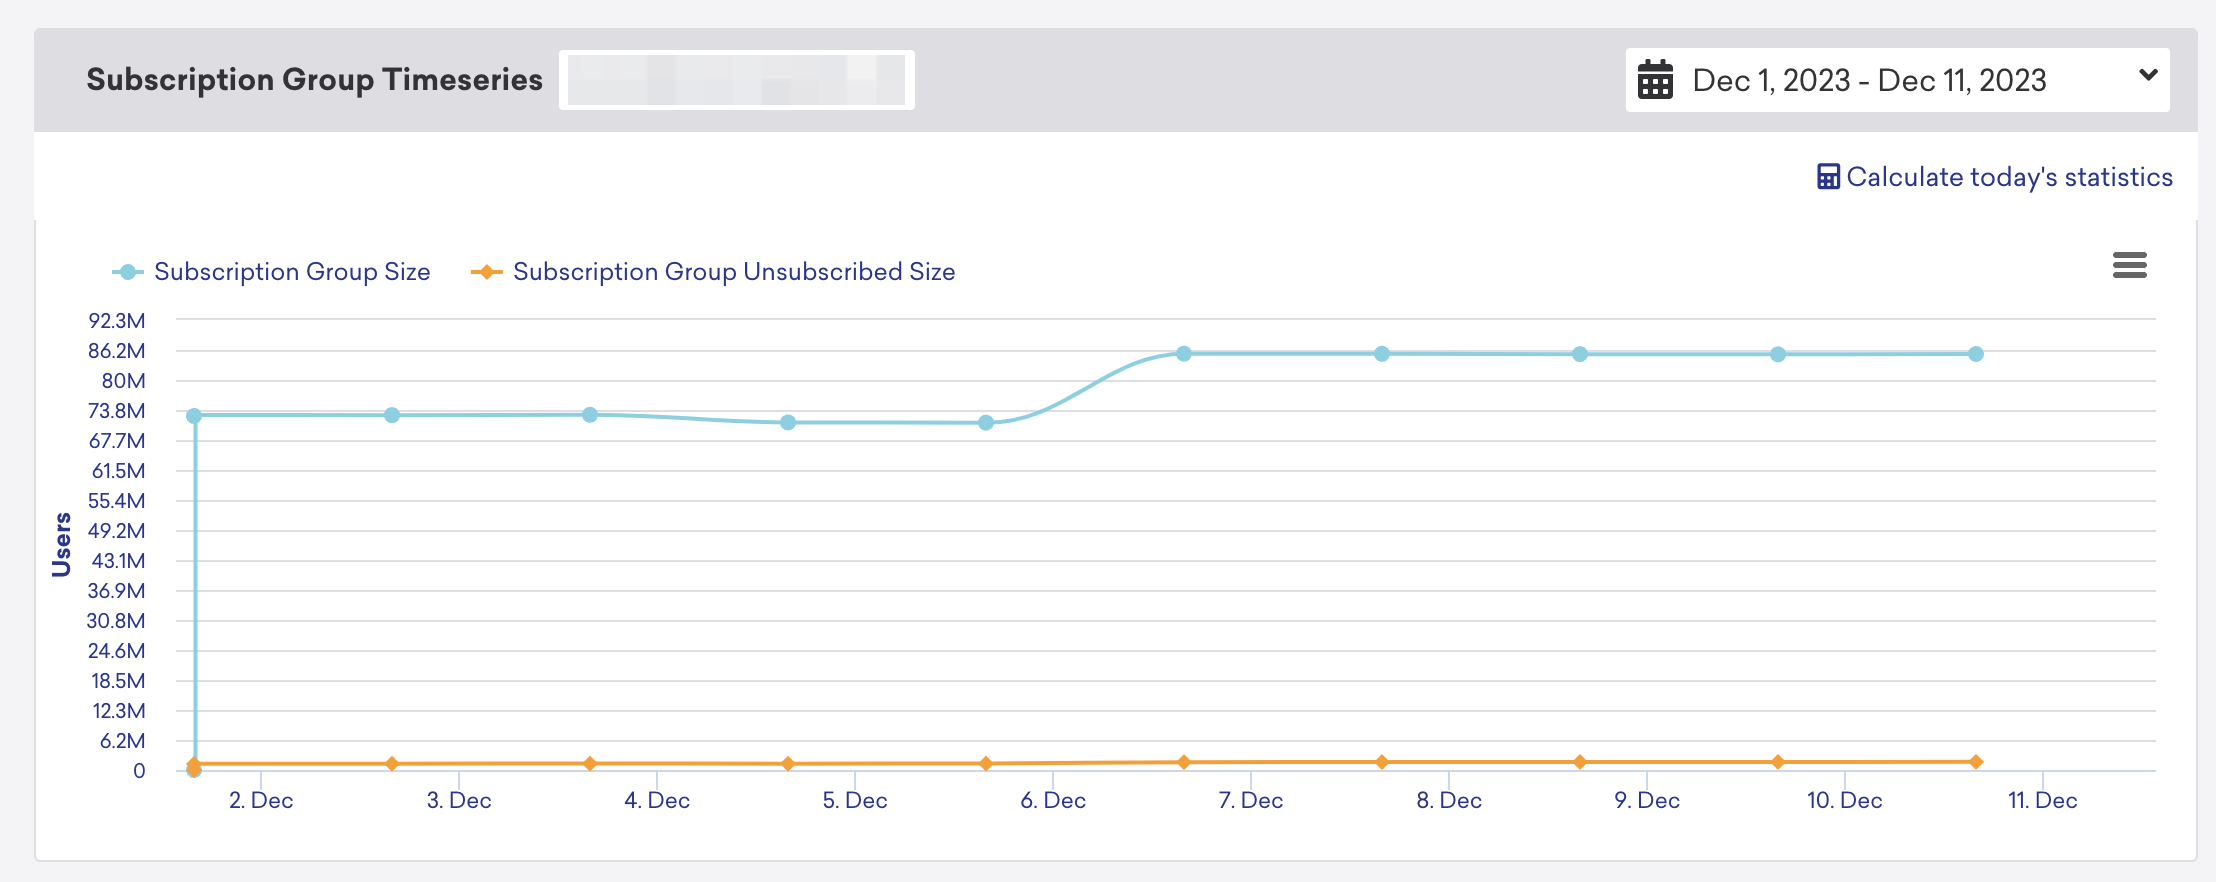
Viewing subscription group sizes
You can reference the Subscription Group Timeseries graph in the Subscription Groups page to view the subscription group size based on the number of users over a period of time. These subscription group sizes are also consistent with other areas of Braze, such as segment size calculation.
Viewing subscription groups in campaign analytics
You can see counts of users who changed their subscription state (subscribed or unsubscribed) from a specific email campaign on that campaign’s analytics page.
- From the Campaign Analytics page for your campaign, scroll down to the Email Message Performance section.
- Select the arrow under Subscription Groups to see the aggregate count of state changes, as submitted by your customers.

Checking a user’s email subscription group
- User profile: Individual user profiles can be accessed through the Braze dashboard from the Search Users page. Here, you can look up user profiles by email address, phone number, or external user ID. You can also view a user’s email subscription groups in the Engagement tab.
- Braze REST API: Use the List user’s subscription groups endpoint or List user’s subscription group status endpoint to view individual user profile’s subscription groups.
Email preference center
The email preference center lets you manage which users receive subscription group newsletters. Find it in the dashboard under Subscription Groups. Each subscription group you create is added to the preference center list.
To learn more about how to add or customize a preference center, refer to Preference center.
Changing email subscriptions
In most cases, users manage their email subscription through links included in the emails they receive. Insert a legally compliant footer with an unsubscribe link at the bottom of every email. When users select the unsubscribe URL, Braze unsubscribes them and shows a landing page confirming the change. Include this Liquid tag: ${set_user_to_unsubscribed_url}.
When a user selects “Unsubscribe from all of the above types of emails” in the preference center, Braze sets their global email subscription status to unsubscribed and unsubscribes them from all groups.
Creating custom footers
If you don’t want to use the default footer, create a workspace-wide custom email footer and template it into every email using {{${email_footer}}}.
This lets you avoid creating a new footer for every email template or email campaign. For steps, see Custom email footer.
Managing subscription states for Chinese IP addresses
If you anticipate Chinese IP addresses, don’t rely solely on an unsubscribe link to maintain unsubscribed lists. Provide alternate unsubscribe paths such as a support ticket or customer representative email.
Creating a custom unsubscribe page
When users select an unsubscribe URL, Braze shows a default landing page confirming the change.
To create a custom landing page (instead of the default) shown after subscribing:
- Go to Email Preferences > Subscription Pages and Footers.
- Provide the HTML for your custom landing page.
Include a resubscribe link (such as {{${set_user_to_subscribed_url}}}) so users can resubscribe if they unsubscribed by accident.

Creating a custom opt-in page
Use a custom opt-in page to let users acknowledge and control notification preferences before subscription. This additional communication can help email campaigns stay out of spam folders.
- Go to Settings > Email Preferences.
- Select Subscription Pages and Footers.
- Customize the styling in the Custom opt-in page section to see how that indicates to your users that they’ve been subscribed.
Users reach this page through the {{${set_user_to_opted_in_url}}} tag.
Use a double opt-in process to improve outreach. Braze sends an additional confirmation email where a user confirms notification preferences via a link. After confirmation, the user is opted in.

Subscriptions and campaign targeting
By default, Braze targets campaigns with push or email messages at users who are subscribed or opted in. Change this in Target Audience by selecting the dropdown next to Send to these users:.
Braze supports three targeting states:
- Users who are subscribed or opted-in (default).
- Only users who are opted-in.
- All users, including those who have unsubscribed.
It’s your responsibility to comply with any applicable spam laws when using these targeting settings.
Segmenting by user subscriptions
Use the “Email Subscription Status” and “Push Subscription Status” filters to segment users by subscription status.
Use this to target users who have neither opted in nor out and encourage an explicit opt in. Create a segment with the filter “Email/Push Subscription Status is Subscribed” and send campaigns to users who are subscribed but not opted in.

 Edit this page on GitHub