Creating a feature flag experiment
Feature flag experiments let you A/B test changes to your applications to optimize conversion rates. Marketers can use feature flags to determine whether a new feature positively or negatively impacts conversion rates, or which set of feature flag properties is most optimal.
Prerequisites
Before you can track user data in the experiment, your app needs to record when a user interacts with a feature flag. This is called a feature flag impression. Make sure to log a feature flag impression whenever a user sees or could have seen the feature you’re testing, even if they’re in the control group.
To learn more about logging feature flag impressions, see Creating feature flags.
1
2
3
4
5
6
7
8
const featureFlag = braze.getFeatureFlag("my-new-feature");
braze.logFeatureFlagImpression("my-new-feature");
if (featureFlag?.enabled) {
   return <NewFeature />
} else {
   return <ExistingFeature />
}
Step 1: Create an experiment
- Go to Messaging > Campaigns and click + Create Campaign.
- Select Feature Flag Experiment.
- Name your campaign something clear and meaningful.
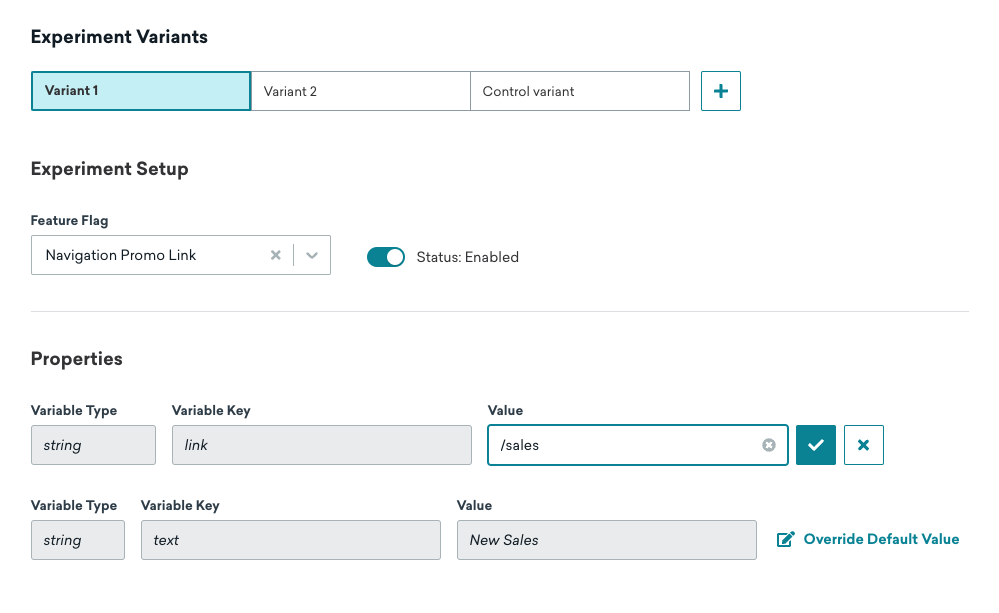
Step 2: Add experiment variants
Next, create variations. For each variant, choose the feature flag you want to turn on or off and review the assigned properties.
To test the impact of your feature, use variants to split traffic into two or more groups. Name one group “My control group” and turn its feature flags off.
Overwriting properties
Though you specified default properties when you originally set up your feature flag, you can choose to overwrite those values for users who receive a specific campaign variant.
To edit, add, or remove additional default properties, edit the feature flag itself from Messaging > Feature Flags.
Step 3: Choose users to target
Next, you need to target users by choosing segments or filters to narrow down your audience. Segment membership is calculated when feature flags are refreshed for a given user.
Your target audience will be eligible for the feature flag as soon as you save a rollout greater than 0%. Changes are made available once your app refreshes feature flags, or when a new session is started.
Step 4: Distribute variants
Choose the percentage distribution for your experiment. As a best practice, you should not change the distribution once your experiment has been launched.
Step 5: Assign conversions
Braze lets you to track how often users perform specific actions, conversion events, after receiving a campaign. Specify up to a 30-day window during which a conversion will be counted if the user takes the specified action.
Step 6: Review and launch
After you’ve finished building the last of your experiment, review its details, then click Launch Experiment.
 Edit this page on GitHub