Push notifications integration
This reference article covers how to set push notifications for Flutter. Integrating push notifications requires setting up each native platform separately. Follow the respective guides listed to finish the installation.
Step 1: Complete the initial setup
Step 1.1: Register for push
Register for push using Google’s Firebase Cloud Messaging (FCM) API. For a full walkthrough, refer to the following steps from the Native Android push integration guide:
- Add Firebase to your project.
- Add Cloud Messaging to your dependencies.
- Create a service account.
- Generate JSON credentials.
- Upload your JSON credentials to Braze.
Step 1.2: Add your Google Sender ID
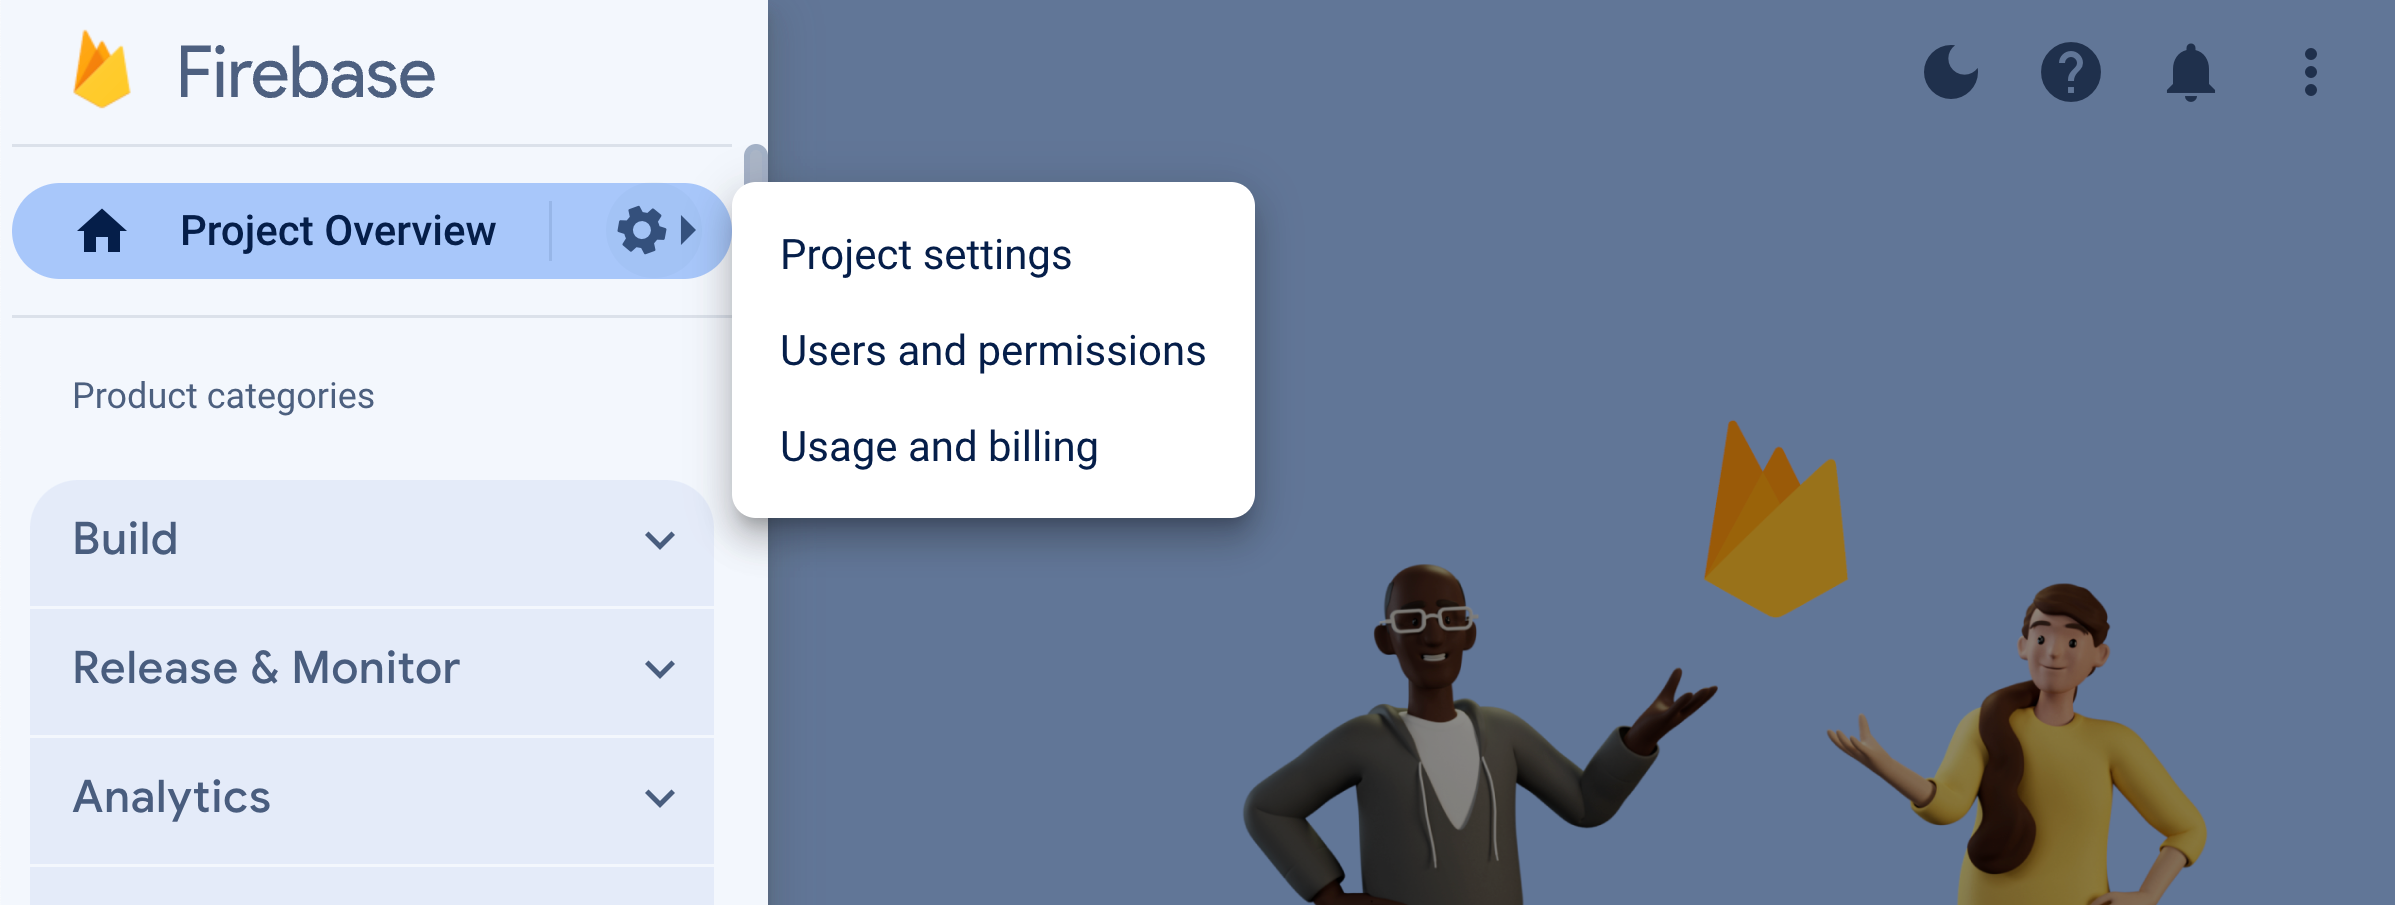
First, go to Firebase Console, open your project, then select Settings > Project settings.
Select Cloud Messaging, then under Firebase Cloud Messaging API (V1), copy the Sender ID to your clipboard.

Next, open your project’s app.json file and set your firebaseCloudMessagingSenderId property to the Sender ID in your clipboard. For example:
1
"firebaseCloudMessagingSenderId": "693679403398"
Step 1.3: Update your sender ID
Add the following to your braze.xml file. Replace FIREBASE_SENDER_ID with the sender ID you copied previously.
1
2
<bool translatable="false" name="com_braze_firebase_cloud_messaging_registration_enabled">true</bool>
<string translatable="false" name="com_braze_firebase_cloud_messaging_sender_id">FIREBASE_SENDER_ID</string>
Step 1.1: Upload APNs certificates
Generate an Apple Push Notification service (APNs) certificate and uploaded it to the Braze dashboard. For a full walkthrough, see Uploading your APNs certificate.
Step 1.2: Add push notification support to your app
Follow the native iOS integration guide.
Step 2: Listen for push notification events (optional)
To listen for push notification events that Braze has detected and handled, call subscribeToPushNotificationEvents() and pass in an argument to execute.
Braze push notification events are available on both Android and iOS. Due to platform differences, iOS will only detect Braze push events when a user has interacted with a notification.
1
2
3
4
5
6
7
8
9
10
// Create stream subscription
StreamSubscription pushEventsStreamSubscription;

pushEventsStreamSubscription = braze.subscribeToPushNotificationEvents((BrazePushEvent pushEvent) {
  print("Push Notification event of type ${pushEvent.payloadType} seen. Title ${pushEvent.title}\n and deeplink ${pushEvent.url}");
  // Handle push notification events
});

// Cancel stream subscription
pushEventsStreamSubscription.cancel();
Push notification event fields
Because of platform limitations on iOS, the Braze SDK can only process push payloads while the app is in the foreground. Listeners will only trigger for the push_opened event type on iOS after a user has interacted with a push.
For a full list of push notification fields, refer to the table below:
| Field Name | Type | Description |
|---|---|---|
payloadType |
String | Specifies the notification payload type. The two values that are sent from the Braze Flutter SDK are push_opened and push_received. Only push_opened events are supported on iOS. |
url |
String | Specifies the URL that was opened by the notification. |
useWebview |
Boolean | If true, URL will open in-app in a modal webview. If false, the URL will open in the device browser. |
title |
String | Represents the title of the notification. |
body |
String | Represents the body or content text of the notification. |
summaryText |
String | Represents the summary text of the notification. This is mapped from subtitle on iOS. |
badgeCount |
Number | Represents the badge count of the notification. |
timestamp |
Number | Represents the time at which the payload was received by the application. |
isSilent |
Boolean | If true, the payload is received silently. For details on sending Android silent push notifications, refer to Silent push notifications on Android. For details on sending iOS silent push notifications, refer to Silent push notifications on iOS. |
isBrazeInternal |
Boolean | This will be true if a notification payload was sent for an internal SDK feature, such as geofences sync, Feature Flag sync, or uninstall tracking. The payload is received silently for the user. |
imageUrl |
String | Specifies the URL associated with the notification image. |
brazeProperties |
Object | Represents Braze properties associated with the campaign (key-value pairs). |
ios |
Object | Represents iOS-specific fields. |
android |
Object | Represents Android-specific fields. |
Step 3: Test displaying push notifications
To test your integration after configuring push notifications in the native layer:
- Set an active user in the Flutter application. To do so, initialize your plugin by calling
braze.changeUser('your-user-id'). - Head to Campaigns and create a new push notification campaign. Choose the platforms that you’d like to test.
- Compose your test notification and head over to the Test tab. Add the same
user-idas the test user and click Send Test. - You should receive the notification on your device shortly. You may need to check in the Notification Center or update Settings if it doesn’t display.
Starting with Xcode 14, you can test remote push notifications on an iOS simulator.
 Edit this page on GitHub