Migrating to the Firebase Cloud Messaging API
Learn how to migrate from Google’s deprecated Cloud Messaging API to their fully-supported Firebase Cloud Messaging (FCM) API. For more information, see Google’s Firebase FAQ - 2023.
If this is your first time setting up the push integration for Android, see Standard Android push integration instead.
Rate limit
Firebase Cloud Messaging (FCM) API has a default rate limit of 600,000 requests per minute. If you reach this limit, Braze will automatically try again in a few minutes. To request an increase, contact Firebase Support.
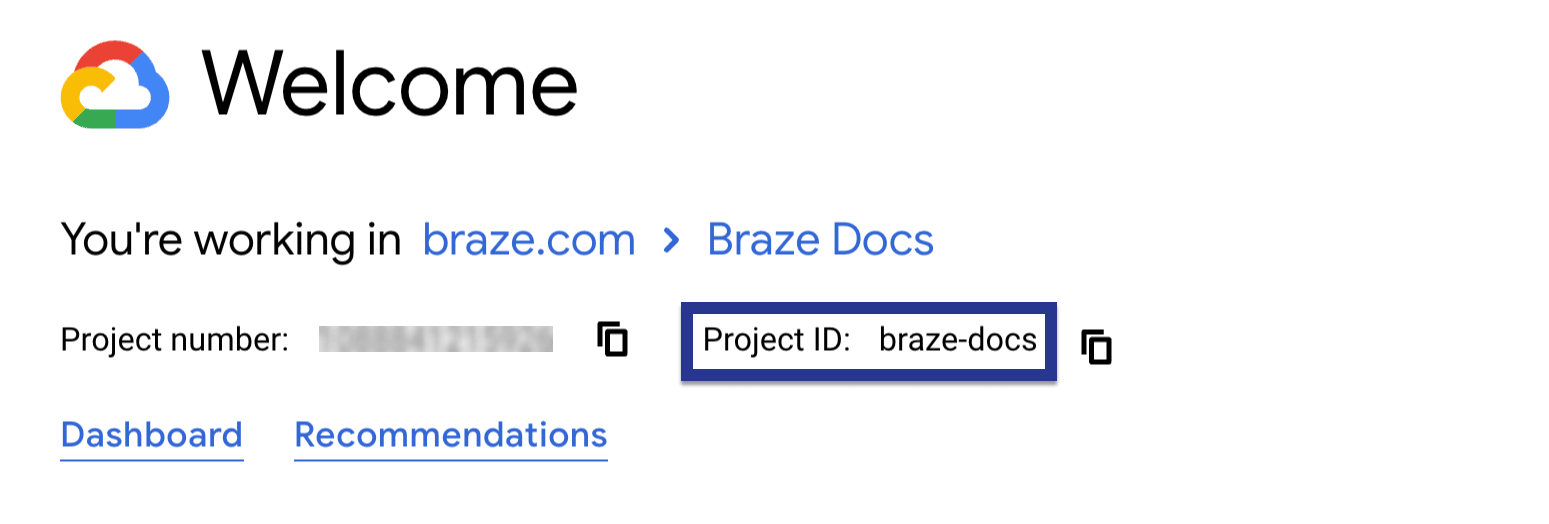
Step 1: Verify your Project ID
First, open Google Cloud. On your project’s home page, check the number in the Project ID field—you’ll compare this to the one in your Firebase project next.
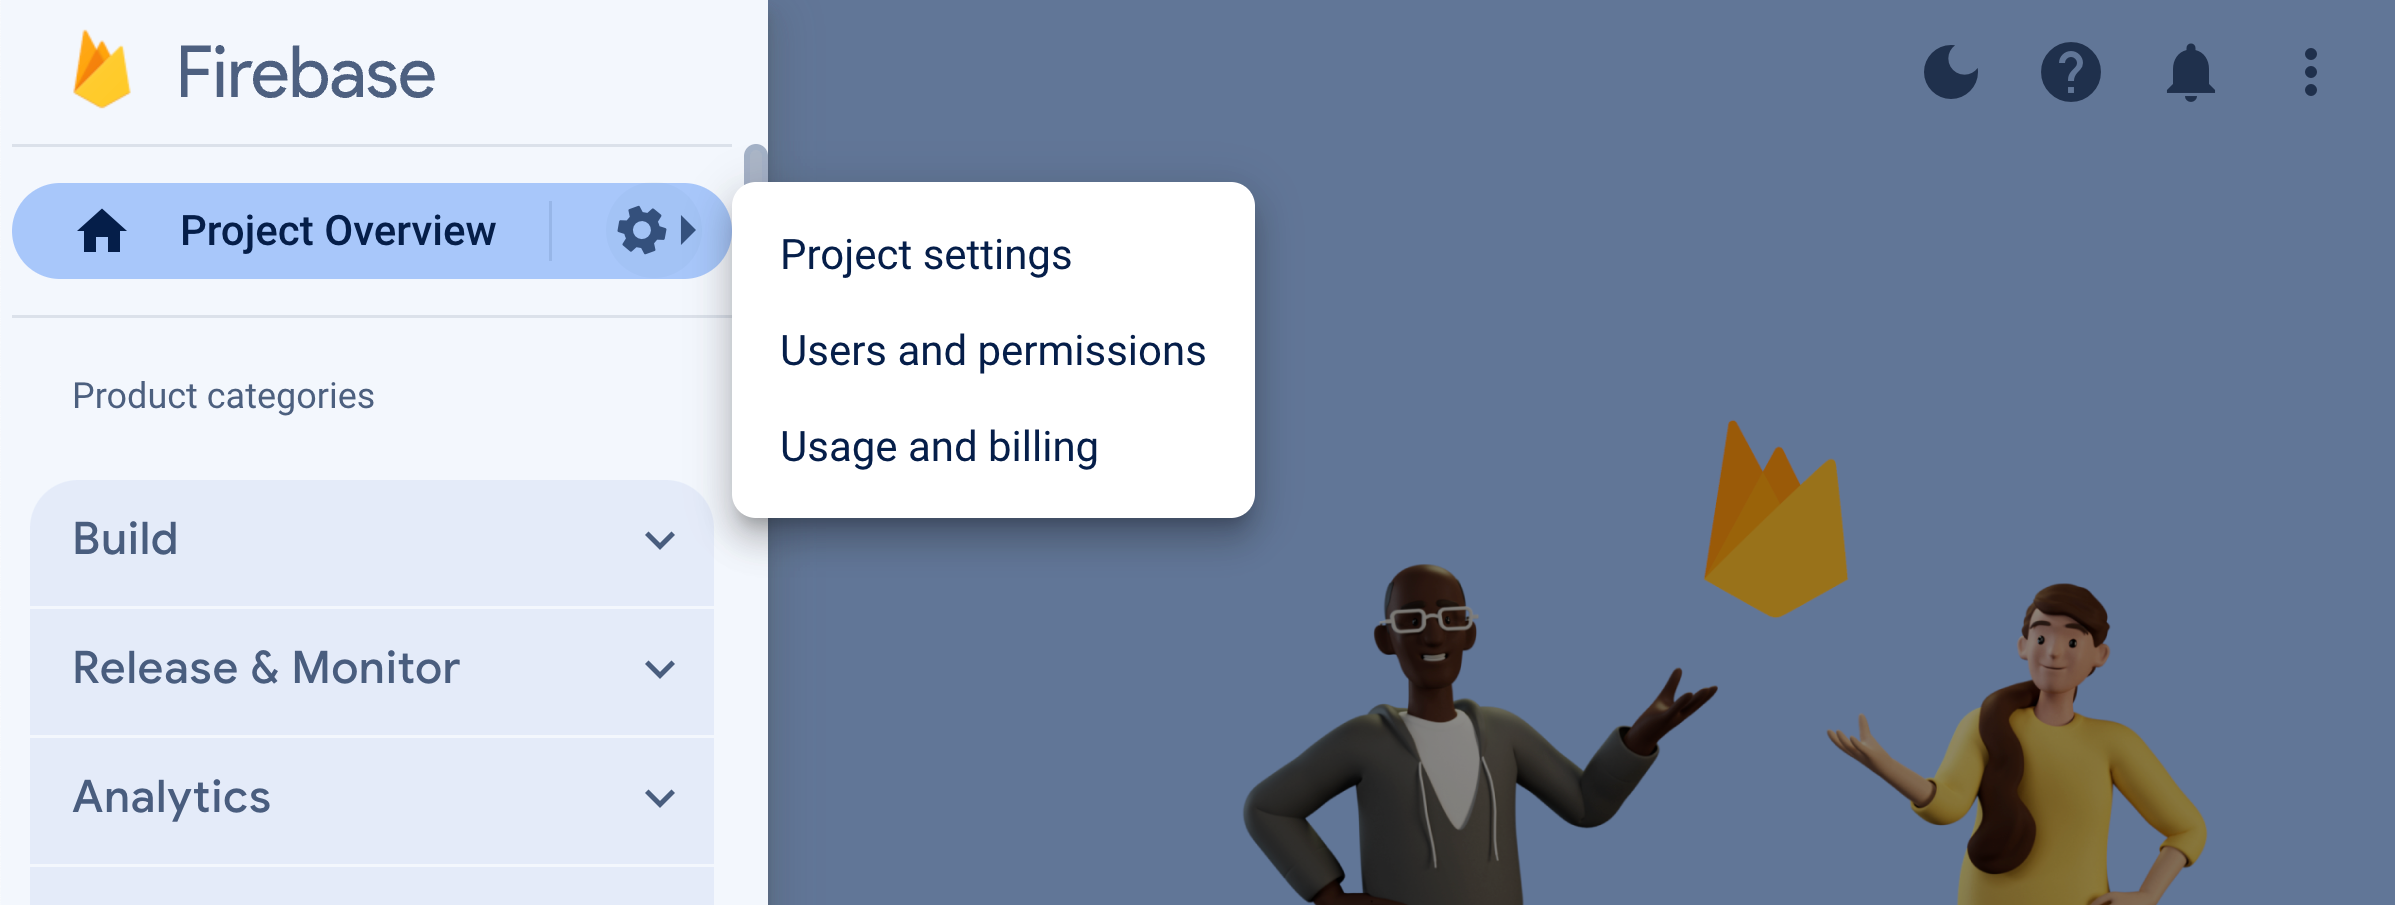
Next, open Firebase Console, then select Settings > Project settings.
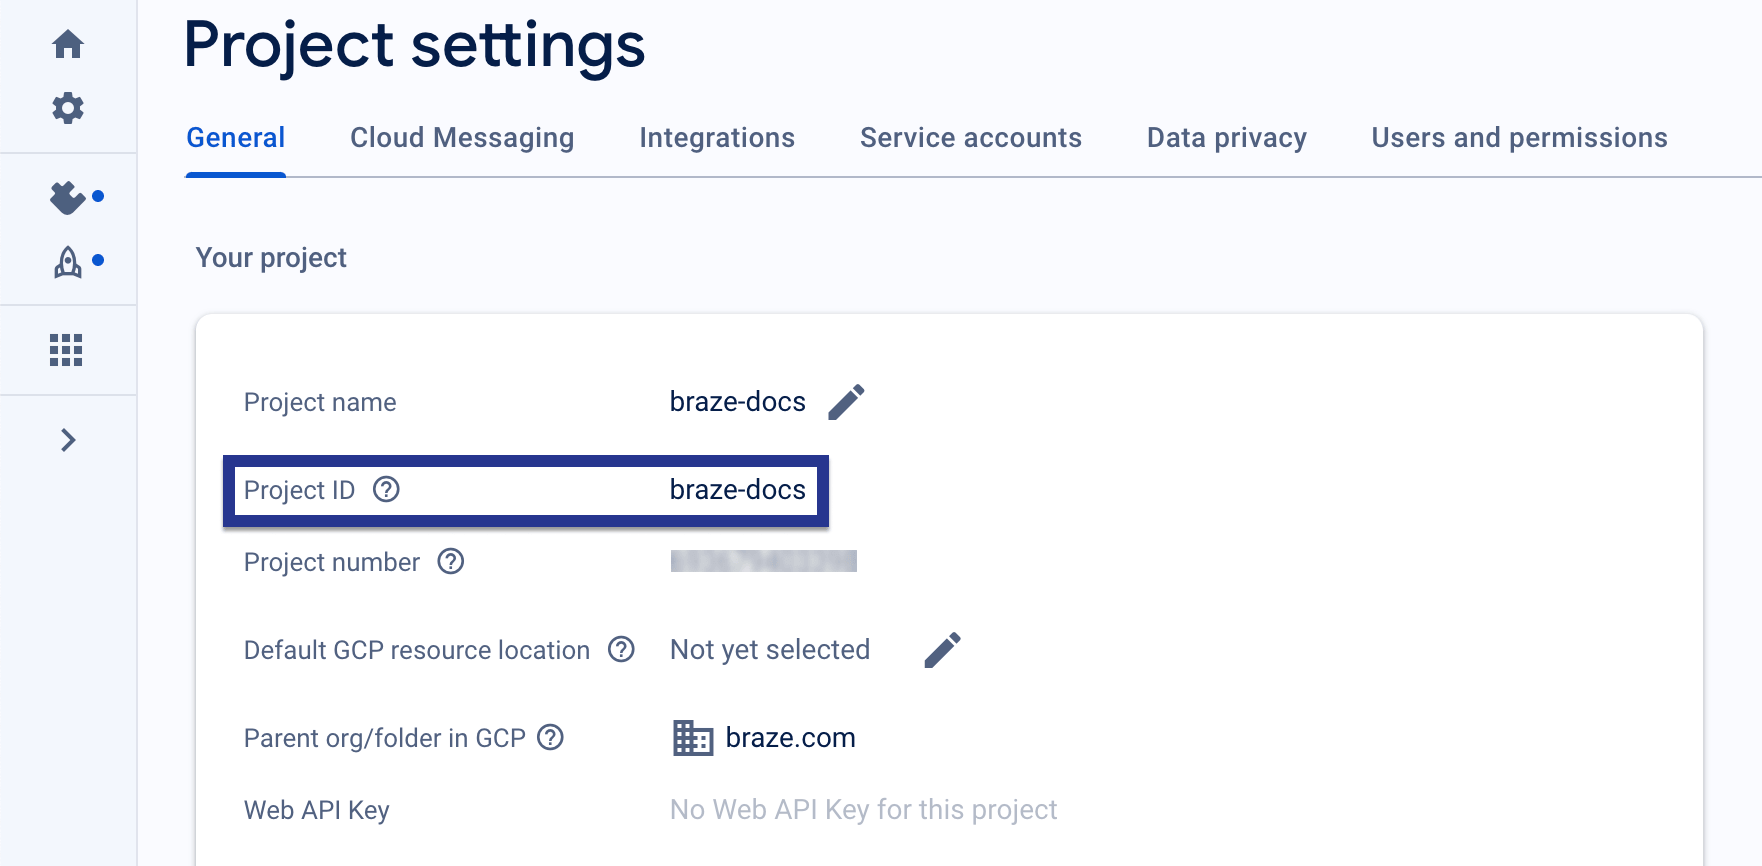
In the General tab, verify the Project ID matches the one listed in your Google Cloud project.
Step 2: Verify your Sender ID
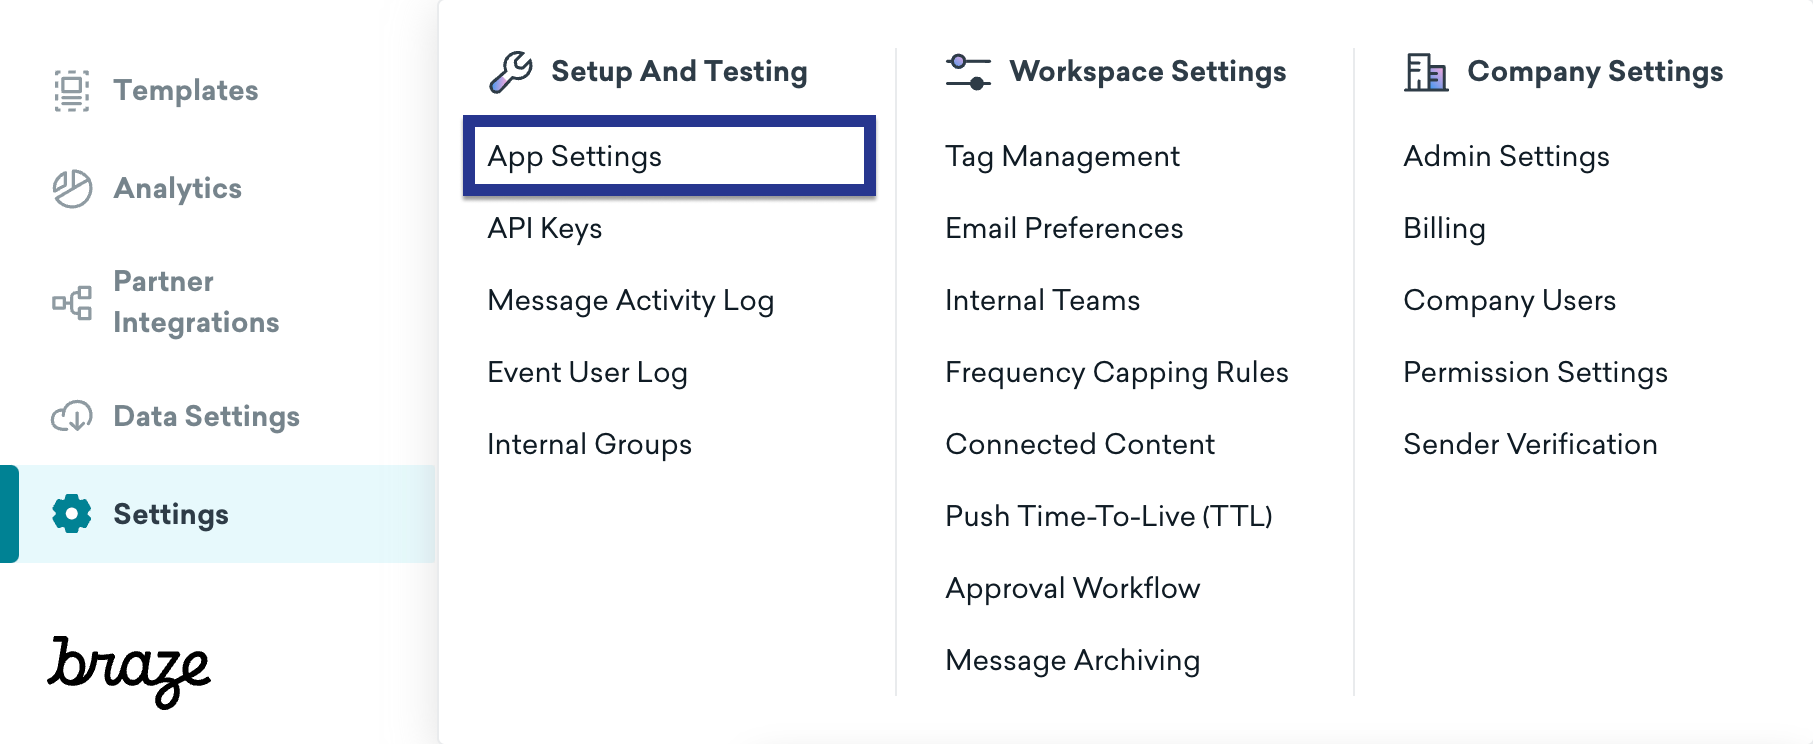
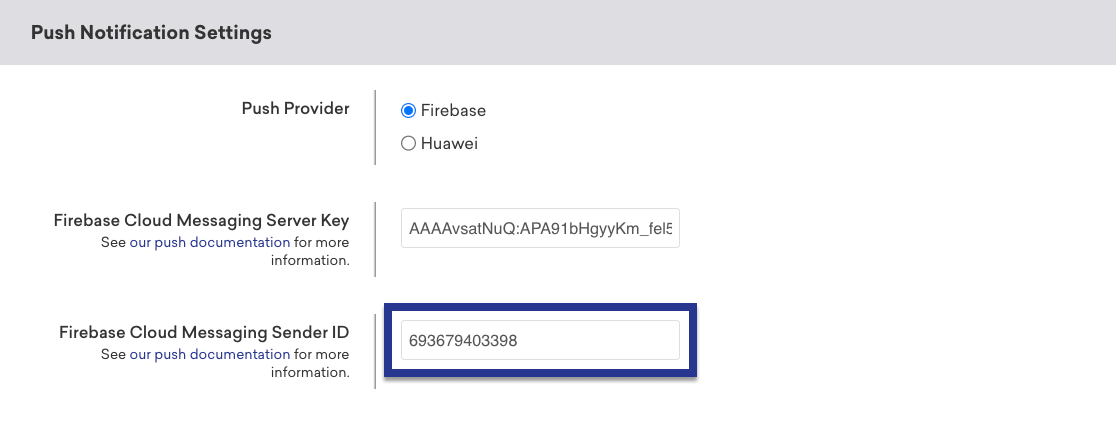
First, open Braze, then select Settings > App Settings.
Under your Android app’s Push Notification Settings, check the number in the Firebase Cloud Messaging Sender ID field—you’ll compare this to the one in your Firebase project next.
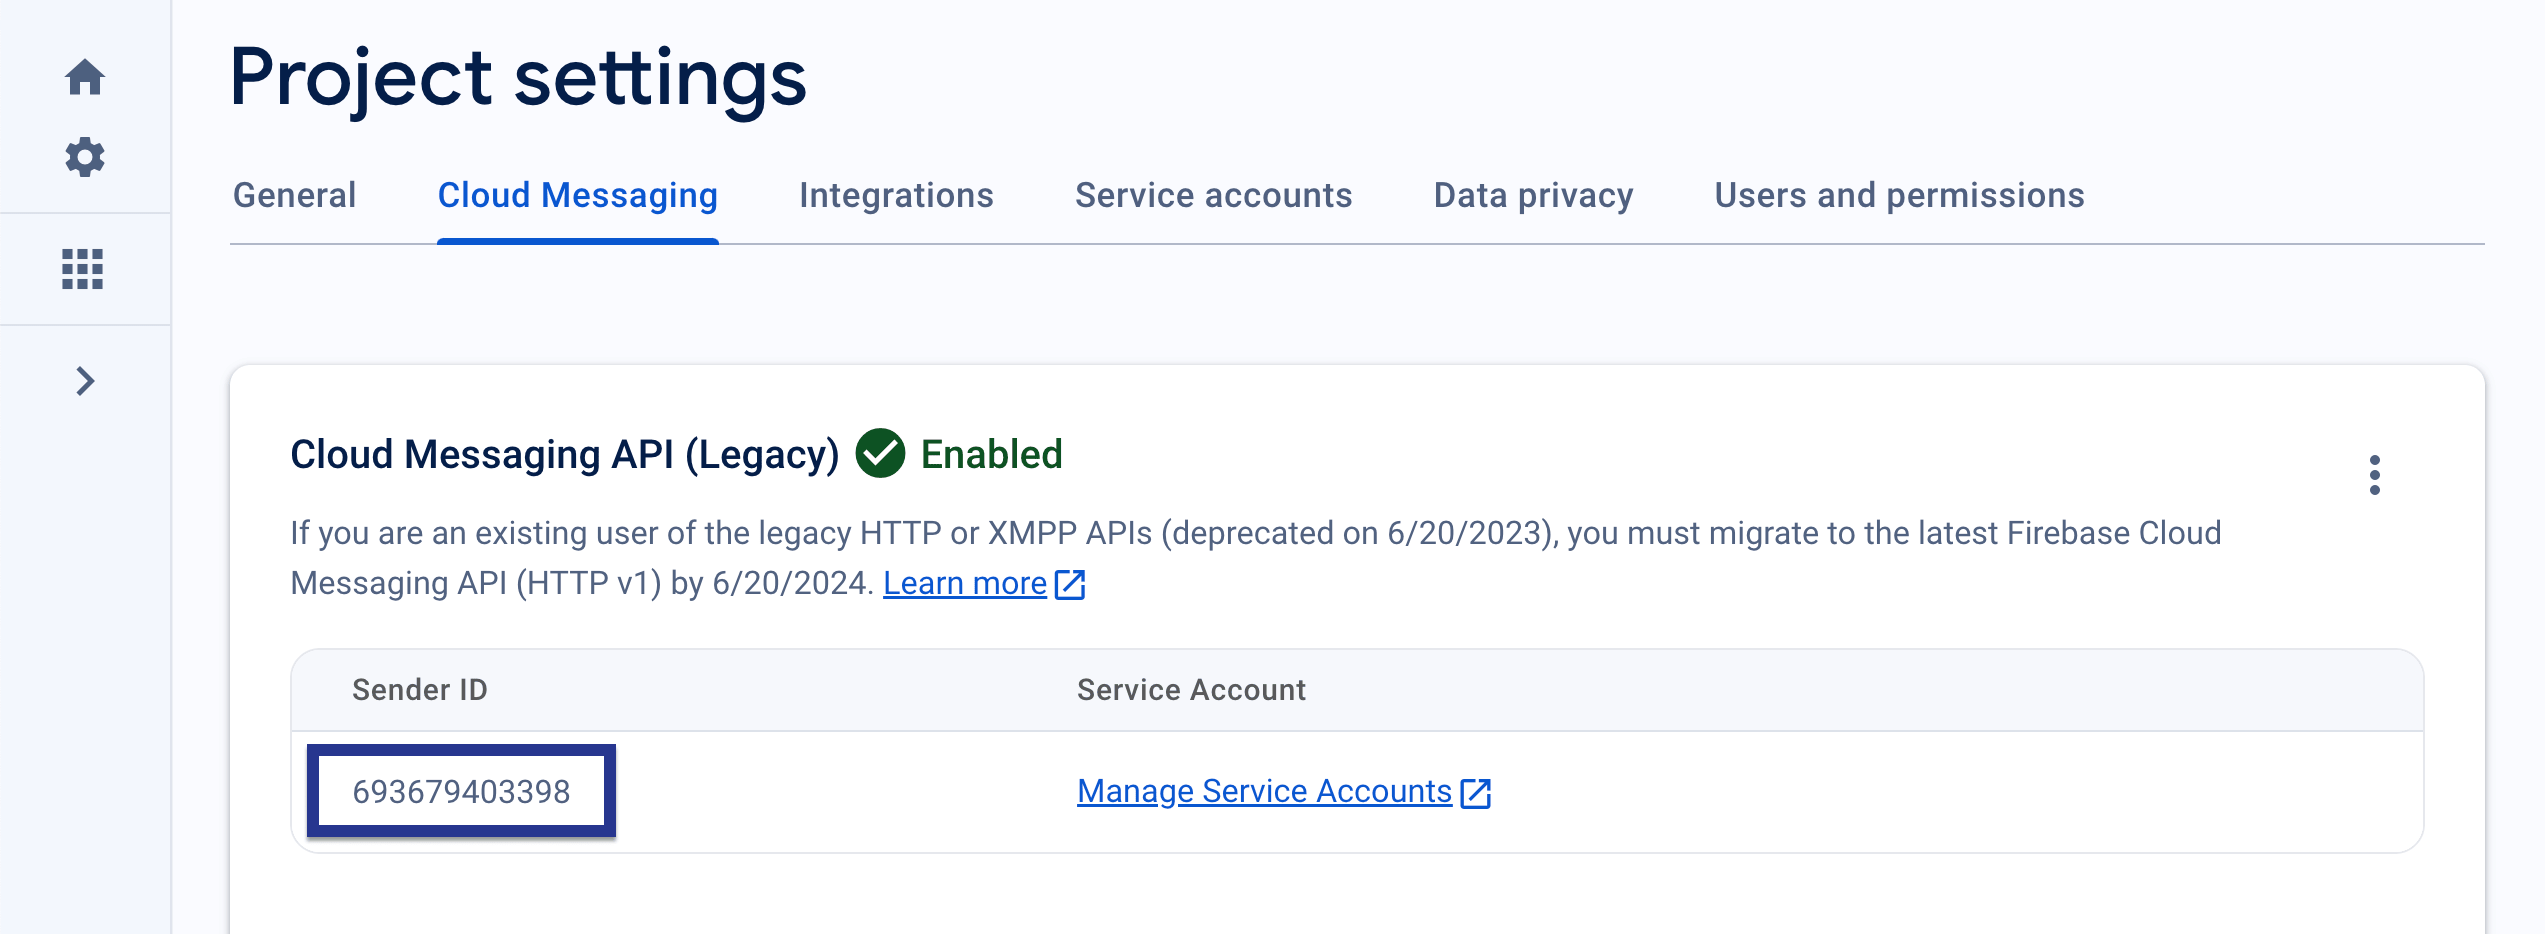
Next, open Firebase Console, then select Settings > Project settings.
Select Cloud Messaging. Under Cloud Messaging API (Legacy), verify the Sender ID matches the one listed in your Braze dashboard.
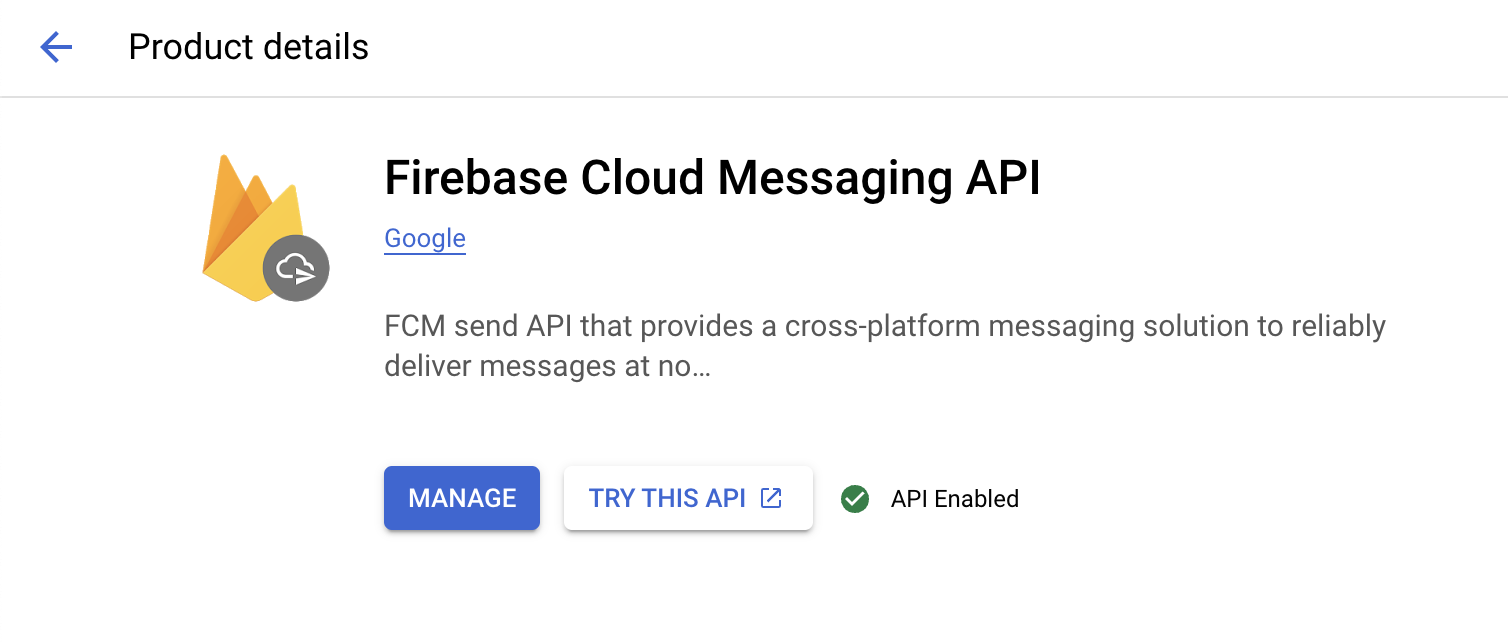
Step 3: Enable the Firebase Cloud Messaging API
In Google Cloud, select the project your Android app is using, then enable the Firebase Cloud Messaging API.
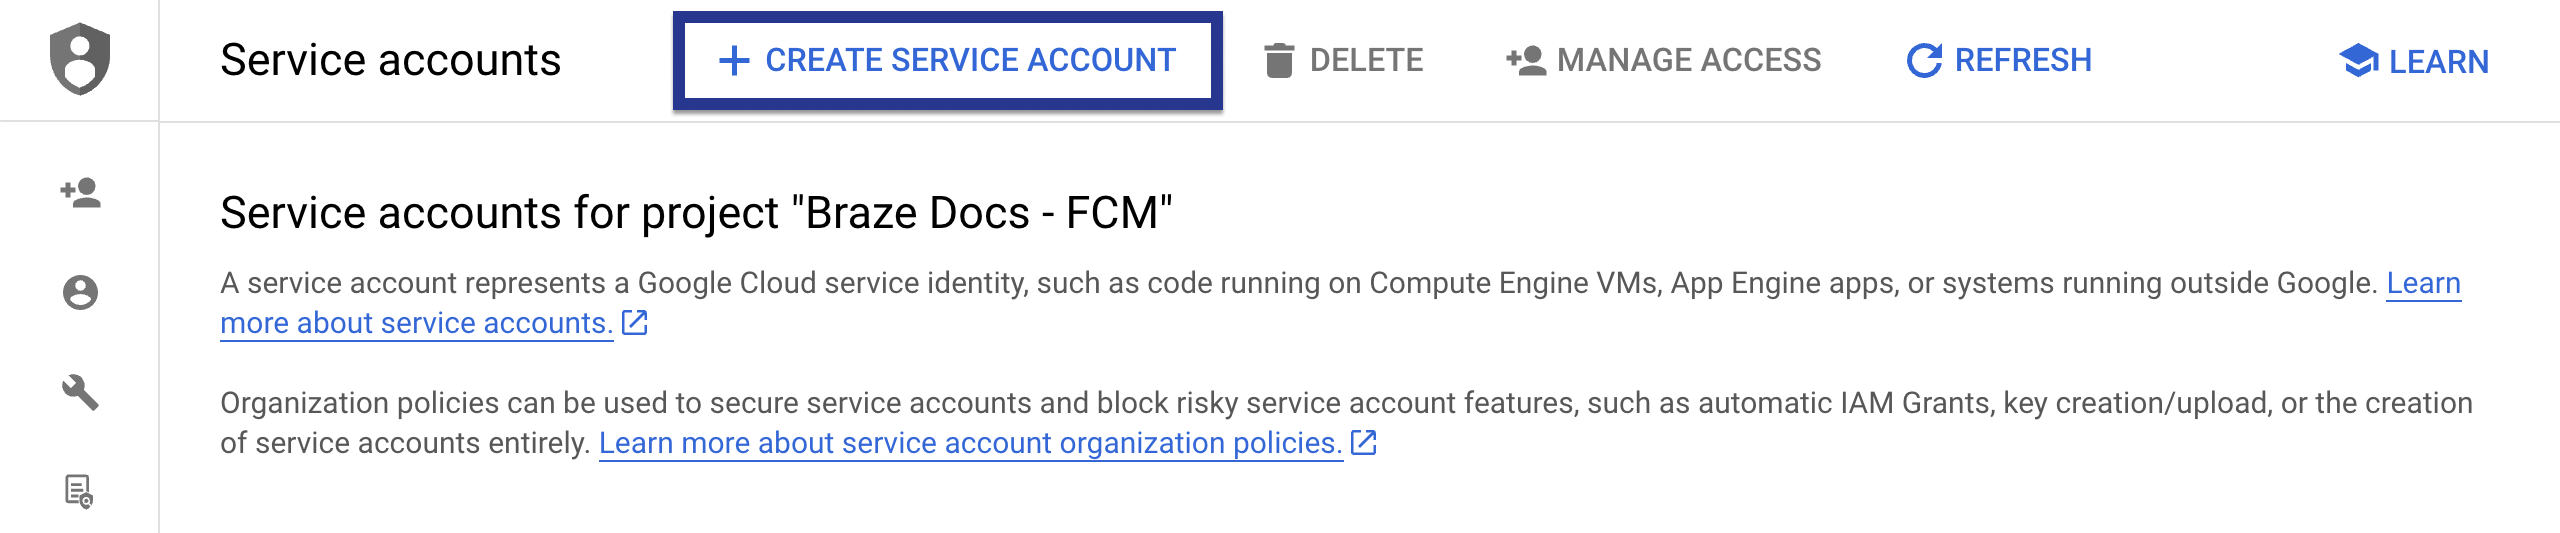
Step 4: Create a Service Account
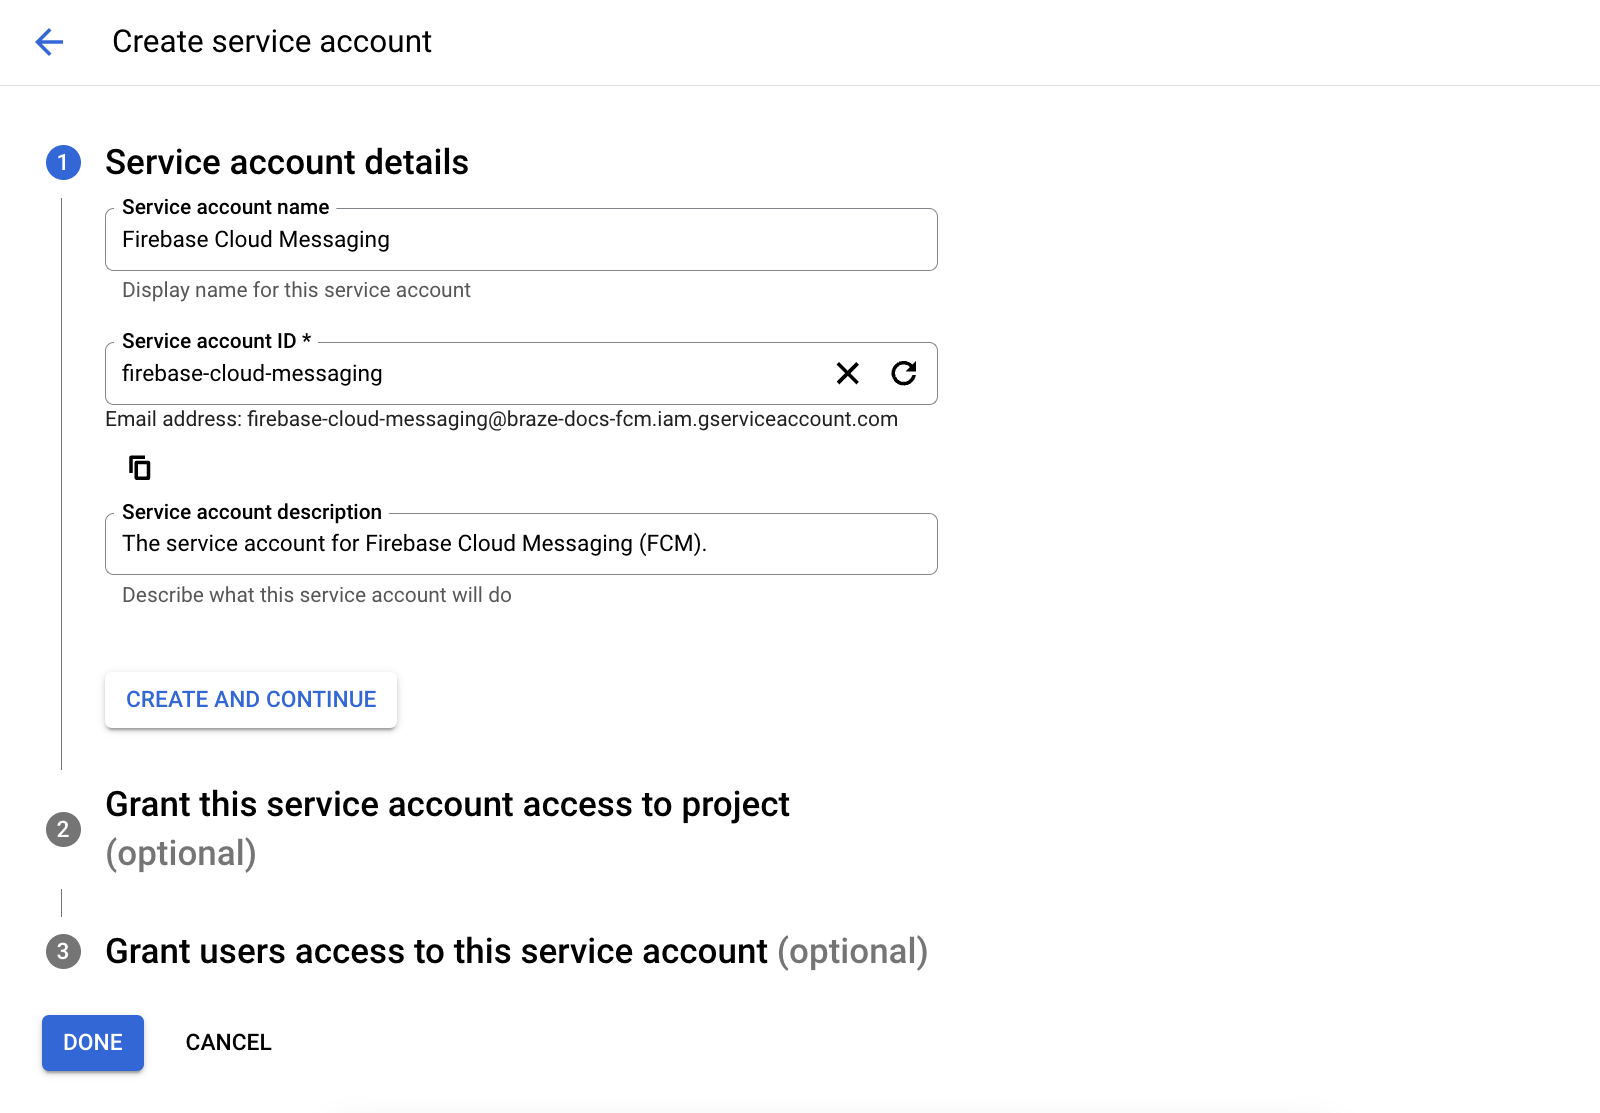
Next, create a new service account, so Braze can make authorized API calls when registering FCM tokens. In Google Cloud, go to Service Accounts, then choose your project. On the Service Accounts page, select Create Service Account.
Enter a service account name, ID, and description, then select Create and continue.
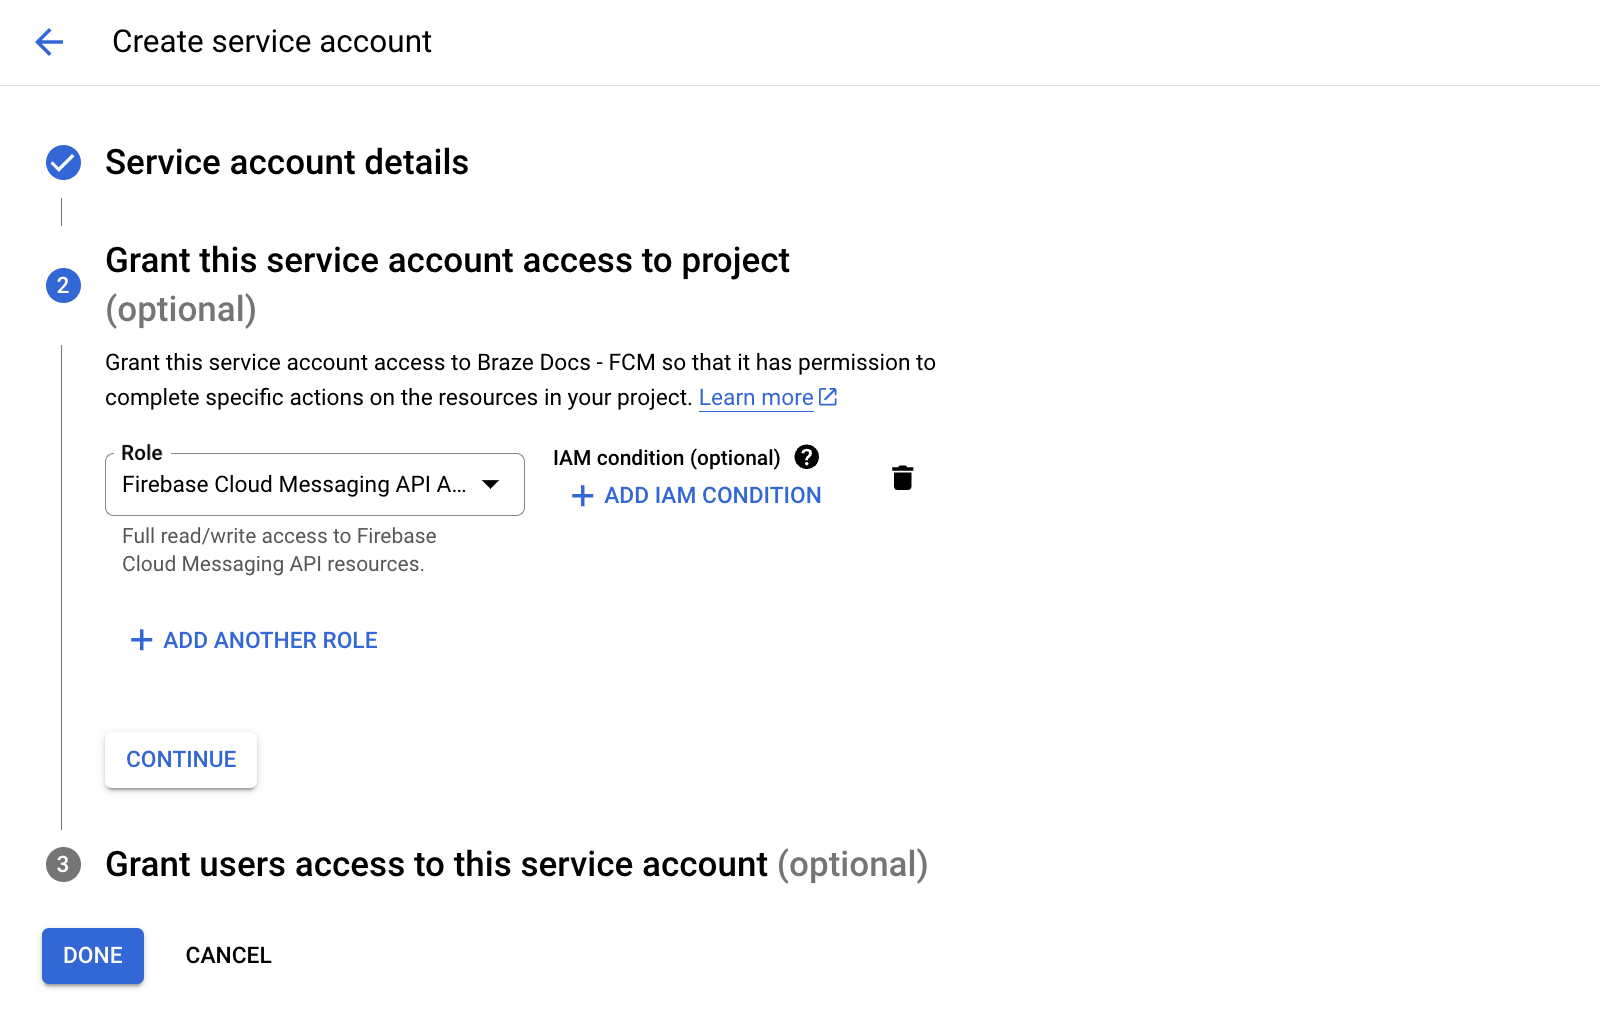
In the Role field, find and select Firebase Cloud Messaging API Admin from the list of roles. For more restrictive access, create a custom role with the cloudmessaging.messages.create permission, then choose it from the list instead. When you’re finished, select Done.
Be sure to select Firebase Cloud Messaging API Admin, not Firebase Cloud Messaging Admin.
Step 5: Verify permissions (optional)
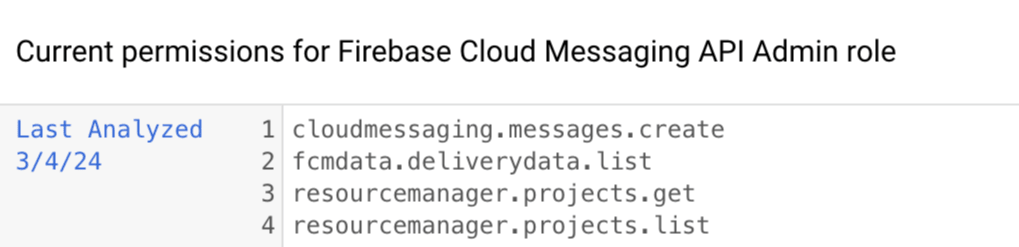
To verify which permissions your service account has, open Google Cloud, then go to your project and select IAM. Under View By Principals, select Excess Permissions.

Now you can review the current permissions assigned to your selected role.
Step 6: Generate JSON credentials
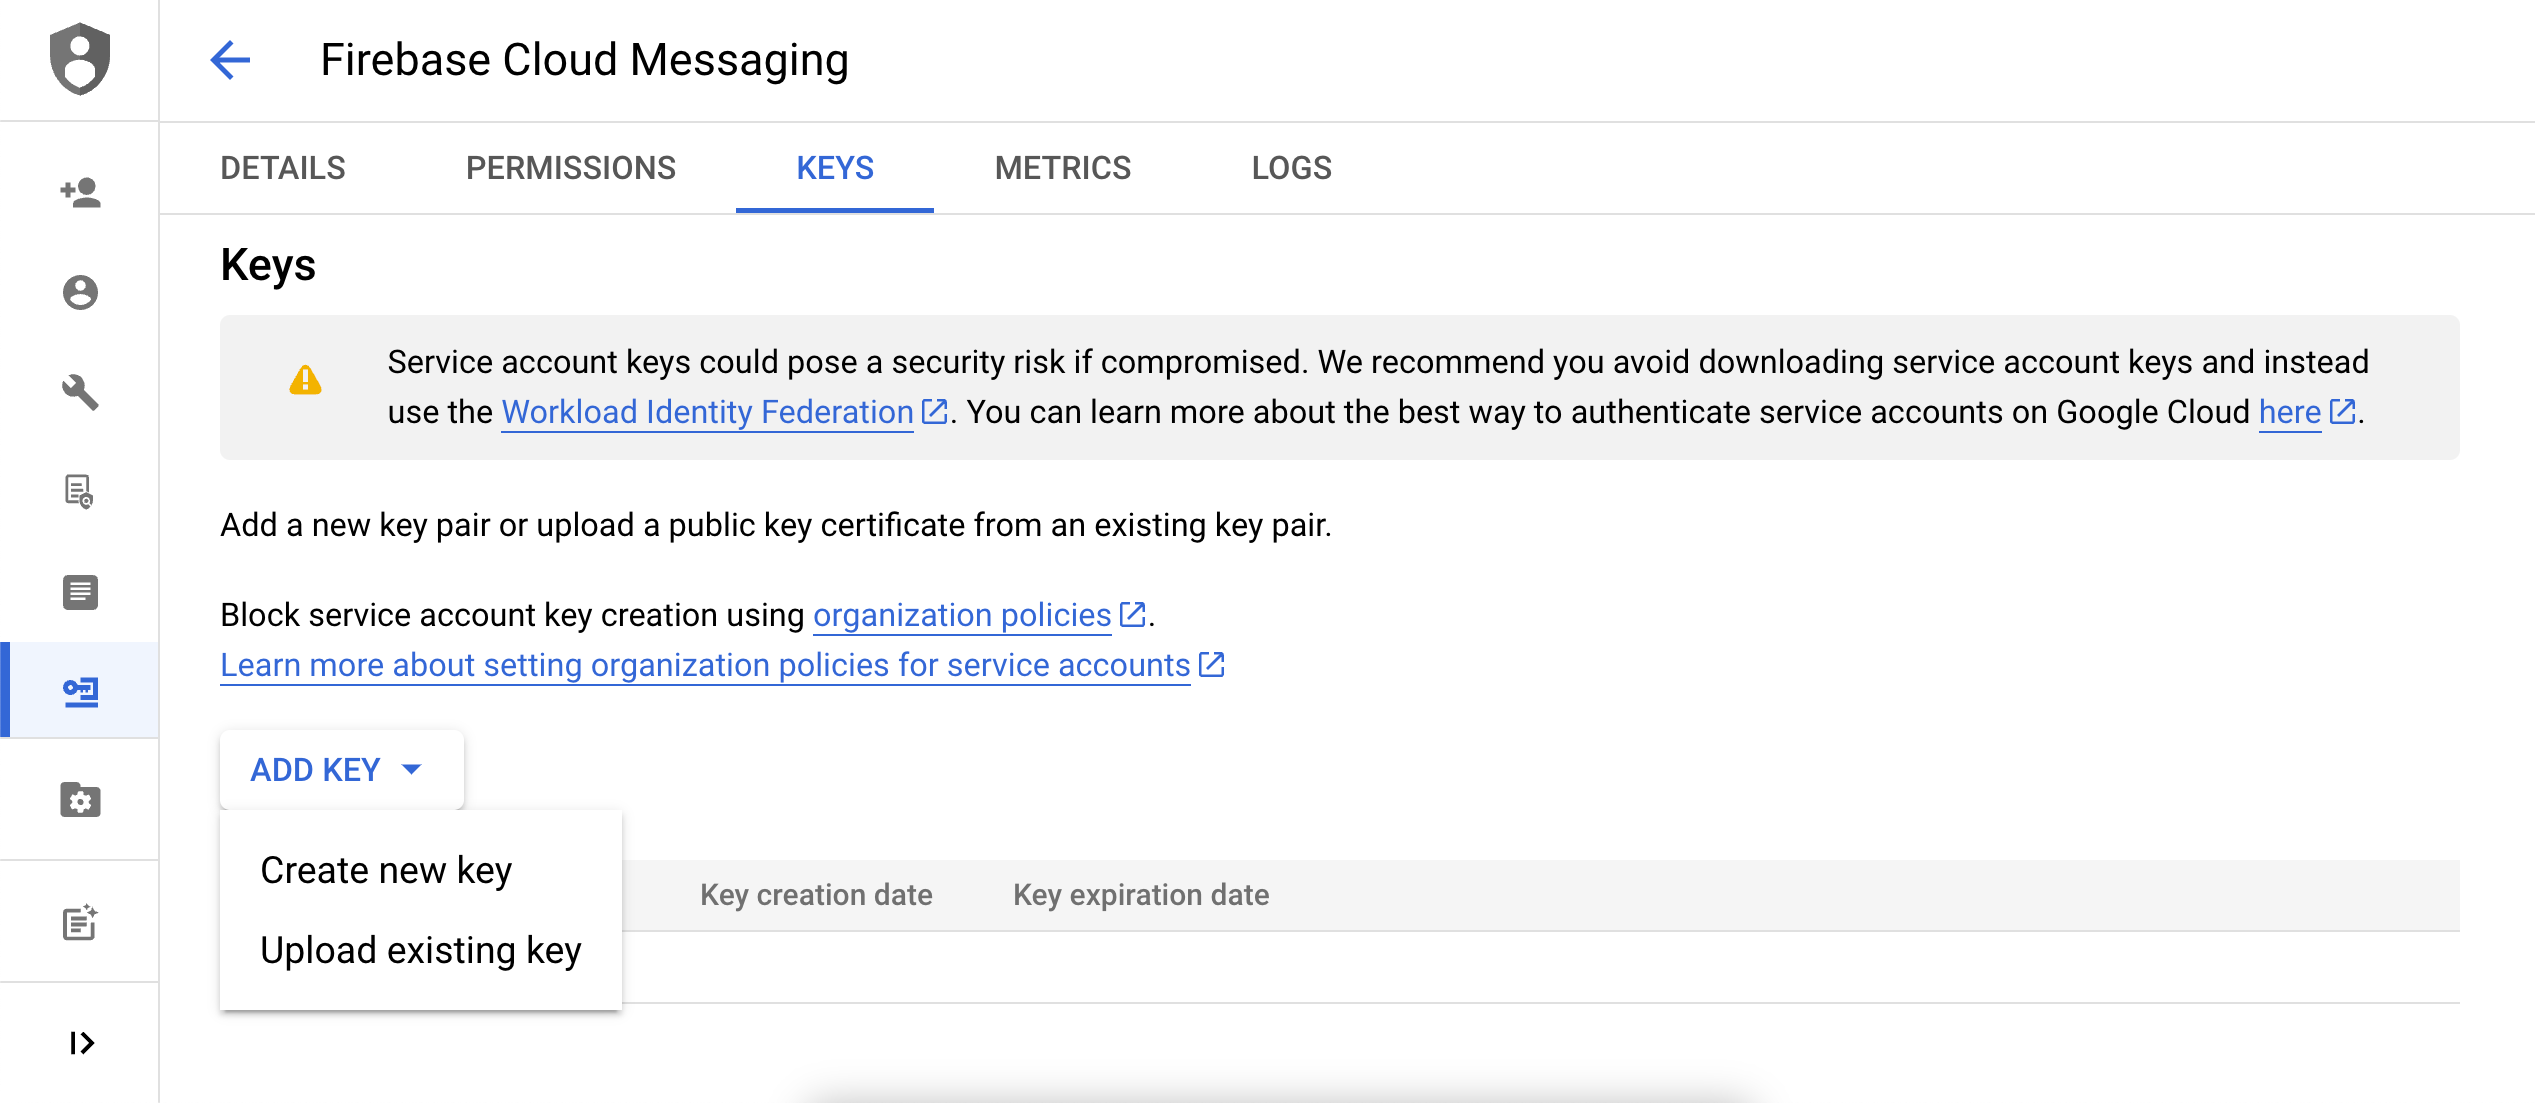
Next, generate JSON credentials for your FCM service account. On Google Cloud IAM & Admin, go to Service Accounts, then choose your project. Locate the FCM service account you created earlier, then select Actions > Manage Keys.
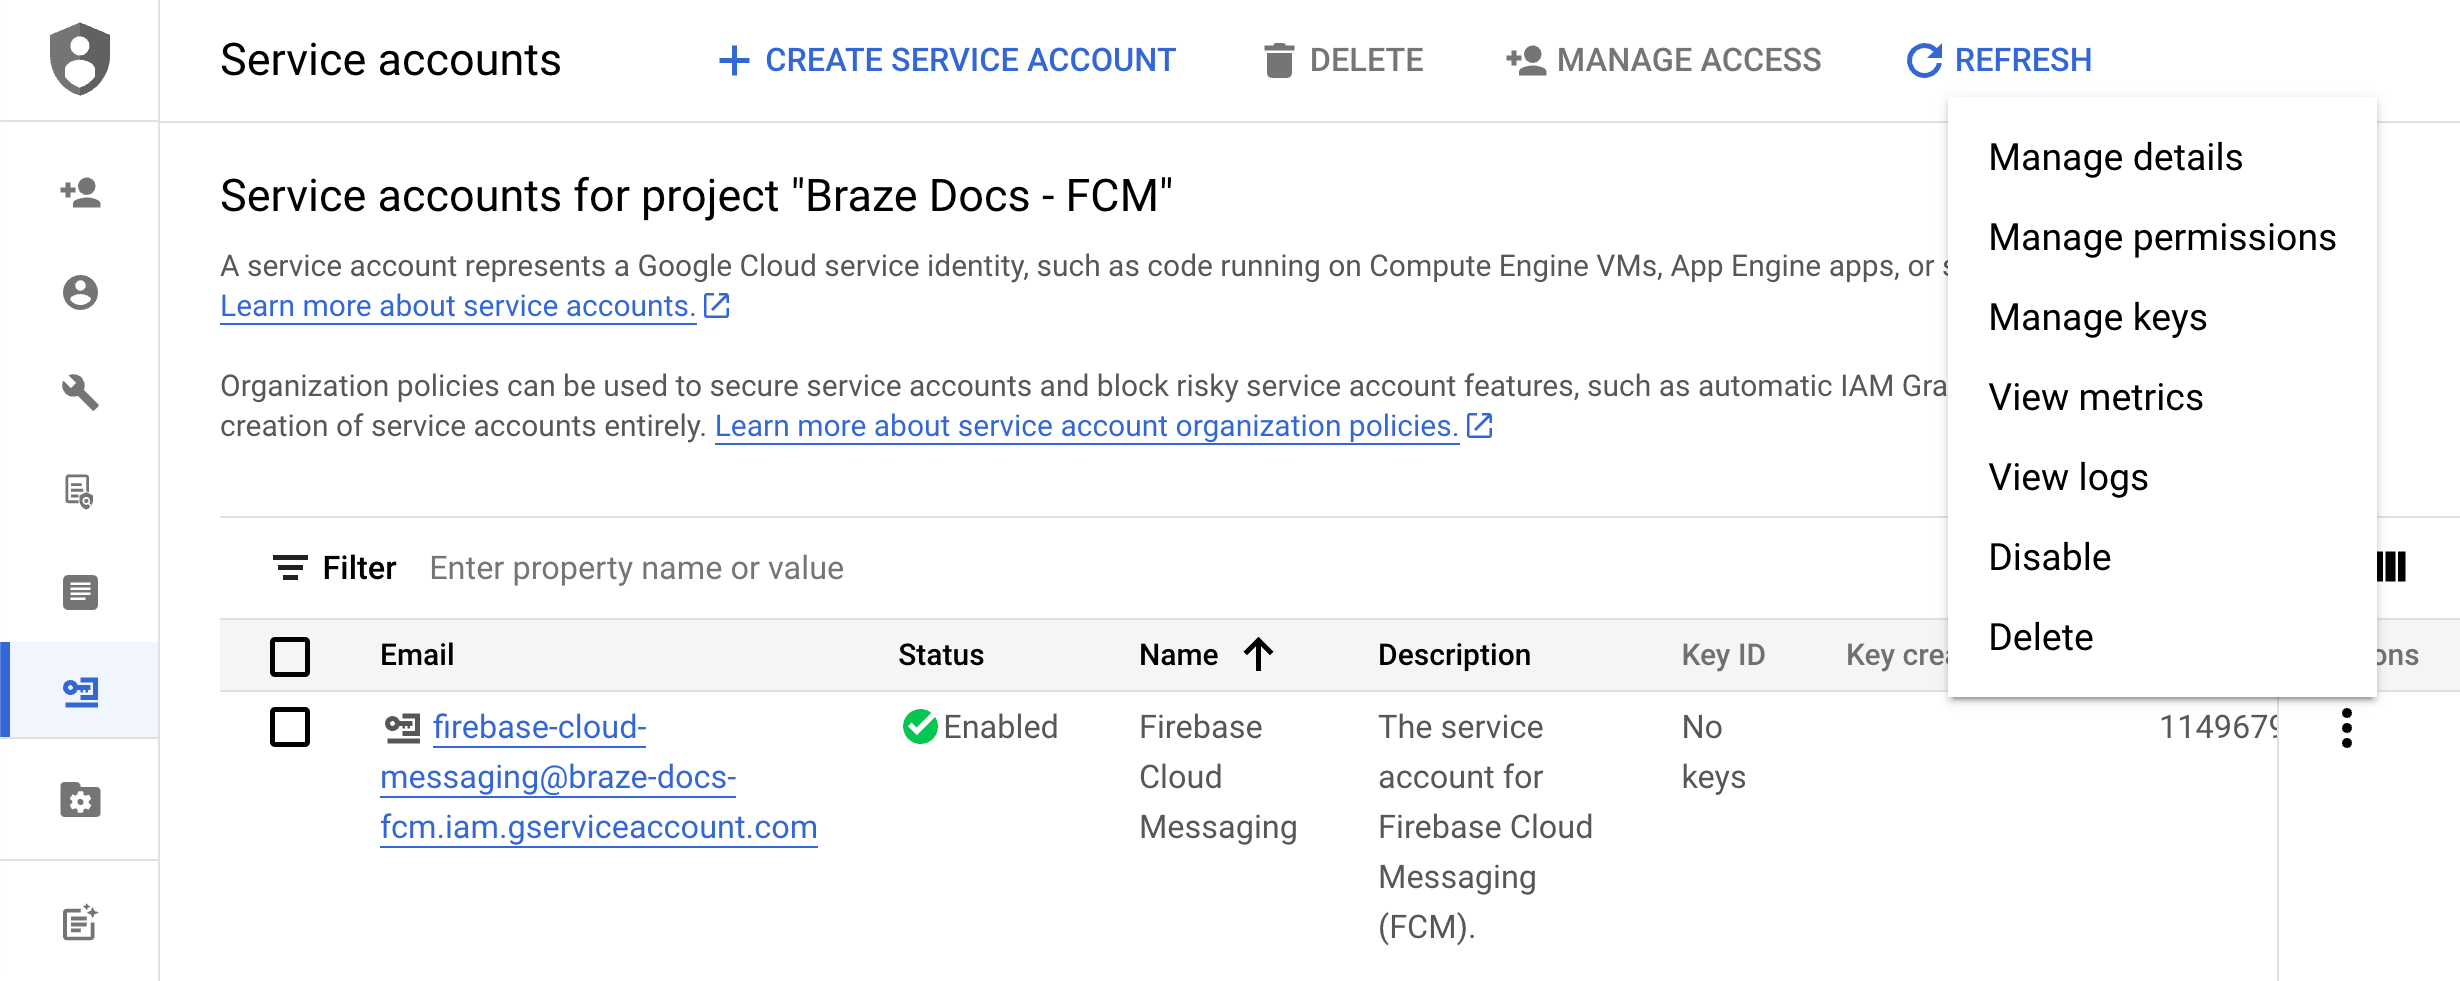
Select Add Key > Create new key.
Creating a new key will not remove your legacy ones. If you accidentally delete your new key by selecting Revert Credentials, Braze will use your legacy keys as a backup.
Choose JSON, then select Create.
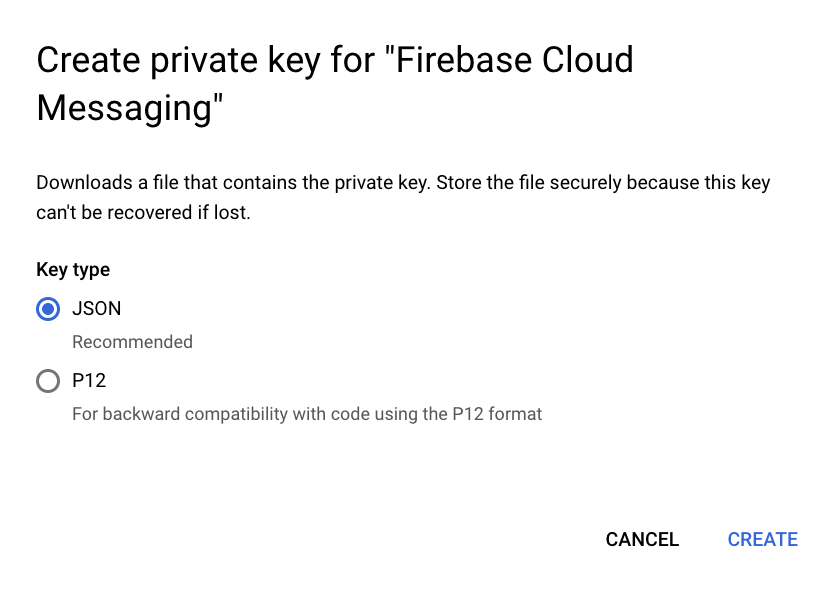
Private keys could pose a security risk if compromised. Store your JSON credentials in a secure location for now—you’ll delete your key after you upload it to Braze.
Step 7: Upload your JSON credentials to Braze
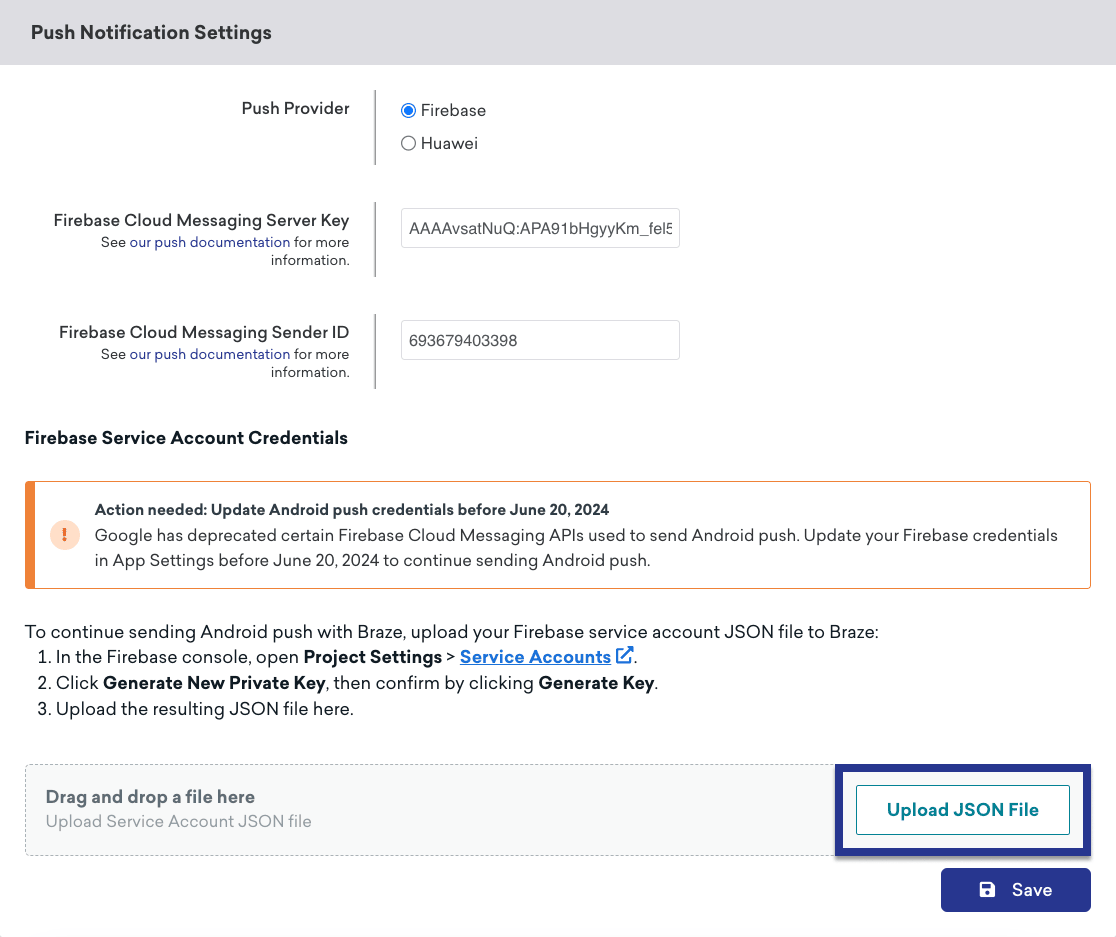
In Braze, select Settings > App Settings.
Under Push Notification Settings, select Upload JSON File, then choose the file you generated earlier. When you’re finished, select Save.
Step 8: Test your Push integration
Once your new credential is uploaded, try sending a test push notification to confirm your integration is set up correctly.
If your integration is not working, you can use the Revert Credentials button to delete the new JSON credentials and fall back to the deprecated Sender ID and Server Key credentials.
To make sure your push messages send, confirm the following:
- Your credentials exist in the correct Google Cloud Platform project ID (correct sender ID).
- Your credentials have the correct permission scope.
- You uploaded the correct credentials to the correct Braze workspace (correct sender ID).
Private keys could pose a security risk if compromised. Now that your key is uploaded to Braze, delete the file you generated previously from your computer.
 Edit this page on GitHub