Swift Package Manager integration
Installing the Swift SDK via Swift Package Manager (SPM) automates the majority of the installation process for you. Before beginning this process, check the version information to ensure that your environment is supported by Braze.
Adding the dependency to your project
Import SDK version
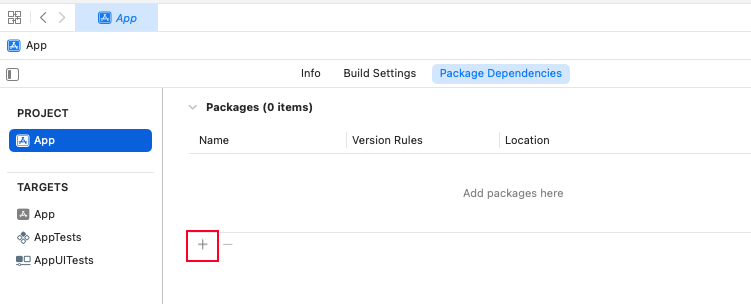
Open your project and navigate to your project’s settings. Select the Swift Packages tab and click on the add button below the packages list.
Starting in version 7.4.0, the Braze Swift SDK has additional distribution channels as static XCFrameworks and dynamic XCFrameworks. If you’d like to use either of these formats instead, follow the installation instructions from its respective repository.
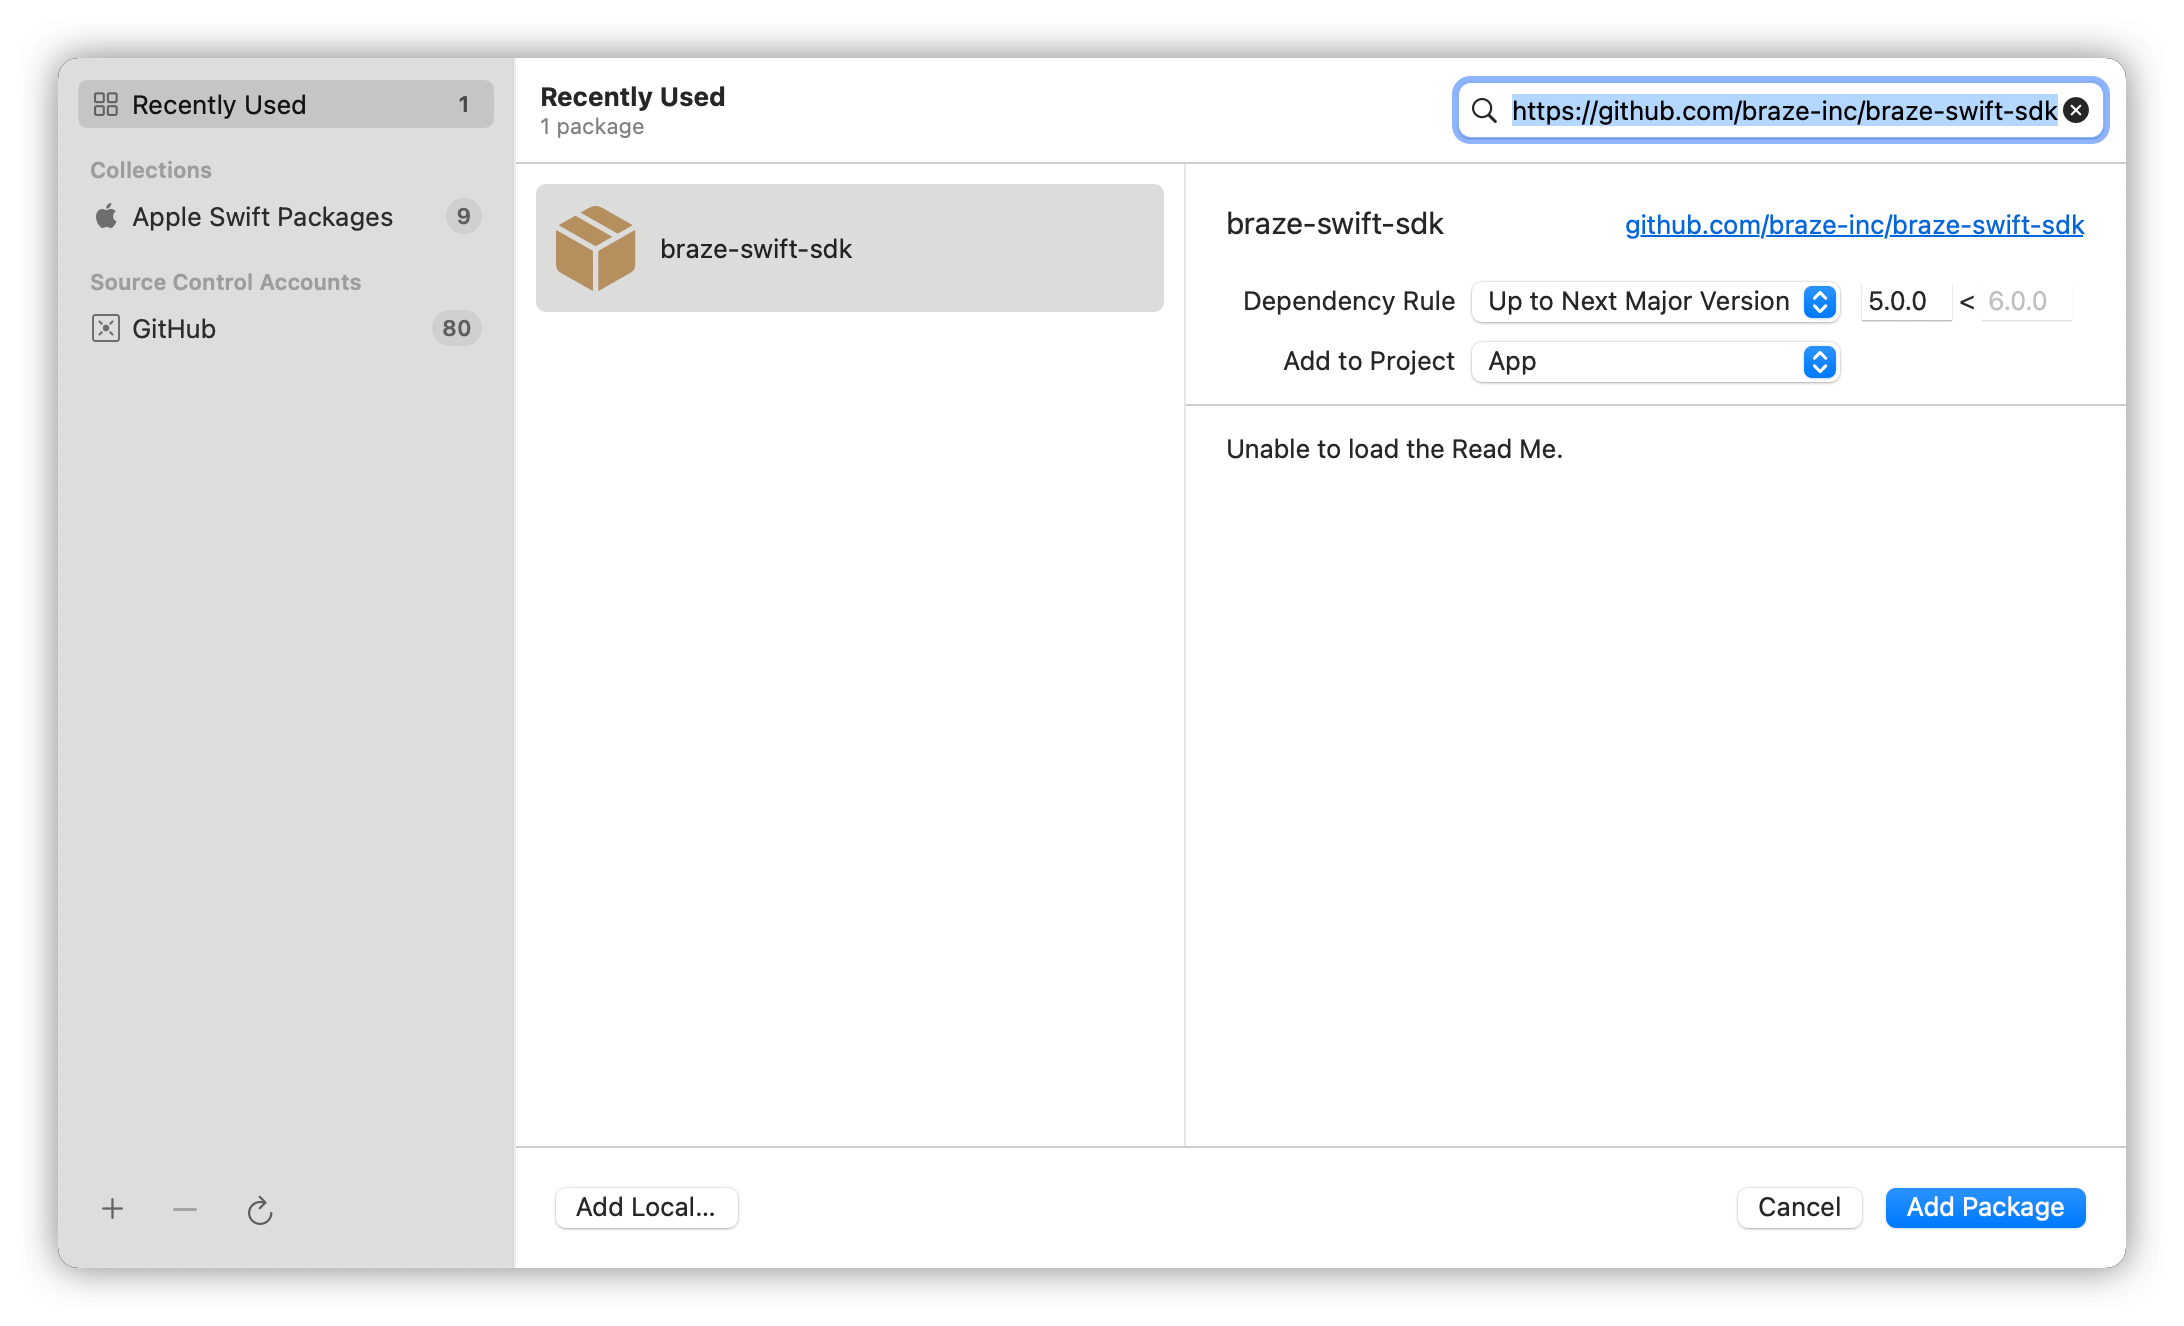
Enter the URL of our iOS Swift SDK repository https://github.com/braze-inc/braze-swift-sdk in the text field. Under the Dependency Rule section, select the SDK version. Finally, click Add Package.
Select packages
The Braze Swift SDK separates features into standalone libraries to provide developers with more control over which features to import into their projects.
| Package | Details |
|---|---|
BrazeKit |
Main SDK library providing support for analytics and push notifications. |
BrazeLocation |
Location library providing support for location analytics and geofence monitoring. |
BrazeUI |
Braze-provided user interface library for in-app messages and Content Cards. |
Extension libraries
BrazeNotificationService and BrazePushStory are extension modules that provide additional functionality and should not be added directly to your main application target. Instead follow the linked guides to integrate them separately into their respective target extensions.
| Package | Details |
|---|---|
BrazeNotificationService |
Notification service extension library providing support for rich push notifications. |
BrazePushStory |
Notification content extension library providing support for Push Stories. |
Select the package that best suits your needs and click Add Package. Make sure you select BrazeKit at a minimum.

Next steps
Follow the instructions for completing the integration.
 Edit this page on GitHub