CocoaPods integration
Step 1: Install CocoaPods
Installing the iOS SDK via CocoaPods automates the majority of the installation process for you. To install CocoaPods, refer to the CocoaPods Getting Started guide.
Run the following command to get started:
1
$ sudo gem install cocoapods
If you have issues regarding CocoaPods, refer to the CocoaPods troubleshooting guide.
Step 2: Constructing the Podfile
Now that you’ve installed the CocoaPods Ruby Gem, you will need to create a file in your Xcode project directory named Podfile.
Starting in version 7.4.0, the Braze Swift SDK has additional distribution channels as static XCFrameworks and dynamic XCFrameworks. If you’d like to use either of these formats instead, follow the installation instructions from its respective repository.
Add the following line to your Podfile:
1
2
3
target 'YourAppTarget' do
  pod 'BrazeKit'
end
BrazeKit contains the main SDK library, providing support for analytics and push notifications.
We suggest you version Braze so pod updates automatically grab anything smaller than a minor version update. This looks like pod 'BrazeKit' ~> Major.Minor.Build. If you want to automatically integrate the latest Braze SDK version, even with major changes, you can use pod 'BrazeKit' in your Podfile.
Additional libraries
The Braze Swift SDK separates features into standalone libraries to provide developers with more control over which features to import into their projects. In addition to BrazeKit, you may add the following libraries to your Podfile:
| Library | Details |
|---|---|
pod 'BrazeLocation' |
Location library providing support for location analytics and geofence monitoring. |
pod 'BrazeUI' |
Braze-provided user interface library for in-app messages and Content Cards. |
Extension libraries
BrazeNotificationService and BrazePushStory are extension modules that provide additional functionality and should not be added directly to your main application target. Instead, you will need to create separate extension targets for each of these modules and import the Braze modules into their corresponding targets.
| Library | Details |
|---|---|
pod 'BrazeNotificationService' |
Notification service extension library providing support for rich push notifications. |
pod 'BrazePushStory' |
Notification content extension library providing support for Push Stories. |
Step 3: Installing the Braze SDK
To install the Braze SDK CocoaPod, navigate to the directory of your Xcode app project within your terminal and run the following command:
1
pod install
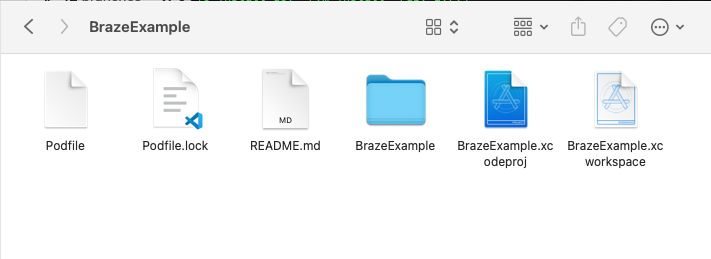
At this point, you should be able to open the new Xcode project workspace created by CocoaPods. Make sure to use this Xcode workspace instead of your Xcode project.
Next steps
Follow the instructions for completing the integration.
Updating the Braze SDK via CocoaPods
To update a CocoaPod, simply run the following command within your project directory:
1
pod update
 Edit this page on GitHub