Locations and geofences
This article covers setting up geofences for your iOS SDK integration. Geofences are only available in select Braze packages. Reach out to your Braze customer success manager to get started.
At the core of Braze’s real-time location offering is the concept of a geofence. A geofence is a virtual geographic area, represented as latitude and longitude combined with a radius, forming a circle around a specific global position.
As of iOS 14, geofences do not work reliably for users who choose to give their approximate location permission.
Step 1: Enable background push
To fully utilize our geofence syncing strategy, you must have silent push notifications enabled in addition to completing the standard push integration.
Step 2: Enable Braze location services
Braze location services must be enabled through the SDK. They are not enabled by default.
Step 3: Enable geofences
Enable geofences by setting location.geofencesEnabled to true on the configuration object that initializes theBraze instance. Other location configuration options can be found here.
1
2
3
4
5
6
7
8
9
10
11
12
13
14
15
let configuration = Braze.Configuration(
  apiKey: "<BRAZE_API_KEY>",
  endpoint: "<BRAZE_ENDPOINT>"
)
configuration.location.brazeLocationProvider = BrazeLocationProvider()
configuration.location.automaticLocationCollection = true
configuration.location.geofencesEnabled = true
configuration.location.automaticGeofenceRequests = true

// Configurations for background geofence reporting with `When In Use` authorization.
configuration.location.allowBackgroundGeofenceUpdates = true
configuration.location.distanceFilter = 8000

let braze = Braze(configuration: configuration)
AppDelegate.braze = braze
1
2
3
4
5
6
7
8
9
10
11
12
13
14
15
BRZConfiguration *configuration =
    [[BRZConfiguration alloc] initWithApiKey:brazeApiKey
                                    endpoint:brazeEndpoint];
configuration.logger.level = BRZLoggerLevelInfo;
configuration.location.brazeLocationProvider = [[BrazeLocationProvider alloc] init];
configuration.location.automaticLocationCollection = YES;
configuration.location.geofencesEnabled = YES;
configuration.location.automaticGeofenceRequests = YES;

// Configurations for background geofence reporting with `When In Use` authorization.
configuration.location.allowBackgroundGeofenceUpdates = YES;
configuration.location.distanceFilter = 8000;

Braze *braze = [[Braze alloc] initWithConfiguration:configuration];
AppDelegate.braze = braze;
Configuring geofences for background reporting
By default, geofences are only monitored if your app is in the foreground, or it has Always authorization (which monitors all application states).
However, you can choose to monitor geofence events when your app is in the background or when it has When In Use authorization by adding the Background Mode -> Location updates capability to your Xcode project and enabling allowBackgroundGeofenceUpdates. This let’s Braze extend your app’s “in use” status by continuously monitoring location updates.
allowBackgroundGeofenceUpdates only works when your app is in the background. When it re-opens, it’s existing background processes are paused, so foreground processes can be prioritized instead.
To prevent battery drain and rate limiting, be sure to configure distanceFilter to a value that meets your app’s specific needs. Setting distanceFilter to a higher value prevents your app from requesting your user’s location too frequently.
Step 4: Check for Braze background push
Braze syncs geofences to devices using background push notifications. Follow the ignoring silent push article to ensure that your application does not take any unwanted actions upon receiving Braze geofence sync notifications.
Step 5: Add location usage description strings to your Info.plist
Add the key NSLocationAlwaysUsageDescription, NSLocationAlwaysAndWhenInUseUsageDescription or NSLocationWhenInUseUsageDescription to your info.plist with a String value that has a description of why your application needs to track location.
This description will be shown when the system location prompt requests authorization and should clearly explain the benefits of location tracking to your users.
Step 6: Request authorization from the user
When requesting authorization from a user, you can request When In Use or Always authorization.
When In Use
To request When In Use authorization, use the requestWhenInUseAuthorization() method:
1
2
var locationManager = CLLocationManager()
locationManager.requestWhenInUseAuthorization()
1
2
CLLocationManager *locationManager = [[CLLocationManager alloc] init];
[locationManager requestWhenInUseAuthorization];
Always
By default, requestAlwaysAuthorization() only grants your app When In Use authorization and will re-prompt your user for Always authorization after some time has passed. However, you can choose to immediately prompt your user by first calling requestWhenInUseAuthorization(), then calling requestAlwaysAuthorization() after receiving your initial When In Use authorization.
You can only immediately prompt for Always authorization a single time.
1
2
var locationManager = CLLocationManager()
locationManager.requestAlwaysAuthorization()
1
2
CLLocationManager *locationManager = [[CLLocationManager alloc] init];
[locationManager requestAlwaysAuthorization];
Step 7: Enable geofences on the dashboard
iOS only allows up to 20 geofences to be stored for a given app. With geofences enabled, Braze will use up some of these 20 available slots. To prevent accidental or unwanted disruption to other geofence-related functionality in your app, location geofences must be enabled for individual apps on the dashboard. For our location services to work correctly, check that your app is not using all available geofence spots.
There are two ways to enable geofences for a particular app: from the Locations page or from the Manage Settings page.
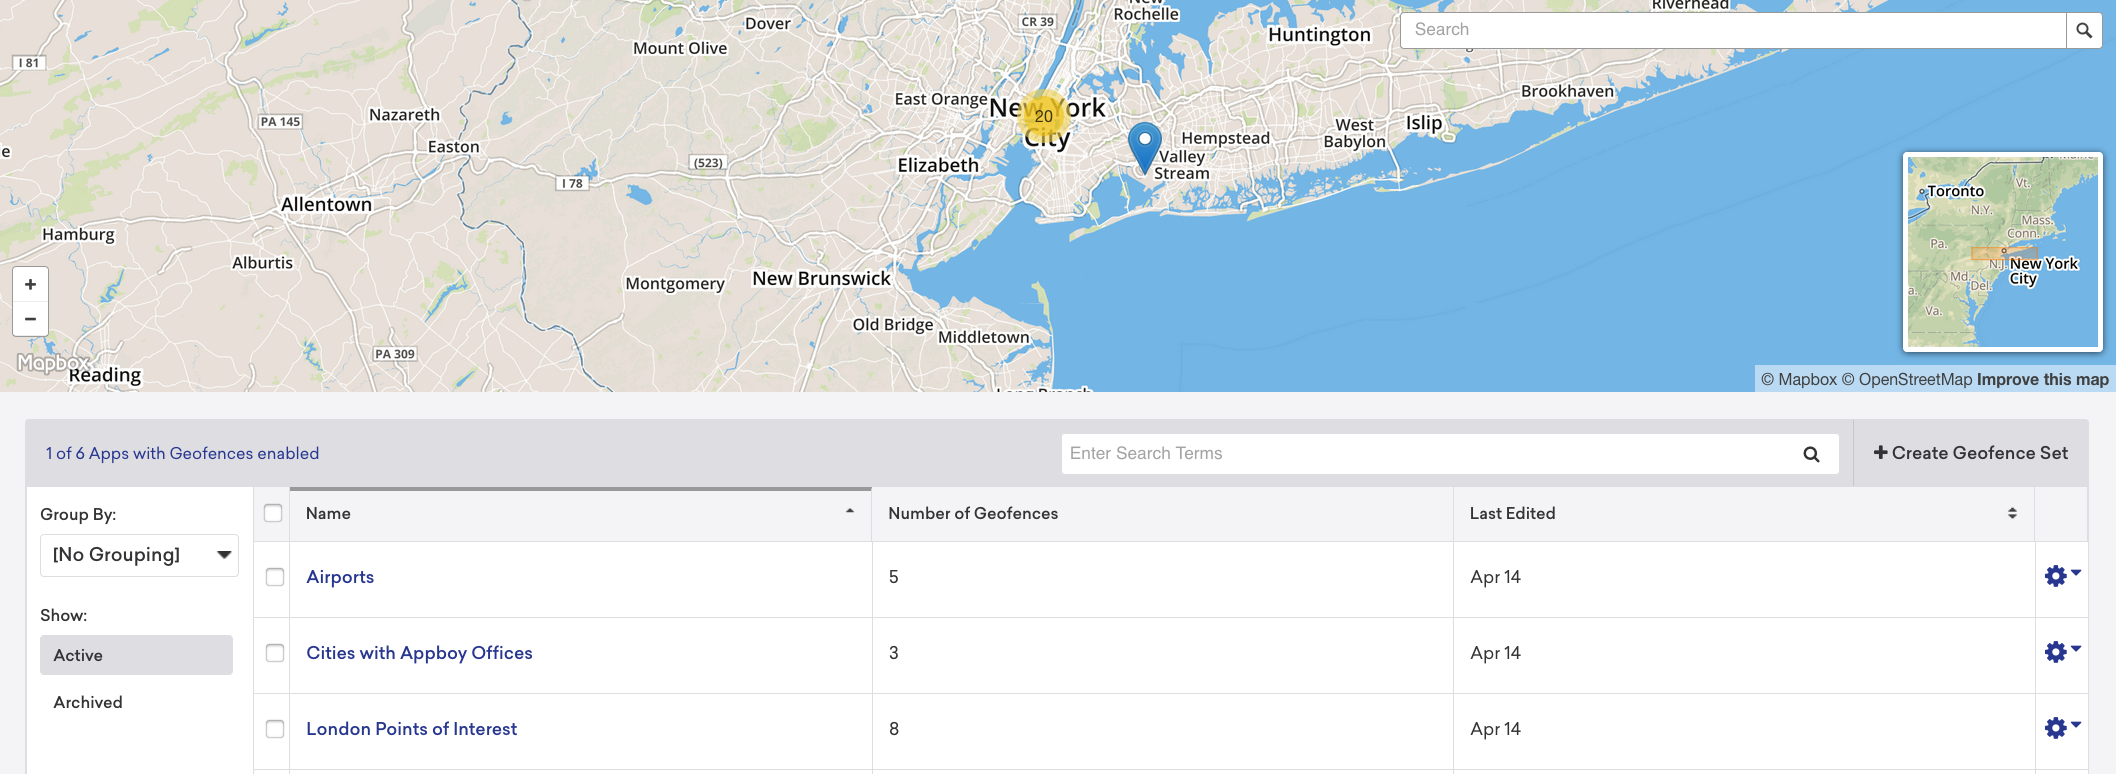
Enable geofences from the Locations page
Enable geofences on the Locations page of the dashboard.
- Go to Audience > Locations.
If you are using the older navigation, you can find Locations under Engagement.
- The number of apps in your workspace that currently have geofences enabled is displayed beneath the map, for example: 0 of 1 Apps with Geofences enabled. Click this text.
- Select the app to enable geofences. Click Done.
Enable geofences from the Manage Settings page
Enable geofences from your app’s settings.
- Go to Settings > App Settings.
If you are using the older navigation, you can find geofences at Manage Settings > Settings.
- Select the app for which you wish to enable geofences.
- Select the Geofences Enabled checkbox. Click Save.

Disabling automatic geofence requests
You can disable automatic geofence requests in your configuration object passed to init(configuration). Set automaticGeofenceRequests to false. For example:
1
2
3
4
5
6
7
let configuration = Braze.Configuration(
  apiKey: "{BRAZE_API_KEY}",
  endpoint: "{BRAZE_ENDPOINT}"
)
configuration.automaticGeofencesRequest = false
let braze = Braze(configuration: configuration)
AppDelegate.braze = braze
1
2
3
4
5
6
BRZConfiguration *configuration =
  [[BRZConfiguration alloc] initWithApiKey:{BRAZE_API_KEY}
                                  endpoint:{BRAZE_ENDPOINT}];
configuration.automaticGeofencesRequest = NO;
Braze *braze = [[Braze alloc] initWithConfiguration:configuration];
AppDelegate.braze = braze;
If you choose to use this option, you will need to manually request geofences for the feature to work.
Manually requesting geofences
When the Braze SDK requests geofences to monitor from the backend, it reports the user’s current location and receives geofences that are determined to be optimally relevant based on the location reported. There is a rate limit of one geofence refresh per session.
To control the location that the SDK reports for the purposes of receiving the most relevant geofences, you can manually request geofences by providing the latitude and longitude of a location. It is recommended to disable automatic geofence requests when using this method. To do so, use the following code:
1
AppDelegate.braze?.requestGeofences(latitude: latitude, longitude: longitude)
1
2
[AppDelegate.braze requestGeofencesWithLatitude:latitude
                                      longitude:longitude];
 Edit this page on GitHub