Initial SDK setup with Eclipse
Braze has removed support for the Eclipse IDE due to Google sunsetting support for the Eclipse Android Developer Tools Plugin. If you need assistance with your Eclipse integration prior to migration email Support for assistance.
Step 1
In your command line, clone the Braze Android GitHub Repository.
1
$ git clone [email protected]:braze-inc/braze-android-sdk.git
Step 2
Import the Braze project into your local workspace
In Eclipse:
-
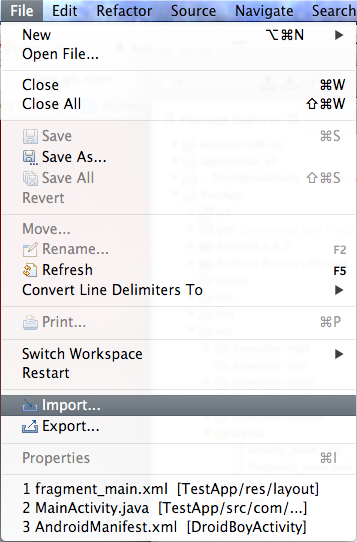
Navigate to File > Import.
-
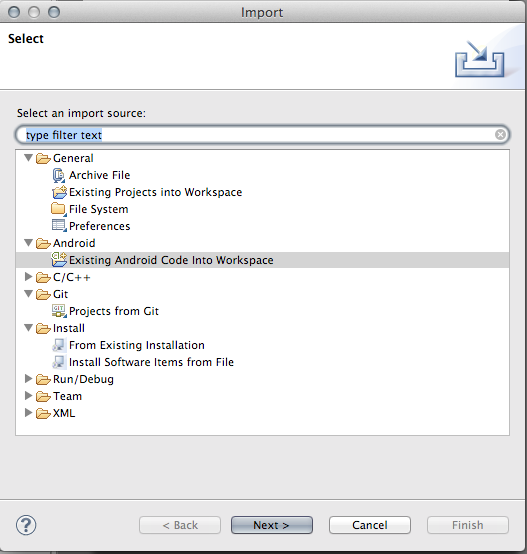
Select Android > Existing Android Code into Workspace.
-
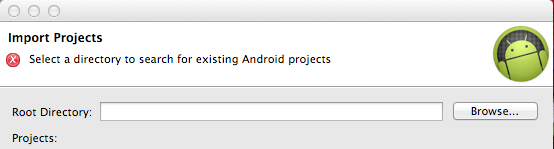
Click “Browse.”
-
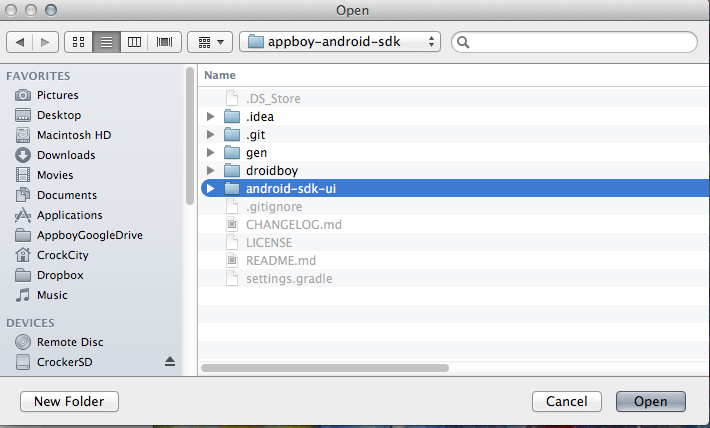
Check the Braze UI project folder as well as “copy project into workspace” and click “Finish.”
Step 3
Reference Braze in your own project. In Eclipse:
-
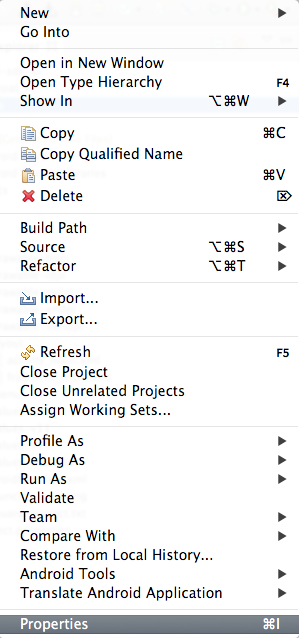
Right click your project and select “Properties.”
-
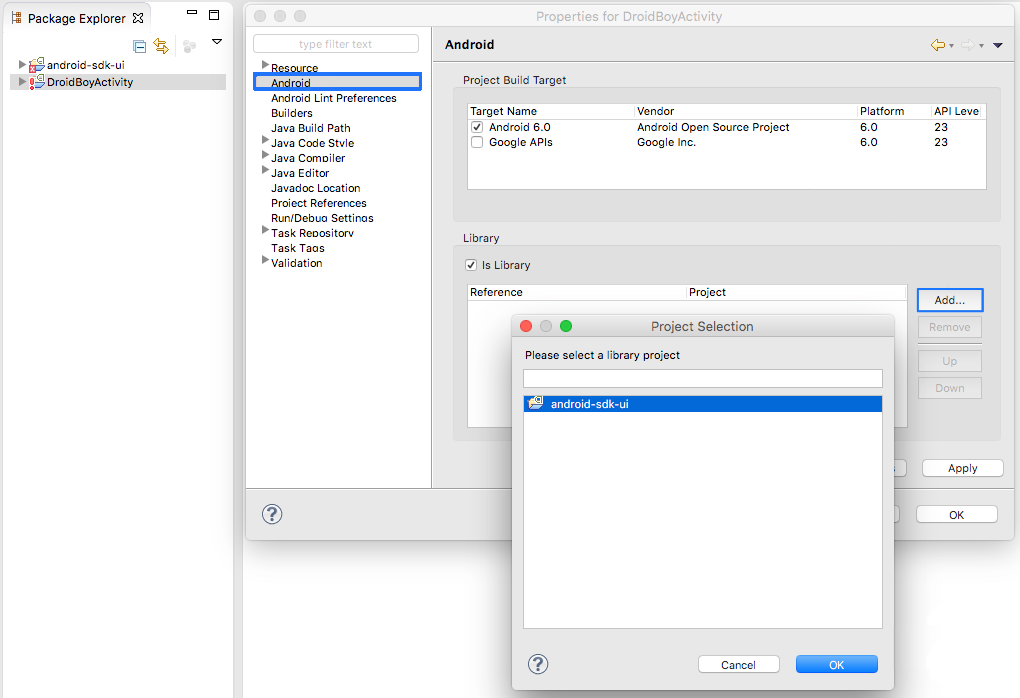
Under “Android,” click “Add…” in the Library section and add android-sdk-ui as a library to your app.
Step 4
Resolve dependency errors and correct build target.
At this time, you may see errors coming up with the Braze code, that is because its dependencies are not populated and the build target is possibly incorrect:
-
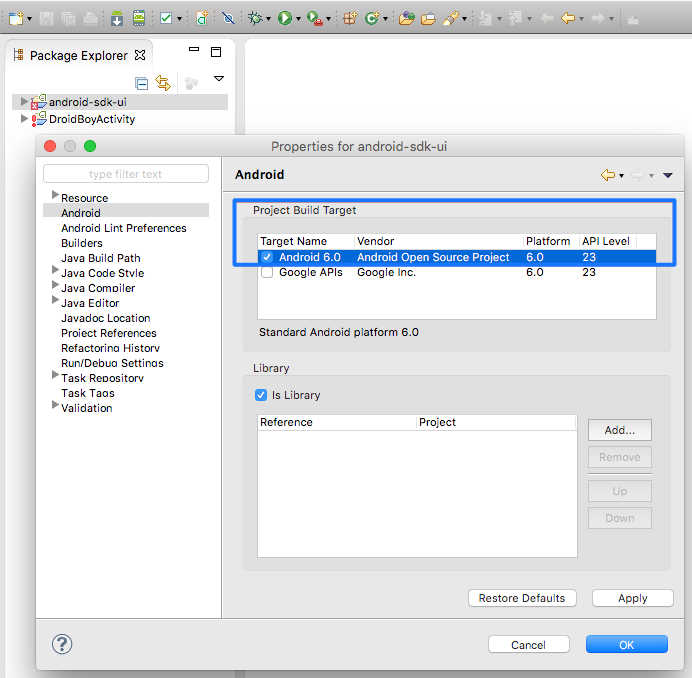
Right click the Braze UI project and select Properties->Android to make sure build target is set to Braze’s current build tools version.
-
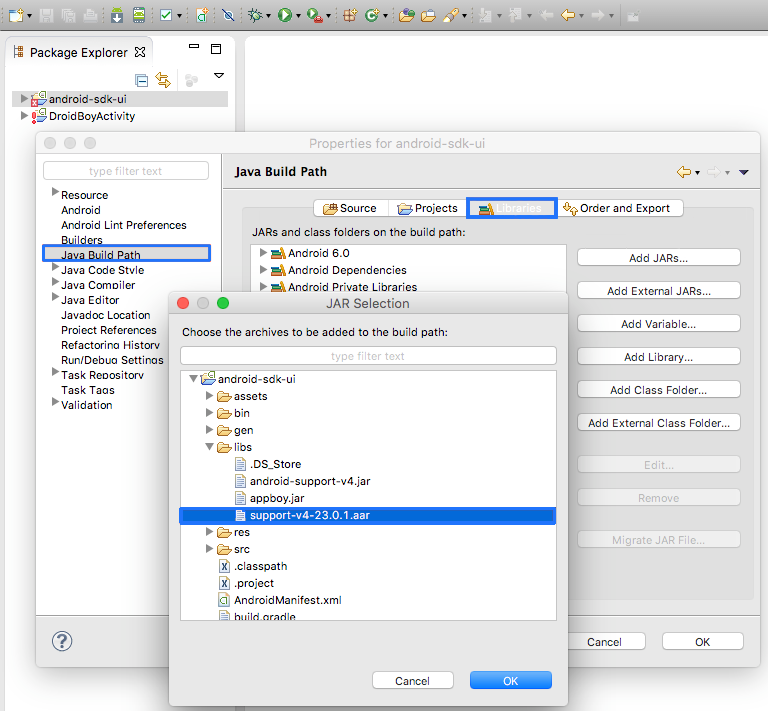
Right click the Braze UI project and select Properties->Java Build Path->Add JARs… and add ‘android-support-v4.jar’ from the main application as a library.
Step 5
Add final pieces.
-
For SDK version 1.10.0 or higher, you will need to add
<service android:name="com.appboy.services.AppboyDataSyncService" />to your AndroidManifest.xml, as Eclipse does not support manifest merging. -
For SDK version 1.7.0 or higher, you will need to copy “assets/fontawesome-webfont.ttf” from our library project to your application. Eclipse does not automatically include the assets folder from libraries.
 Edit this page on GitHub